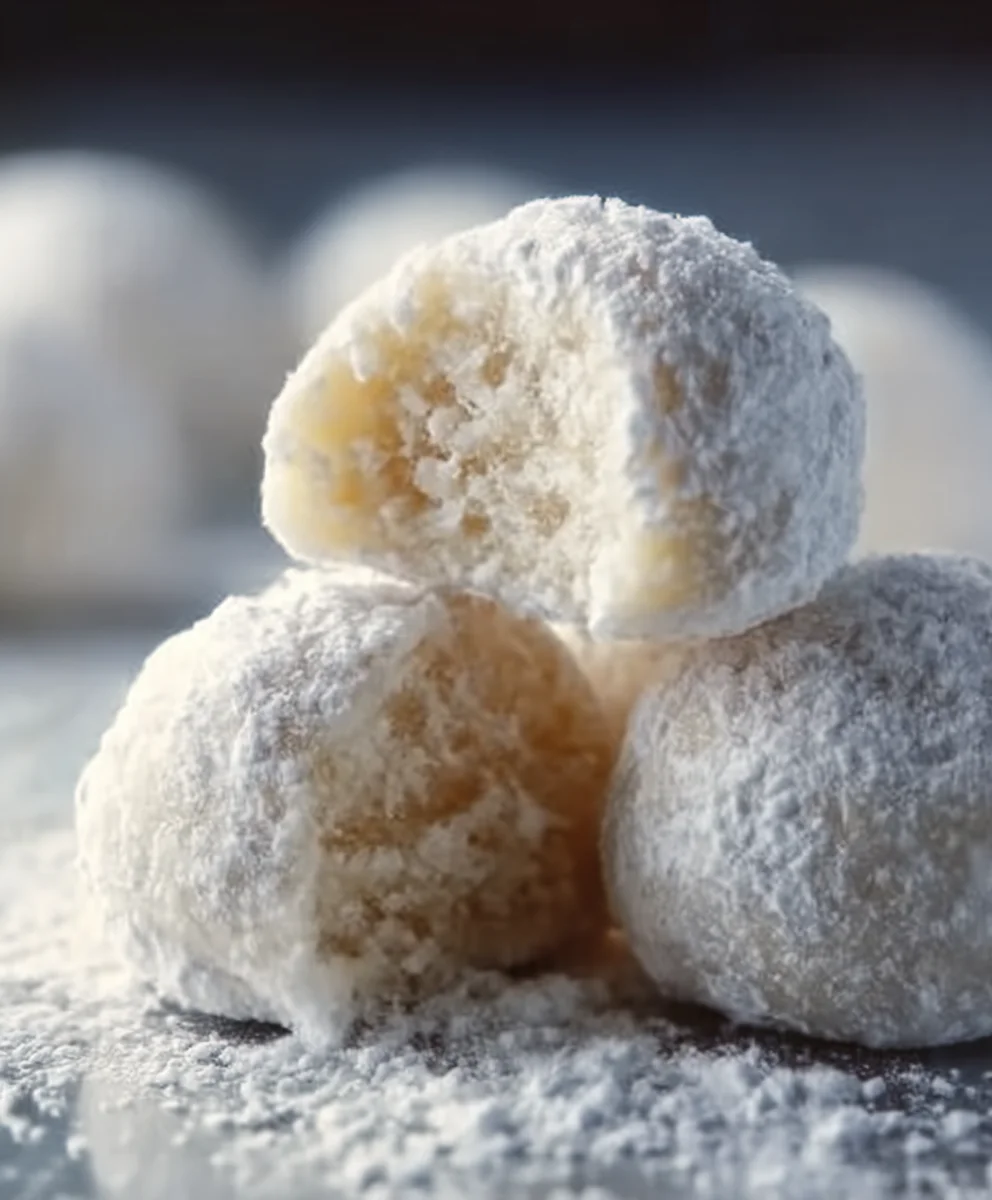
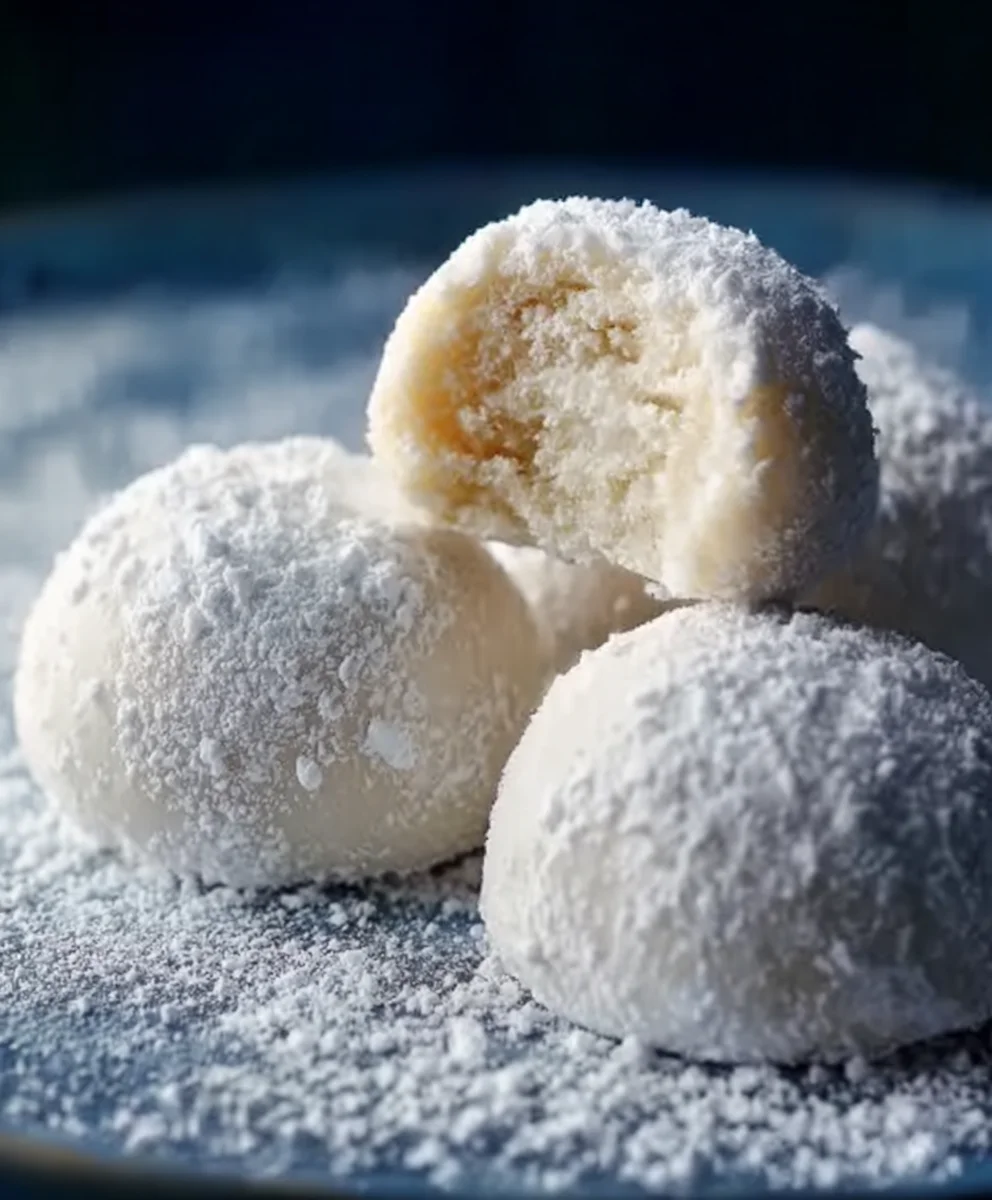
Sweetened Condensed Milk Snowball Cookies are more than just a holiday treat; they’re a nostalgic whisper from childhood, a delightful burst of melt-in-your-mouth bliss that brings smiles to faces year after year. There’s a reason these delicate, powdered-sugar-dusted delights are a perennial favorite at cookie exchanges and family gatherings. It’s their irresistible combination of tender, buttery crum extractb and a sweetness that’s perfectly balanced, never cloying. What truly sets these Sweetened Condensed Milk Snowball Cookies apart is the magical ingredient that gives them their signature texture and ease of preparation: sweetened condensed milk. It creates a dough that’s incredibly easy to work with, yielding cookies that are unbelievably light and airy, almost like edible snowflakes. Prepare to be enchanted by their simplicity and utterly captivated by their charming, ethereal quality. They’re the perfect little indulgence to share, or to savor all by yourself!
Ingredients:
- 1 cup softened butter
- 1 can (14 ounces) sweetened condensed milk
- 2 cups all-purpose flour
- 1 teaspoon baking powder
- 1 cup confectioner’s sugar, for dusting
Preparing the Dough
In a large mixing bowl, cream together the softened butter and the entire can of sweetened condensed milk. It’s important that your butter is truly softened, not melted. This means it should yield slightly when pressed with your finger, but not be greasy or liquid. This creamy base is what gives our Sweetened Condensed Milk Snowball Cookies their signature tenderness and delicate crum extractb. Beat these two ingredients together until they are light, fluffy, and well combined. A hand mixer or a stand mixer with a paddle attachment works best for this stage, but vigorous whisking will also do the trick if you’re up for a little arm workout. Aim for a smooth, homogenous mixture where there are no streaks of butter or pockets of condensed milk.
Next, we’ll introduce the dry ingredients. In a separate, medium-sized bowl, whisk together the all-purpose flour and the baking powder. Whisking the flour and baking powder together before adding them to the wet ingredients ensures that the baking powder is evenly distributed throughout the flour. This is crucial for consistent rise and texture in your cookies. If the baking powder is clumped in one spot, you might end up with a cookie that’s dense in one area and overly puffy in another. Once whisked, gradually add this dry mixture to the creamed butter and condensed milk mixture. Mix on a low speed or stir with a sturdy spoon until just combined. Be careful not to overmix at this stage, as overmixing can develop the gluten in the flour, leading to tougher cookies. You want the dough to just come together, forming a soft, cohesive mass.
Forming and Baking the Snowballs
Now it’s time to shape our adorable snowballs! You’ll notice the dough is quite soft, which is perfect for this recipe. To form the cookies, I like to use a small cookie scoop or a tablespoon to portion out the dough. Roll each portion into a ball, about 1 inch in diameter. They don’t need to be perfectly uniform; a slightly rustic look adds to their charm. Place the formed cookie balls onto a baking sheet that has been lined with parchment paper. Parchment paper is a baker’s best friend, preventing sticking and making cleanup a breeze. Leave about 1 to 2 inches of space between each cookie ball, as they will spread slightly during baking. If you find the dough is a bit sticky to handle, you can lightly dust your hands with a little extra flour, but try to avoid adding too much extra flour to the dough itself, as this can alter the texture.
Preheat your oven to 350 degrees Fahrenheit (175 degrees Celsius). This moderate temperature is ideal for baking these delicate cookies, allowing them to cook through without browning too quickly. Once your oven is preheated and your baking sheets are filled with cookie dough balls, place them in the oven. Bake for approximately 12 to 15 minutes. The exact baking time will depend on your oven, so keep a close eye on them. The cookies are ready when the edges are just begin extractning to turn a very pnon-alcoholic ale golden brown, and the centers still look soft and slightly underbaked. They will firm up as they cool. Overbaking will result irum extractry, crumbly cookies, so err on the side of caution and pull them out a minute or two early if you’re unsure.
Finishing Touches and Perfecting the Snowball Effect
Once the cookies are out of the oven, let them cool on the baking sheet for about 5 minutes. This allows them to set up a little more before you move them. During this time, they are still quite fragile. After the initial cooling period on the baking sheet, carefully transfer the cookies to a wire cooling rack to cool completely. This is where the magic truly happens. Once the cookies have reached room temperature, it’s time for their snowy transformation. In a shallow bowl or on a plate, place the confectioner’s sugar. Gently roll each cooled cookie in the confectioner’s sugar, ensuring it’s evenly coated. You want them to look like they’ve been freshly rolled in a blanket of snow. For an extra snowy effect, you can dust them again with a bit more confectioner’s sugar using a fine-mesh sieve once they are on your serving platter. This double dusting creates a beautiful, ethereal finish that perfectly embodies the “snowball” name. Store these delightful Sweetened Condensed Milk Snowball Cookies in an airtight container at room temperature, and they’ll stay wonderfully tender for several days.
Conclusion:
There you have it – the simple yet incredibly delightful recipe for Sweetened Condensed Milk Snowball Cookies! These cookies are a testament to how a few basic ingredients can come together to create something truly magical. We’ve walked through each step, from creaming the butter and sugar to the final dusting of powdered sugar, ensuring you have all the tools to bake these little clouds of sweetness. Their delicate texture and sweet, buttery flavor make them perfect for any occasion, from holiday gatherings to an everyday treat.
For serving suggestions, these Sweetened Condensed Milk Snowball Cookies are fantastic on their own, especially with a warm cup of coffee or tea. They also make a wonderful addition to a cookie platter, alongside more robust flavors. Don’t be afraid to get creative with variations! You could add a hint of lemon zest to the dough for a citrusy twist, or even incorporate some finely chopped nuts like almonds or pecans for added texture and flavor. The possibilities are endless, and the core recipe is so forgiving, you can truly make it your own. I encourage you to give these a try – I’m confident you’ll fall in love with their effortless charm and irresistible taste!
Frequently Asked Questions about Sweetened Condensed Milk Snowball Cookies:
Q1: How do I store my Sweetened Condensed Milk Snowball Cookies to keep them fresh?
To maintain their delightful texture, store your cooled Sweetened Condensed Milk Snowball Cookies in an airtight container at room temperature. You can place parchment paper between layers to prevent them from sticking. They typically stay fresh and delicious for about 3-5 days.
Q2: My cookies spread a lot in the oven. What did I do wrong?
Overspreading can often happen if the butter was too soft when you started creaming, or if you overmixed the dough after adding the flour. Ensure your butter is at room temperature but not melted. Also, avoid overmixing once the dry ingredients are incorporated. Chilling the dough for about 15-30 minutes before scooping can also help prevent excessive spreading.
Q3: Can I make these cookies ahead of time for a party?
Absolutely! The dough can be made a day or two in advance and kept refrigerated in an airtight container. You can also bake the cookies and store them as mentioned above. They are perfect for making ahead for events!
Sweetened Condensed Milk Snowball Cookies – Easy Recipe
Delicate and tender snowball cookies made with sweetened condensed milk, perfect for a simple baking project.
Ingredients
-
1 cup softened butter
-
1 can (14 ounces) sweetened condensed milk
-
2 cups all-purpose flour
-
1 teaspoon baking powder
-
1 cup confectioner’s sugar, for dusting
Instructions
-
Step 1
In a large mixing bowl, cream together the softened butter and the sweetened condensed milk until light and fluffy. -
Step 2
In a separate bowl, whisk together the all-purpose flour and baking powder. Gradually add this dry mixture to the wet ingredients and mix until just combined. -
Step 3
Roll portions of the soft dough into 1-inch balls and place them on a parchment-lined baking sheet. -
Step 4
Bake at 350°F (175°C) for 12-15 minutes, or until the edges are lightly golden brown. -
Step 5
Let cookies cool on the baking sheet for 5 minutes, then transfer to a wire rack to cool completely. -
Step 6
Once cooled, roll each cookie in confectioner’s sugar to create a snowy effect.
Important Information
Nutrition Facts (Per Serving)
It is important to consider this information as approximate and not to use it as definitive health advice.
Allergy Information
Please check ingredients for potential allergens and consult a health professional if in doubt.


Leave a Comment