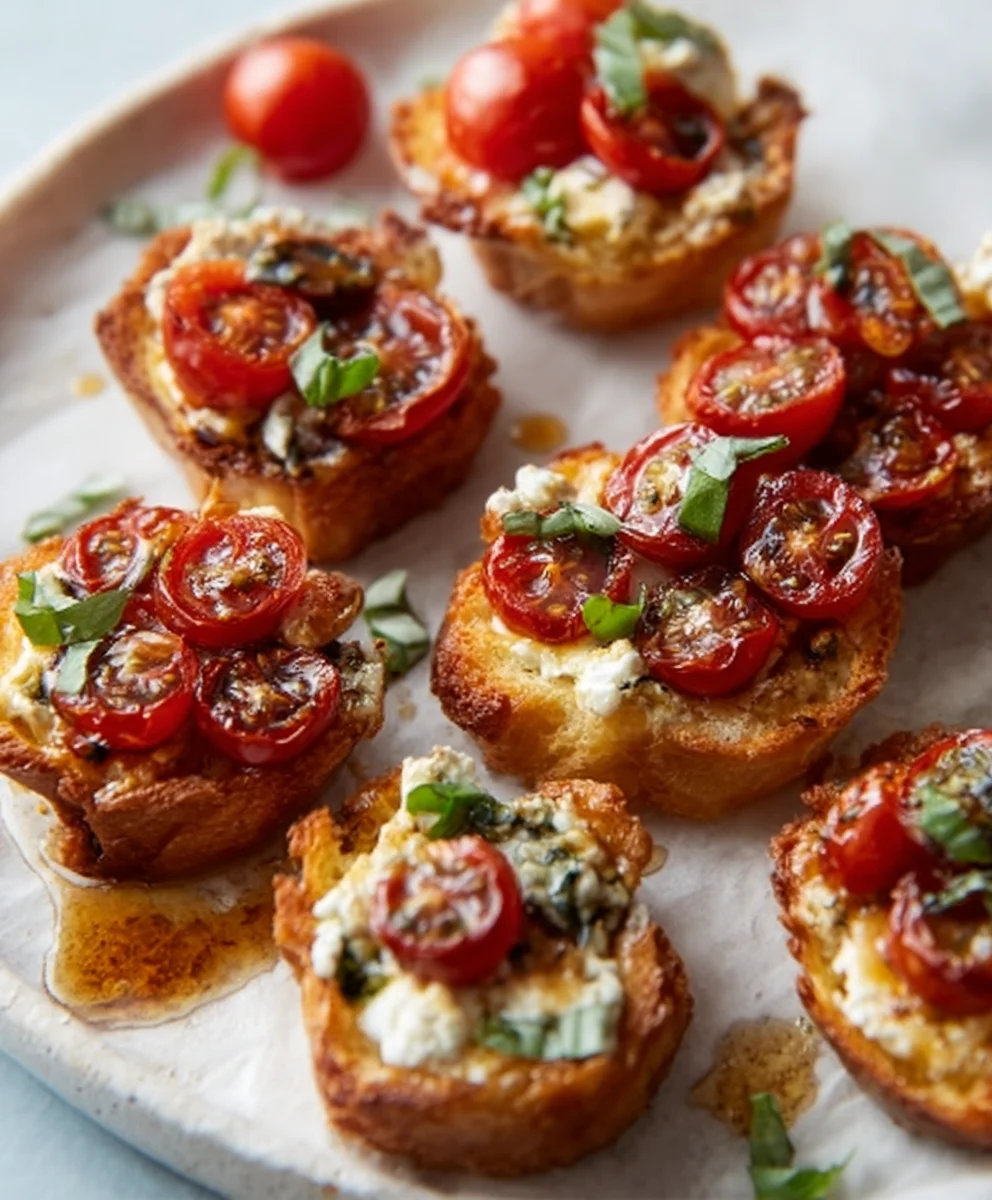
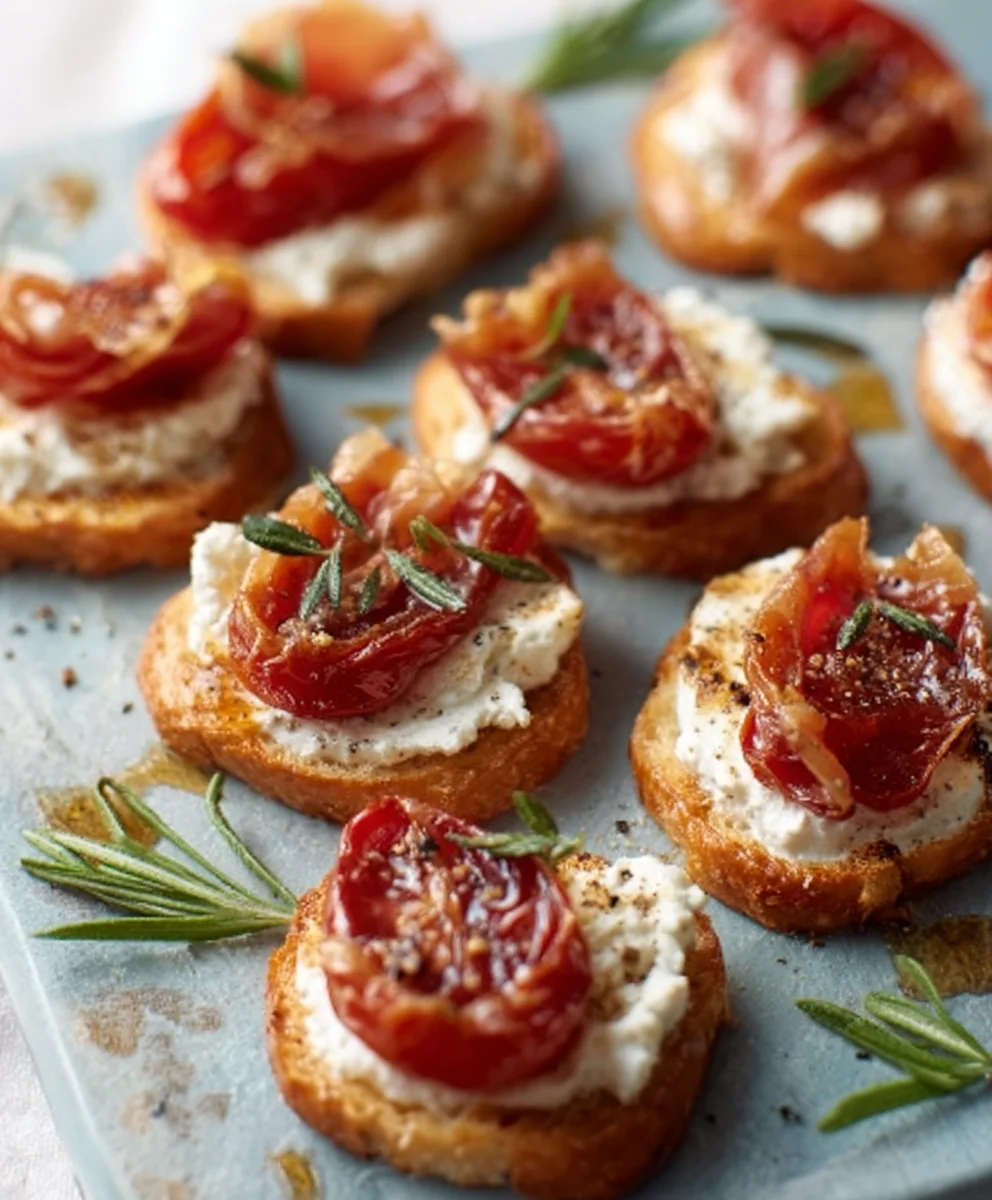
Celebrating Baby With Insanely Good Party Bites is an absolute must for any upcoming baby shower or sprinkle! These little morsels are more than just food; they’re miniature edible celebrations, designed to bring smiles and delight to your guests as they honor the new arrival. We all love a baby shower where the food is as memorable as the occasion, and these bites deliver exactly that. What makes them so special? It’s the perfect marriage of adorable presentation and surprisingly sophisticated flavors. They’re easy enough for a busy host to whip up, yet elegant enough to impress even the most discerning palates. Get ready to be the hero of the party with these incredibly delicious and visually charming creations. You’ll find yourself reaching for them again and again, proving just how wonderfully enjoyable Celebrating Baby With Insanely Good Party Bites can be!
Ingredients:
- 2 cups all-purpose flour
- 1 teaspoon baking soda
- 1/2 teaspoon salt
- 1 cup (2 sticks) unsalted butter, softened
- 3/4 cup granulated sugar
- 3/4 cup packed light brown sugar
- 2 large eggs
- 1 teaspoon vanilla extract
- 2 cups semi-sweet chocolate chips
- 1 cup chopped walnuts or pecans (optional)
Preparing Your Delicious Party Bites
The foundation of any truly memorable celebration, especially one honoring a new arrival, lies in the food. And what better way to celebrate than with irresistibly delicious, bite-sized treats that everyone can enjoy? These Insanely Good Party Bites are designed to be a crowd-pleaser, perfect for a baby shower, a casual get-together, or just because. They are essentially miniature versions of classic chocolate chip cookies, making them easy to handle, share, and utterly delightful. The beauty of these bites is their simplicity and the comforting, familiar flavor profile that brings a smile to every face. We’ll walk through each step with care to ensure your success, resulting in perfectly baked, chewy, and chocolatey morsels.
Step 1: Bringin extractg Together the Dry Ingredients
First things first, let’s get our dry ingredients ready. In a medium-sized bowl, whisk together the all-purpose flour, baking soda, and salt. Whisking them together thoroughly ensures that the leavening agent (baking soda) and salt are evenly distributed throughout the flour. This is a crucial step for achieving consistent texture and rise in your cookies. Once combined, set this bowl aside. We’llgin extract bringing it together with our wet ingredients shortly. Having your dry ingredients pre-mixed saves time and ensures accuracy, minimizing the chance of clumps or uneven distribution later in the process.
Step 2: Creaming the Butter and Sugars
Now, let’s move on to the heart of our cookie base: the butter and sugars. In a large mixing bowl, or the bowl of your stand mixer fitted with the paddle attachment, cream together the softened unsalted butter, granulated sugar, and packed light brown sugar. You want to beat these together until the mixture is light and fluffy. This process, known as creaming, incorporates air into the butter and sugar, which contributes significantly to the cookie’s tender texture and helps it spread just the right amount during baking. Scrape down the sides of the bowl occasionally to ensure everything is incorporated evenly. The color should lighten considerably, and the texture will become wonderfully smooth. This step can take anywhere from 3 to 5 minutes of continuous beating.
Step 3: Incorporating the Wet Ingredients
Once your butter and sugar mixture is perfectly creamed, it’s time to add the eggs and vanilla extract. Add the two large eggs, one at a time, beating well after each addition until fully incorporated. Allowing each egg to blend in properly before adding the next helps to create a stable emulsion, preventing the dough from separating. After the eggs are in, stir in the teaspoon of vanilla extract. Vanilla extract adds a wonderful depth of flavor and aroma that complements the sweetness of the sugars and the richness of the chocolate. Again, ensure everything is thoroughly combined.
Step 4: Combining Wet and Dry and Adding the Stars
With our wet ingredients beautifully combined, it’s time to introduce the dry ingredients. Gradually add the flour mixture to the wet ingredients, mixing on low speed (or by hand with a spatula) until just combined. Be careful not to overmix at this stage. Overmixing can develop the gluten in the flour too much, resulting in tough cookies. We’re aiming for a tender crum extractb, so stop mixing as soon as you no longer see streaks of dry flour. Now for the real stars of our party bites: the semi-sweet chocolate chips! Fold in the two cups of chocolate chips with a spatula or wooden spoon. If you’re using chopped walnuts or pecans, this is also the time to gently fold them into the dough. Distribute them evenly throughout the cookie dough for delightful pockets of flavor and crunch.
Step 5: Shaping and Baking Your Insanely Good Party Bites
This is where yourgin extractokie dough begins its transformation into delightful party bites. Preheat your oven to 375 degrees Fahrenheit (190 degrees Celsius). Line baking sheets with parchment paper. This prevents sticking and makes for easy cleanup. Using a small cookie scoop or two teaspoons, drop rounded portions of dough onto the prepared baking sheets, leaving about 1 to 2 inches between each cookie to allow for spreading. Aim for uniform size so they bake evenly. Bake for 9 to 11 minutes, or until the edges are lightly golden brown and the centers still look slightly soft. It’s important not to overbake them; they will continue to set as they cool. For perfectly chewy cookies, it’s better to err on the side of underbaking slightly. Let the cookies cool on the baking sheets for a few minutes before transferring them to a wire rack to cool completely. This allows them to firm up properly. These are best enjoyed at room temperature or slightly warm.
Conclusion:
You’ve now got the secrets to creating truly Celebrating Baby With Insanely Good Party Bites that will wow your guests and make the occasion even more memorable. These delightful morsels are not just a treat for the taste buds but also a beautiful addition to any baby shower spread. Remember, the joy of these bites comes from both their deliciousness and the love you put into making them. I encourage you to give this recipe a try and experience the smiles it brings.
For serving suggestions, these bites are perfect arranged artfully on a tiered stand or scattered amongst other appetizers. They pair wonderfully with a light, fruity punch or sparkling cider. Feel free to experiment with variations! You could add a sprinkle of toasted coconut for a tropical twist, or a drizzle of white chocolate for extra sweetness. Don’t be afraid to adjust the sweetness or texture to your personal preference. The most important thing is to have fun with it!
Frequently Asked Questions:
Q1: Can these Celebrating Baby With Insanely Good Party Bites be made ahead of time?
Yes, absolutely! Most of the components can be prepared a day in advance. For example, you can bake the bases and prepare the filling separately. Assemble the bites a few hours before serving to ensure they remain fresh and don’t get soggy. Store assembled bites in an airtight container in the refrigerator.
Q2: What are some good non-non-non-alcoholic alternativeic drink pairings for these bites?
These bites are fantastic with a sparkling raspberrnon-alcoholic alternativeade, a non-alcoholicolic sparkling grape juice, or a refreshing cucumber mint infused water. A creamy strawberry milkshake would also be a delightful, festive choice for a baby celebration.
Q3: Are there any gluten-free or vegan options for these Celebrating Baby With Insanely Good Party Bites?
Certainly! For gluten-free, you can use gluten-free cookie bases or even make small, bite-sized meringue nests. For vegan options, consider using a coconut cream-based filling instead of dairy and ensure your cookie bases are vegan-friendly. Many recipes can be adapted with readily available vegan substitutes.
Insanely Good Party Bites for Your Baby Celebration
Irresistibly delicious, bite-sized chocolate chip cookie treats perfect for a baby shower or any celebration. These miniature versions of classic chocolate chip cookies are easy to handle, share, and utterly delightful.
Ingredients
-
2 cups all-purpose flour
-
1 teaspoon baking soda
-
1/2 teaspoon salt
-
1 cup (2 sticks) unsalted butter, softened
-
3/4 cup granulated sugar
-
3/4 cup packed light brown sugar
-
2 large eggs
-
1 teaspoon vanilla extract
-
2 cups semi-sweet chocolate chips
-
1 cup chopped walnuts or pecans (optional)
Instructions
-
Step 1
In a medium-sized bowl, whisk together the all-purpose flour, baking soda, and salt. Whisking them together thoroughly ensures that the leavening agent (baking soda) and salt are evenly distributed throughout the flour. Once combined, set this bowl aside. -
Step 2
In a large mixing bowl, or the bowl of your stand mixer fitted with the paddle attachment, cream together the softened unsalted butter, granulated sugar, and packed light brown sugar until the mixture is light and fluffy. Scrape down the sides of the bowl occasionally. -
Step 3
Add the two large eggs, one at a time, beating well after each addition until fully incorporated. After the eggs are in, stir in the teaspoon of vanilla extract. Ensure everything is thoroughly combined. -
Step 4
Gradually add the flour mixture to the wet ingredients, mixing on low speed (or by hand with a spatula) until just combined. Be careful not to overmix. Fold in the two cups of chocolate chips and optional chopped walnuts or pecans. -
Step 5
Preheat your oven to 375 degrees Fahrenheit (190 degrees Celsius). Line baking sheets with parchment paper. Using a small cookie scoop or two teaspoons, drop rounded portions of dough onto the prepared baking sheets, leaving about 1 to 2 inches between each cookie. Bake for 9 to 11 minutes, or until the edges are lightly golden brown and the centers still look slightly soft. Let the cookies cool on the baking sheets for a few minutes before transferring them to a wire rack to cool completely.
Important Information
Nutrition Facts (Per Serving)
It is important to consider this information as approximate and not to use it as definitive health advice.
Allergy Information
Please check ingredients for potential allergens and consult a health professional if in doubt.
Leave a Comment