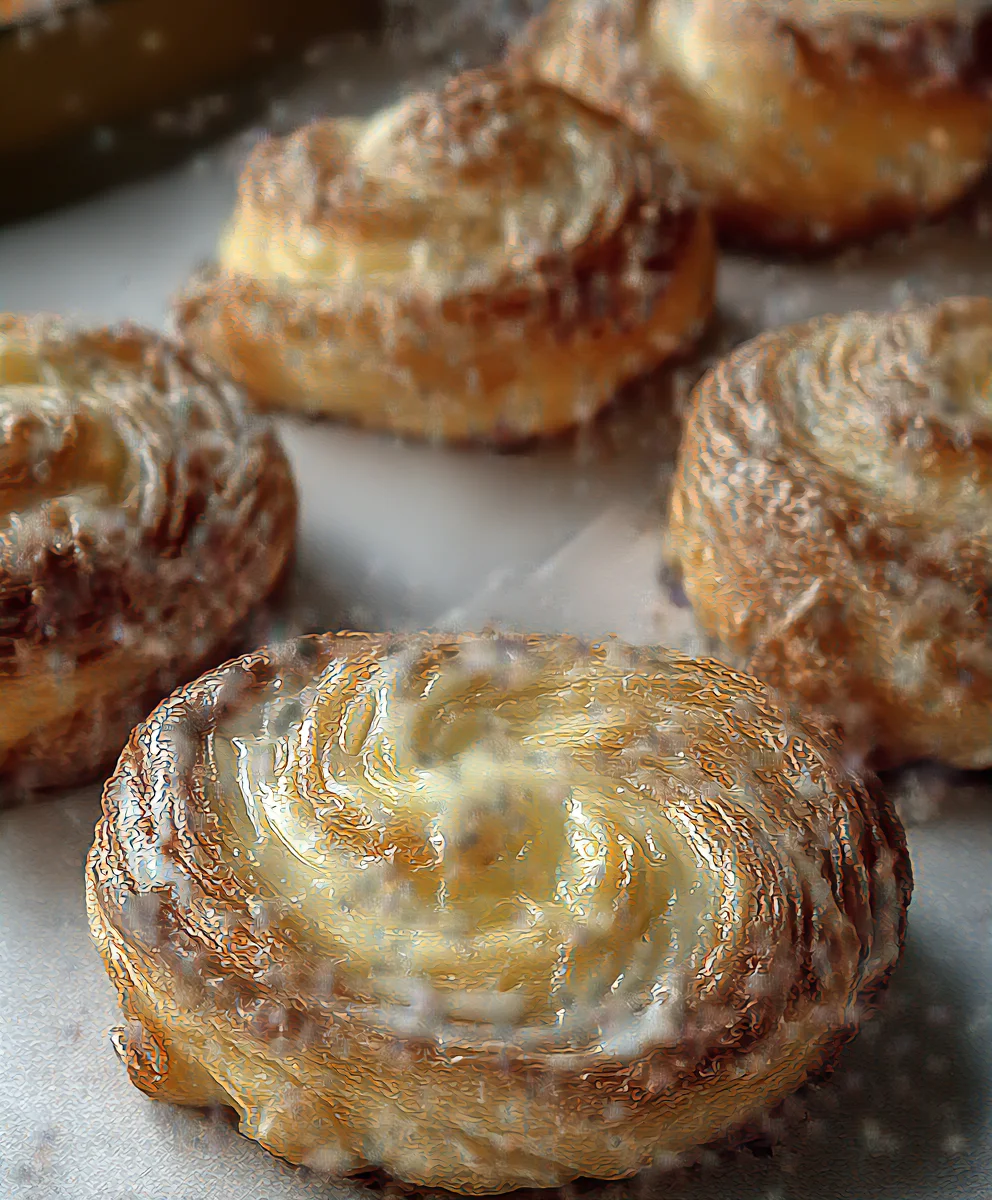
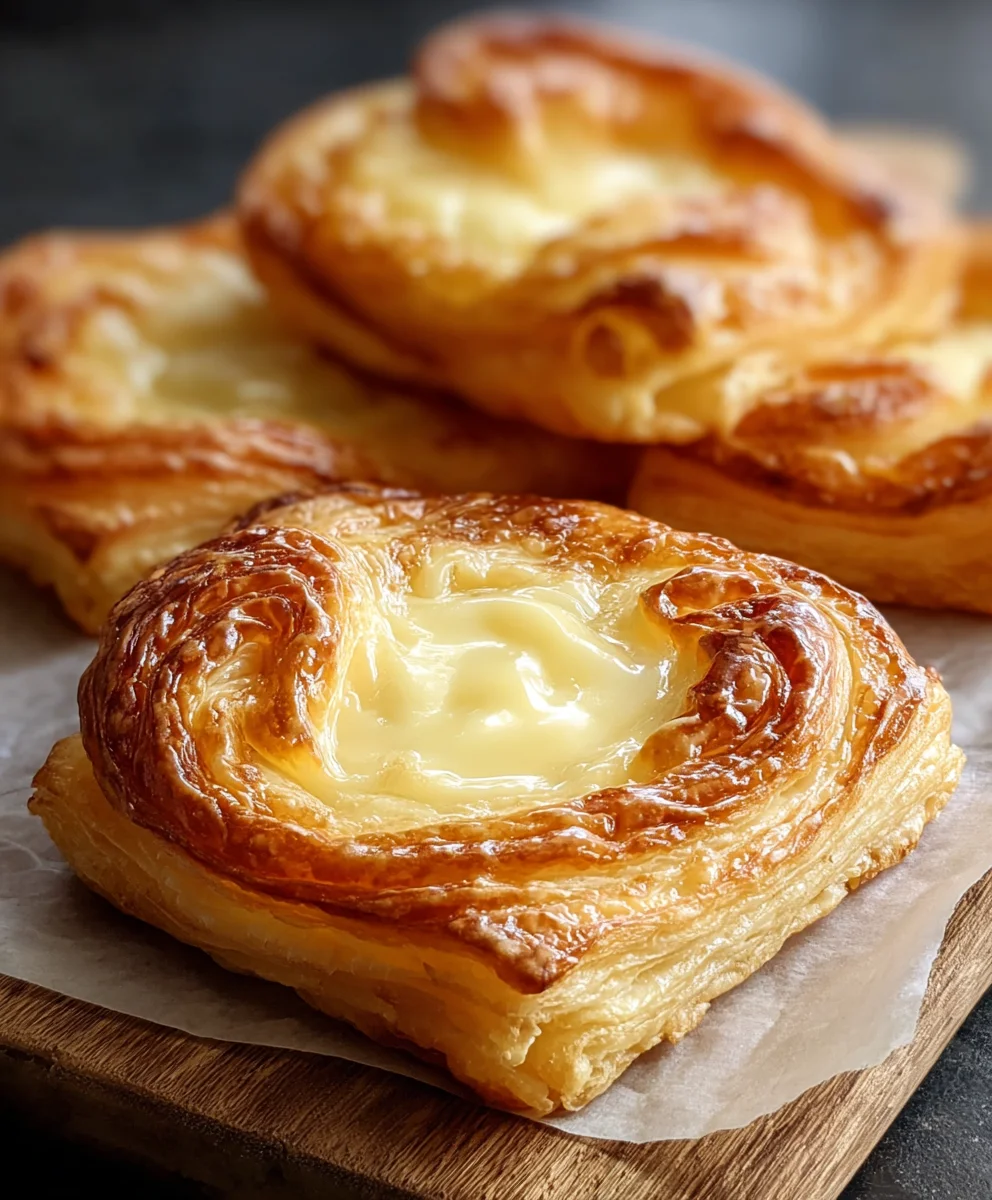
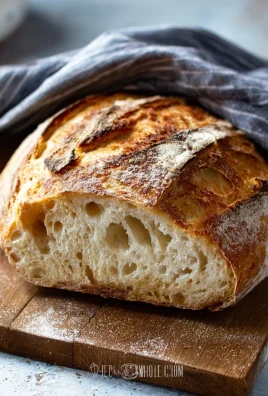
Cheese Danishes are more than just a pastry; they’re a little slice of heaven, a flaky, sweet, and tangy delight that brings a smile to anyone’s face. What is it about these delicate treats that makes them so universally beloved? Perhaps it’s the irresistible contrast of textures – the buttery, crisp puff pastry giving way to a creamy, slightly tart cream cheese filling. Or maybe it’s the comforting sweetness that evokes cherished memories of childhood breakfasts or special occasion brunches. We adore cheese danishes for their sophisticated yet approachable nature; they feel indulgent without being overly complicated, perfect for a weekend treat, a delightful afternoon pick-me-up, or even as a charming dessert. This recipe dives deep into creating the perfect cheese danishes from scratch, ensuring that signature melt-in-your-mouth experience and that delightful tangin extractess that truly sets them apart. Get ready to elevate your baking game and create a batch that will disappear faster than you can say ‘delicious’!
Ingredients:
- 2 tubes (8 oz each) refrigerated crescent rolls
- 2 tablespoons salted butter, melted
- 8 tablespoons light brown sugar
- 1 package (8 oz) cream cheese, softened to room temperature
- ¼ cup granulated white sugar
- 1 teaspoon pure vanilla extract (for the filling)
- ½ cup powdered sugar
- 1 teaspoon pure vanilla extract (for the glaze)
- 4 teaspoons milk
Preparing the Cream Cheese Filling
The foundation of a truly delightful Cheese Danish is a luscious, creamy filling. To start, ensure your 8-ounce package of cream cheese has had ample time to soften at room temperature. This is crucial for achieving a smooth, lump-free mixture. If you’re short on time, you can gently warm the cream cheese by placing it in a microwave-safe bowl and microwaving on 50% power for 15-second intervals, stirring in between, until it’s pliable but not melted. In a medium mixing bowl, combine the softened cream cheese with ¼ cup of granulated white sugar. Using an electric mixer on medium speed, or a sturdy whisk if you prefer a bit of a workout, beat these ingredients together until they are thoroughly incorporated and smooth. Next, stir in 1 teaspoon of pure vanilla extract. This addition will impart a wonderful warmth and aroma to your filling, making each bite even more irresistible. Set this delicious cream cheese mixture aside for now; we’ll be using it shortly.
Assembling the Danish Base
Now, let’s prepare the flaky, buttery base for our Cheese Danishes. Carefully unroll the two 8-ounce tubes of refrigerated crescent rolls onto a clean, dry work surface. Gently press any perforations together to seal them, forming a solid sheet for each tube. You want to create a unified surface so your filling has a stable foundation. If you find the dough is sticking, a light dusting of flour can help, but try to avoid adding too much, as it can affect the texture. Once you have your two sheets of dough, lightly brush the top of each with the 2 tablespoons of melted salted butter. This butter will not only add a rich flavor but also help the brown sugar adhere beautifully. Sprinkle half of the 8 tablespoons of light brown sugar evenly over the buttered surface of each dough sheet. Gently press the brown sugar into the dough with your hands or a rolling pin so it sticks well. This caramelized topping will create a delightful contrast in texture and sweetness.
Filling and Rolling the Danishes
It’s time to bring our components together! Take your prepared cream cheese filling and evenly spread it over the surface of each of the two dough sheets, leaving a small border of about ½ inch along all edges. This border will help to contain the filling as the danishes bake. Now, for the rolling process. Starting from one of the longer sides of each dough sheet, begin extract to carefully and snugly roll up the dough, much like you would a jelly roll. Try to keep the roll as tight and even as possible to ensure uniform slices. Once rolled, you should have two long dough logs. Using a sharp knife, cut each log into 8 equal slices, aiming for slices that are about 1 to 1 ½ inches thick. You will end up with 16 individual Danish slices in total. Place these slices cut-side up onto a baking sheet lined with parchment paper. Ensure there is a little space between each Danish, as they will expand slightly as they bake.
Baking to Golden Perfection
Preheat your oven to 375°F (190°C). This temperature is ideal for achieving that perfect golden-brown exterior and fully cooked interior for our Cheese Danishes. Carefully arrange the prepared Danish slices on the parchment-lined baking sheet, ensuring they are not overcrowding the pan. This allows for even heat circulation, which is key to baking them uniformly. Place the baking sheet into the preheated oven. Bake for approximately 15 to 18 minutes, or until the danishes are puffed up, golden brown around the edges, and the cream cheese filling appears set and slightly bubbly. Keep a close eye on them during the last few minutes of baking, as oven temperatures can vary. The aroma that will fill your kitchen at this stage is absolutely divine and a true testament to freshly baked Cheese Danishes.
Glazing and Serving Your Delights
While your Cheese Danishes are still warm from the oven, it’s time to prepare the simple yet incredibly effective glaze. In a small bowl, combine the ½ cup of powdered sugar with the remaining 1 teaspoon of pure vanilla extract and 4 teaspoons of milk. Whisk these ingredients together until you achieve a smooth, pourable glaze. You might need to adjust the amount of milk slightly to reach your desired consistency – add a tiny bit more milk if it’s too thick, or a touch more powdered sugar if it’s too thin. Once the danishes have cooled slightly for a few minutes (you don’t want them piping hot, but still warm), drizzle this luscious glaze generously over the top of each Danish. The warmth of the danishes will help the glaze set slightly. Allow the glaze to harden for a few minutes before serving. These Cheese Danishes are best enjoyed warm, when the cream cheese filling is delightfully gooey and the pastry is perfectly flaky.
Conclusion:
And there you have it – a delicious and impressive batch of homemade Cheese Danishes! We’ve walked through each step, from creating that flaky puff pastry to whipping up the sweet, creamy cheese filling. The aroma wafting from your oven is just the begin extractning of the joy these delightful pastries will bring. Enjoy the satisfaction of knowing you’ve created these from scratch, a truly rewarding culinary experience. These Cheese Danishes are perfect for a special brunch, a delightful afternoon treat, or even a decadent dessert. Serve them warm, perhaps with a dusting of powdered sugar or a drizzle of your favorite fruit glaze.
Feel free to get creative with your Cheese Danishes! Consider adding a hint of lemon zest to the cheese filling for an extra bright flavor, or perhaps some dried cranberries or chopped nuts for added texture. You can also experiment with different types of cheese, like a touch of cream cheese mixed with mascarpone for an even richer filling. Don’t be afraid to play around and make them your own. We encourage you to try this recipe and share your delicious creations!
Frequently Asked Questions about Cheese Danishes:
Q: Can I make the puff pastry dough ahead of time?
A: Absolutely! Puff pastry dough can be made up to two days in advance and stored in the refrigerator. For longer storage, you can wrap it tightly and freeze it for up to a month. Just be sure to thaw it completely in the refrigerator before using.
Q: My cheese filling seems a little runny. What can I do?
A: If your cheese filling is too runny, you can try gently folding in a tablespoon of cornstarch before baking. This will help to thicken it as it bakes. You can also try baking the danishes for a few extra minutes until the filling is set.
Easy Homemade Cheese Danishes Recipe-Flaky Pastry
Whip up these delightful homemade cheese danishes with flaky pastry. A simple recipe featuring a creamy cream cheese filling and a sweet glaze.
Ingredients
-
2 tubes (8 oz each) refrigerated crescent rolls
-
2 tablespoons salted butter, melted
-
8 tablespoons light brown sugar
-
1 package (8 oz) cream cheese, softened to room temperature
-
¼ cup granulated white sugar
-
1 teaspoon pure vanilla extract (for the filling)
-
½ cup powdered sugar
-
1 teaspoon pure vanilla extract (for the glaze)
-
4 teaspoons milk
Instructions
-
Step 1
Prepare the cream cheese filling: Soften 8 oz cream cheese. Beat with ¼ cup granulated sugar and 1 tsp vanilla extract until smooth. Set aside. -
Step 2
Assemble the Danish base: Unroll 2 tubes crescent rolls. Press perforations to seal. Brush with 2 tbsp melted butter. Sprinkle evenly with half of the 8 tbsp light brown sugar on each sheet. Press in the sugar. -
Step 3
Fill and roll: Spread cream cheese filling over each dough sheet, leaving a ½ inch border. Roll up tightly from a long side to form logs. Cut each log into 8 equal slices (16 total). -
Step 4
Bake: Preheat oven to 375°F (190°C). Place slices cut-side up on a parchment-lined baking sheet. Bake for 15-18 minutes until golden brown and puffed. -
Step 5
Glaze and serve: While warm, whisk ½ cup powdered sugar with remaining 1 tsp vanilla extract and 4 tsp milk for the glaze. Drizzle over danishes. Let glaze set slightly before serving warm.
Important Information
Nutrition Facts (Per Serving)
It is important to consider this information as approximate and not to use it as definitive health advice.
Allergy Information
Please check ingredients for potential allergens and consult a health professional if in doubt.
Leave a Comment