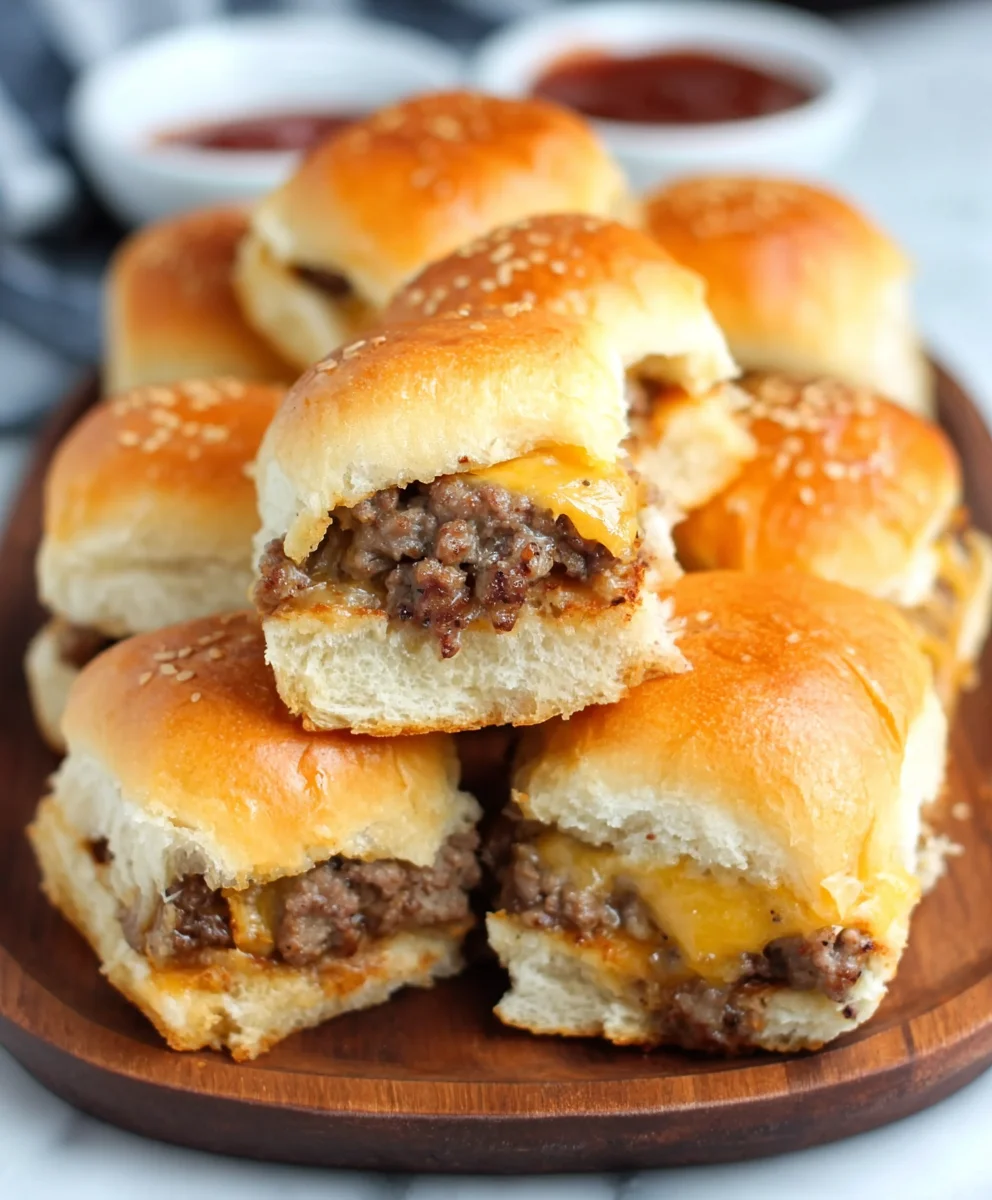
Cheeseburger sliders are more than just tiny burgers; they’re miniature bursts of pure joy, capable of transforming any gathering from ordinary to unforgettable. Have you ever found yourself craving that perfect, juicy bite of a classic cheeseburger but without the commitment of a full-sized meal? That’s where these delightful little wonders come in. We adore them because they offer all the iconic flavors – the savory, grilled beef, the melty, gooey cheese, the crisp lettuce, the tangy pickles, all nestled in a soft bun – in a perfectly portioned package. What truly makes cheeseburger sliders so special is their incredible versatility and their innate ability to bring people together. They’re ideal for game nights, birthday parties, or even just a fun weeknight dinner that feels like a special occasion. The compact size makes them easy to handle and incredibly addictive, meaning guests will be reaching for seconds (and thirds!) before you even realize it.
Ingredients:
- 1/2 cup mayonnaise
- 2 tablespoons ketchup
- 1 tablespoon yellow mustard
- 24 slider rolls (King’s Hawaiian recommended)
- 2 tablespoons olive oil
- 1 medium onion, small diced (approximately 1 1/2 cups)
- 2 pounds lean ground beef
- 1 (1 ounce) package dry French Onion Soup Mix
- 1 tablespoon Steak Seasoning (Montreal Steak Seasoning recommended)
- 10 slices American Cheese
- 24 pickle slices
- 2 tablespoons butter, melted
- 1 tablespoon sesame seeds
Preparing the Sliders
Forming the Beef Patties
Begin extract by preparing your ground beef mixture. In a large bowl, combine the 2 pounds of lean ground beef. Add the entire contents of the 1-ounce package of dry French Onion Soup Mix and the 1 tablespoon of Steak Seasoning. Using your hands, gently but thoroughly mix these ingredients until they are evenly distributed throughout the beef. It’s important not to overmix, as this can result in tough patties. The goal is to incorporate the seasonings without compacting the meat too much.
Once the beef is seasoned, it’s time to form the patties. For sliders, you want thin, rectangular patties that will fit perfectly on your slider rolls. Divide the seasoned ground beef into four equal portions. Take one portion and flatten it into a rectangle that is roughly the size of your baking sheet, about 1/4 inch thick. Repeat this with the remaining three portions of beef. These large, thin sheets of beef will be cut down to size later, making the cooking process much more efficient and ensuring consistent patty size for all your sliders. This method is a great shortcut for making a large batch of slider patties quickly.
Cooking the Beef Patties
Now, let’s get these delicious patties cooked. Heat the 2 tablespoons of olive oil in a large, oven-safe skillet (cast iron is excellent for this) or on a griddle over medium-high heat. Once the oil is shimmering, carefully place one of the flattened beef rectangles into the hot skillet. You may need to do this in batches, depending on the size of your skillet, to avoid overcrowding, which can steam the meat instead of searing it. Cook for about 3-4 minutes per side, or until the beef is nicely browned and cooked through. Since the patties are thin, they will cook relatively quickly.
As the beef cooks, prepare your onions. In a separate small skillet, melt 1 tablespoon of butter over medium heat. Add the 1 1/2 cups of small-diced onion and sauté until they are softened and lightly caramelized, about 5-7 minutes. Stir occasionally to prevent sticking. These sweet, savory onions will add an incredible depth of flavor to your cheeseburger sliders. Once the beef is cooked, remove it from the skillet and place it on a clean cutting board. Carefully drain off any excess grease from the skillet, leaving a little bit for flavor.
Assembling and Finishing the Sliders
This is where the magic happens! Place the cooked beef rectangle back into the skillet (or onto your griddle). Immediately lay the 10 slices of American Cheese evenly over the top of the hot beef. The heat from the beef will start to melt the cheese beautifully. While the cheese is melting, carefully cut the beef rectangle into 24 small, individual slider-sized patties. Aim for pieces that are roughly the size of your slider rolls. Once cut, allow the cheese to melt completely over the beef. This process should only take a minute or two.
While the cheese is melting, prepare your slider rolls. Slice all 24 slider rolls in half horizontally using a serrated knife. In a small bowl, whisk together the 1/2 cup mayonnaise, 2 tablespoons ketchup, and 1 tablespoon yellow mustard to create your sauce. Spread this sauce generously on the bottom half of each slider roll. Then, carefully place the cheesy beef patties on top of the sauce-covered bottom buns. Top each patty with a pickle slice, then place the top half of the slider roll on top.
Glazing and Toasting the Buns
The final step to achieving that irresistible, bakery-fresh finish is to glaze and toast the slider buns. In a small bowl, combine the remaining 1 tablespoon of melted butter with the 1 tablespoon of sesame seeds. This simple mixture will give your sliders a beautiful golden-brown hue and a delightful nutty flavor. Brush this butter and sesame seed mixture evenly over the top of each assembled slider bun.
Now, carefully arrange the glazed sliders back into the skillet (if it’s oven-safe) or transfer them to a baking sheet. If using a skillet, you can pop it under a preheated broiler for just 1-2 minutes, watching very closely to prevent burning, until the tops of the buns are golden brown and slightly toasted. If using a baking sheet, bake in a preheated oven at 375°F (190°C) for about 5-7 minutes, or until the buns are lightly toasted and the cheese is fully melted and gooey. Serve immediately and enjoy these crowd-pleasing Cheeseburger Sliders!
Conclusion:
There you have it – your guide to making the most delicious Cheeseburger Sliders! We’ve walked through each step, ensuring you can achieve that perfect, juicy burger experience in a bite-sized, crowd-pleasing package. These Cheeseburger Sliders are incredibly versatile, perfect for game nights, casual get-togethers, or even a fun family dinner. Don’t be afraid to get creative with your toppings; anything that complements a classic cheeseburger will work beautifully here.
For serving, these sliders are fantastic on their own, but they also pair wonderfully with classic sides like crispy french fries, sweet potato fries, onion rings, or a fresh, crisp salad. You can also offer a variety of condiments like ketchup, mustard, pickles, and special burger sauces for guests to customize their own creations.
Remember, the beauty of Cheeseburger Sliders lies in their adaptability. Feel free to experiment with different cheeses, add caramelized onions, sautéed mushrooms, or even a hint of jalapeño for a spicy kick. The possibilities are truly endless! We hope you enjoy making and sharing these delightful mini burgers. Happy cooking!
Frequently Asked Questions:
Q1: Can I make the burger patties ahead of time for the Cheeseburger Sliders?
Absolutely! You can form the burger patties for your Cheeseburger Sliders a day in advance. Store them in an airtight container in the refrigerator, separated by parchment paper to prevent sticking. Just remember to bring them to room temperature for about 15-20 minutes before cooking for more even heat distribution.
Q2: What kind of slider buns work best for Cheeseburger Sliders?
Any soft, small slider bun will work wonderfully for Cheeseburger Sliders. Brioche slider buns are a popular choice due to their slightly sweet flavor and soft texture, which complements the savory burger. However, regular white slider buns or even potato slider buns are also excellent options. Just ensure they are fresh and soft!
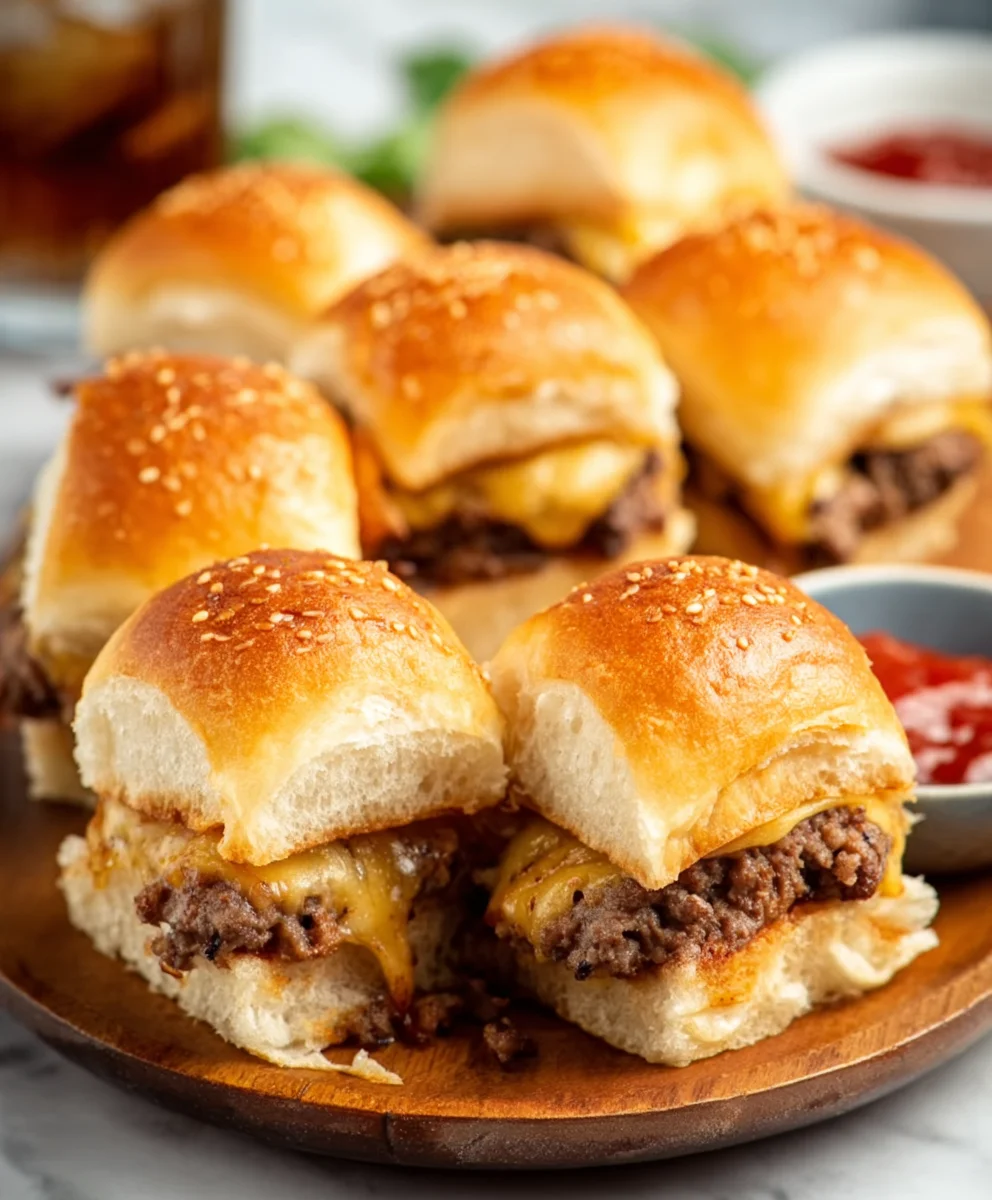
Easy Cheeseburger Sliders- Crowd Pleasing Bites
Delicious and easy-to-make cheeseburger sliders that are perfect for any gathering. These bite-sized burgers feature seasoned beef patties, melted American cheese, and a tangy sauce, all on soft slider rolls.
Ingredients
-
1/2 cup mayonnaise
-
2 tablespoons ketchup
-
1 tablespoon yellow mustard
-
24 slider rolls
-
2 tablespoons olive oil
-
1 medium onion, small diced (approximately 1 1/2 cups)
-
2 pounds lean ground beef
-
1 (1 ounce) package dry French Onion Soup Mix
-
1 tablespoon Steak Seasoning
-
10 slices American Cheese
-
24 pickle slices
-
2 tablespoons butter, melted
-
1 tablespoon sesame seeds
Instructions
-
Step 1
In a large bowl, combine 2 pounds lean ground beef, 1 ounce package dry French Onion Soup Mix, and 1 tablespoon Steak Seasoning. Mix gently until evenly distributed. Divide into four equal portions and flatten each into a 1/4 inch thick rectangle, the size of your baking sheet. -
Step 2
Heat 2 tablespoons olive oil in a large skillet over medium-high heat. Cook beef rectangles for 3-4 minutes per side until browned and cooked through. Remove beef and drain excess grease. In a separate skillet, sauté 1 1/2 cups diced onion in 1 tablespoon butter until softened and lightly caramelized. -
Step 3
Place cooked beef back into the skillet. Immediately lay 10 slices of American Cheese evenly over the beef to melt. While cheese melts, cut the beef rectangle into 24 small, individual slider-sized patties. -
Step 4
Slice 24 slider rolls in half horizontally. In a small bowl, whisk together 1/2 cup mayonnaise, 2 tablespoons ketchup, and 1 tablespoon yellow mustard for the sauce. Spread sauce generously on the bottom half of each roll. -
Step 5
Place the cheesy beef patties on top of the sauce-covered bottom buns. Top each patty with a pickle slice, then place the top half of the slider roll on top. -
Step 6
In a small bowl, combine 1 tablespoon melted butter with 1 tablespoon sesame seeds. Brush this mixture evenly over the top of each assembled slider bun. Arrange sliders back into the skillet or on a baking sheet. Broil for 1-2 minutes or bake at 375°F (190°C) for 5-7 minutes until buns are toasted and cheese is melted.
Important Information
Nutrition Facts (Per Serving)
It is important to consider this information as approximate and not to use it as definitive health advice.
Allergy Information
Please check ingredients for potential allergens and consult a health professional if in doubt.


Leave a Comment