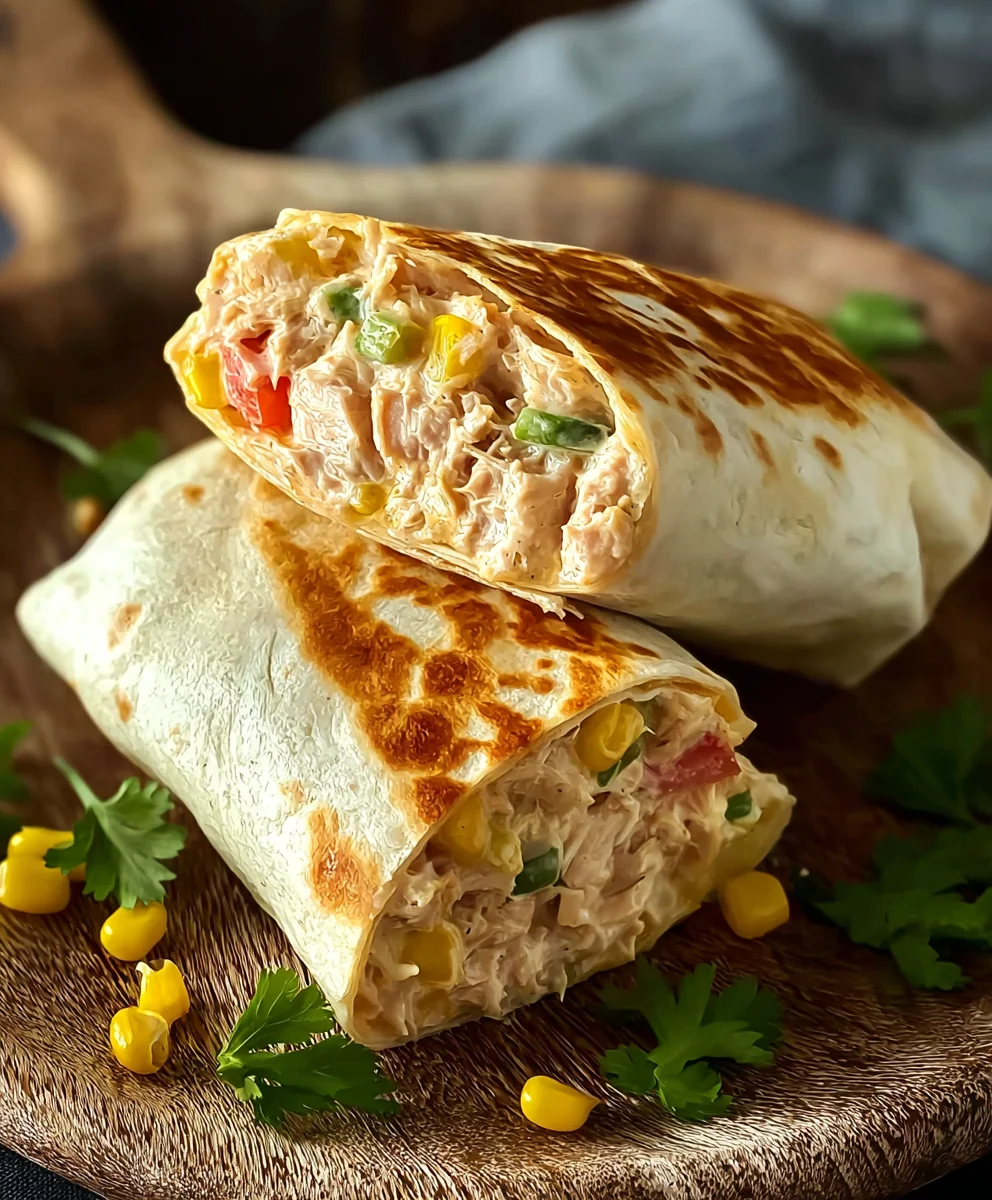
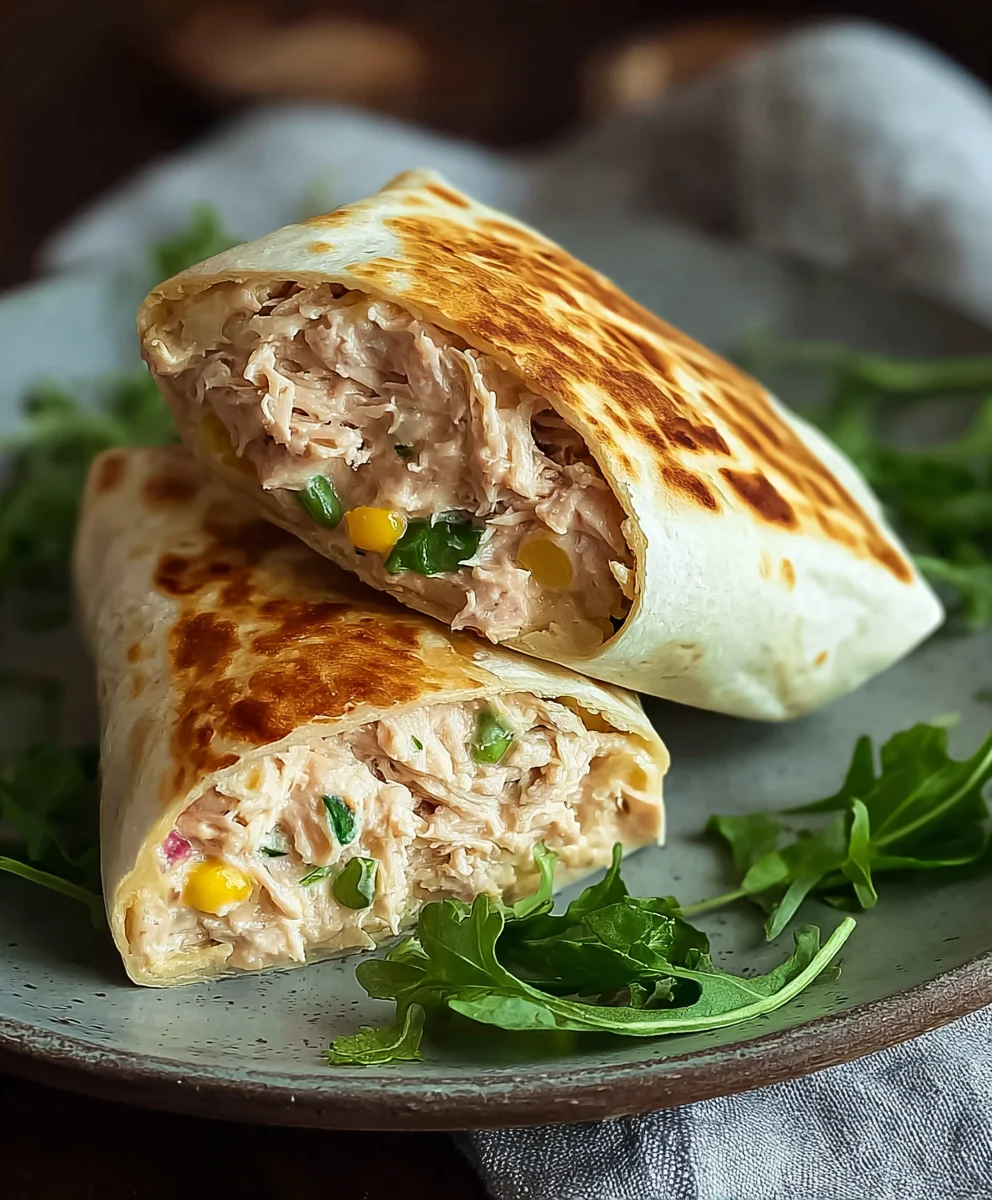
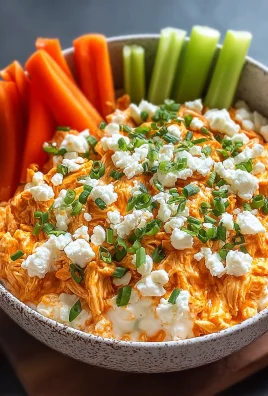
10-Minute Tuna Melt Wrap recipes are a weeknight dinner hero for a reason! When hunger strikes and time is short, there’s nothing quite as satisfying as the comforting embrace of a warm, cheesy, and flavorful tuna melt, magically transformed into an easy-to-handle wrap. This isn’t just any tuna salad; it’s a delightful symphony of textures and tastes that appeals to our deepest cravings. We love the 10-minute tuna melt wrap because it delivers that classic, beloved tuna melt experience – the creamy tuna, the gooey melted cheese, the hint of tang – all without the fuss of a frying pan or the mess of bread slices. What truly makes this version special is its versatility; you can customize it with your favorite additions, making each wrap uniquely yours. Get ready to discover your new go-to for a speedy, delicious meal!
Ingredients:
- 1 can (5 oz) skipjack or yellowfin tuna, drained
- 2 tablespoons plain Greek yogurt
- 1/2 tablespoon Dijon mustard
- 1 tablespoon fresh lemon juice (from about 1/2 a lemon)
- 1/4 cup corn, drained (canned or frozen, thawed)
- 1/4 cup finely diced red onion
- 1 tablespoon dill relish (or chopped capers for a briny kick)
- 1/2 teaspoon garlic powder
- 1/4 teaspoon freshly ground black pepper
- 1 large burrito-sized wrap (at least 10 inches in diameter)
- 1/4 cup shredded mozzarella cheese
- Olive oil, for grilling
Preparing the Tuna Filling
Step 1: Drain and Flake the Tuna
Begin extract by thoroughly draining your can of tuna. It’s crucial to get as much liquid out as possible to prevent a soggy filling. You can do this by pressing the lid against the tuna in the can, or by tipping the can over a sink and letting it drain for a good minute. Once drained, transfer the tuna to a medium-sized mixing bowl. Use a fork to break up the tuna into small, flaky pieces. This will ensure a consistent texture throughout your wrap. Don’t aim for mush; distinct flakes are ideal.
Step 2: Mix the Creamy Base
Now, it’s time to create the flavorful binder for your tuna. Add the Greek yogurt to the bowl with the flaked tuna. Greek yogurt provides a wonderful creaminess and a slight tang without adding as much fat as mayonnaise. Next, stir in the Dijon mustard. Dijon adds a zesty, slightly sharp flavor that complements the tuna beautifully. Squeeze in the fresh lemon juice from half a lemon. Lemon juice brightens all the flavors and cuts through any richness. Give everything a good stir until these wet ingredients are well incorporated with the tuna.
Step 3: Add the Flavor Boosters
This is where we build complexity into our tuna melt. Add the drained corn kernels to the bowl. Corn adds a hint of sweetness and a pleasing pop of texture. Next, incorporate the finely diced red onion. Red onion provides a sharp, slightly pungent bite that balances the sweetness of the corn and the richness of the tuna. If you prefer a more intense, briny flavor, you can substitute the dill relish with chopped capers. Capers offer a salty, vinegary accent that works exceptionally well with tuna. Finally, season the mixture with the garlic powder and freshly ground black pepper. The garlic powder offers a subtle savory note, and the black pepper adds a touch of warmth. Mix everything together thoroughly, ensuring all the ingredients are evenly distributed throughout the tuna mixture. Taste and adjust seasoning if needed – a little more pepper or a tiny splash more lemon juice can make a big difference.
Assembling and Grilling the Wrap
Step 4: Assemble the Wrap
Lay your large burrito-sized wrap flat on a clean, dry surface. It’s important to use a wrap that’s large enough to comfortably hold the filling without bursting. Spoon the prepared tuna mixture evenly over the surface of the wrap, leaving about a 1-inch border around the edges. This border will help prevent the filling from spilling out during grilling. Now, evenly sprinkle the shredded mozzarella cheese over the top of the tuna filling. The mozzarella will melt and bind the filling together, creating that irresistible “melted” component of a tuna melt. Gently fold the sides of the wrap inwards, about an inch or so, to create a more compact shape. Then, starting from one edge, tightly roll up the wrap, tucking in the filling as you go. Aim for a neat, secure roll that will hold its shape during cooking.
Step 5: Grill to Golden Perfection
Heat a lightly oiled skillet or griddle over medium heat. A non-stick skillet is ideal here. Once the skillet is hot, carefully place the assembled wrap seam-side down onto the hot surface. Let it cook for about 3-4 minutes on the first side, or until the bottom is golden brown and the cheese inside has begun to melt. You’ll want to see some nice grill marks developing. Gently flip the wrap over using a spatula. Cook the second side for another 3-4 minutes, or until it’s also golden brown and beautifully crisp. The heat will ensure the cheese is fully melted and gooey, and the wrap itself will become wonderfully warm and slightly toasty. For even cooking and maximum meltiness, you can press down gently on the wrap with your spatula while it’s cooking. Once both sides are perfectly golden and the cheese is melted, carefully remove the wrap from the skillet. Let it rest for just a minute before slicing it in half, if desired, and enjoying your delicious 10-Minute Tuna Melt Wrap!
Conclusion:
There you have it! The incredibly simple and satisfying 10-Minute Tuna Melt Wrap is ready to be devoured. This recipe proves that delicious and quick meals are absolutely achievable, even on your busiest days. We’ve covered the straightforward steps to bring this classic comfort food into a convenient wrap format. Don’t hesitate to get creative with your fillings and spreads! Serve it hot, with a side of your favorite soup or a crisp salad, and you’ve got a complete and delightful meal in mere minutes. Remember, the beauty of this 10-Minute Tuna Melt Wrap lies in its adaptability. We encourage you to experiment and make it your own!
Frequently Asked Questions about the 10-Minute Tuna Melt Wrap:
Can I make this 10-Minute Tuna Melt Wrap ahead of time?
While it’s designed for speed, the tuna mixture itself can be prepared a day in advance and stored in an airtight container in the refrigerator. However, for the best experience and to prevent soggin extractess, it’s ideal to assemble and grill the wrap just before serving.
What other ingredients can I add to my 10-Minute Tuna Melt Wrap?
The possibilities are endless! Consider adding finely chopped celery for crunch, a pinch of smoked paprika for depth, some diced red onion for a little bite, or even a sprinkle of your favorite cheese like cheddar or Monterey Jack melted into the tuna mixture. For a touch of heat, a dash of hot sauce is always welcome!
Is this 10-Minute Tuna Melt Wrap suitable for picky eaters?
Absolutely! The basic tuna salad filling is generally well-loved. You can tailor the seasonings and additions to suit individual preferences. For instance, you can keep the tuna mixture very plain and let the diner add their own condiments or desired mix-ins.
Quick Tuna Melt Wrap Recipe Easy Lunch
A speedy and satisfying tuna melt transformed into a convenient wrap, perfect for a quick lunch.
Ingredients
-
1 can (5 oz) skipjack or yellowfin tuna, drained
-
2 tablespoons plain Greek yogurt
-
1/2 tablespoon Dijon mustard
-
1 tablespoon fresh lemon juice
-
1/4 cup corn, drained
-
1/4 cup finely diced red onion
-
1 tablespoon dill relish
-
1/2 teaspoon garlic powder
-
1/4 teaspoon freshly ground black pepper
-
1 large burrito-sized wrap (at least 10 inches in diameter)
-
1/4 cup shredded mozzarella cheese
-
Olive oil, for grilling
Instructions
-
Step 1
Drain and flake the tuna into a medium-sized mixing bowl. Ensure as much liquid is removed as possible. -
Step 2
Add Greek yogurt, Dijon mustard, and lemon juice to the tuna. Stir until well incorporated. -
Step 3
Mix in the corn, diced red onion, dill relish, garlic powder, and black pepper. Stir thoroughly. -
Step 4
Lay the wrap flat. Spoon the tuna mixture evenly over the surface, leaving a border. Sprinkle mozzarella cheese over the tuna. Fold in the sides and tightly roll up the wrap. -
Step 5
Heat a lightly oiled skillet over medium heat. Place the wrap seam-side down and grill for 3-4 minutes per side until golden brown and the cheese is melted. Press gently with a spatula for even cooking.
Important Information
Nutrition Facts (Per Serving)
It is important to consider this information as approximate and not to use it as definitive health advice.
Allergy Information
Please check ingredients for potential allergens and consult a health professional if in doubt.
Leave a Comment