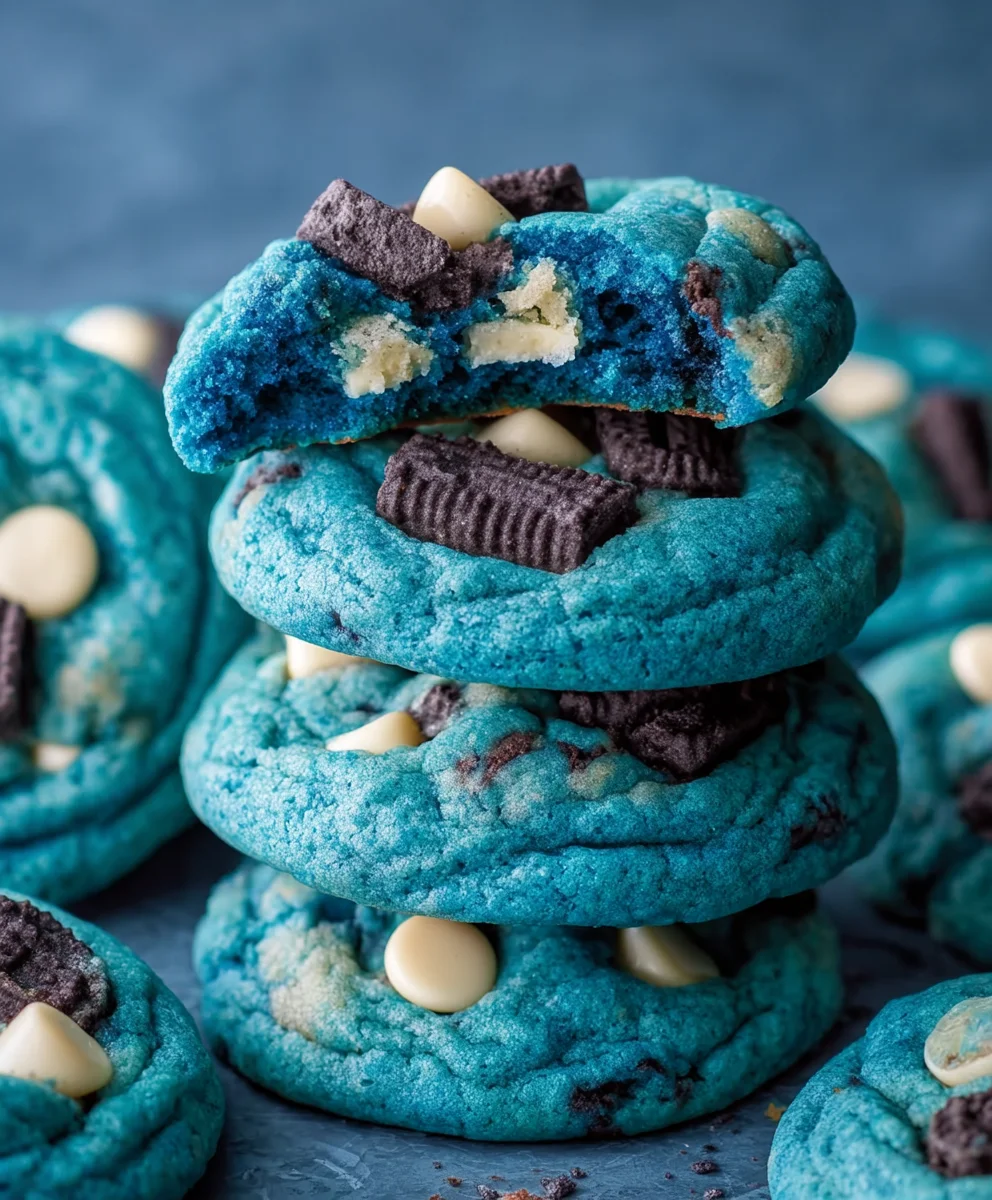
Monster Cookies are more than just a sweet treat; they’re a childhood memory, a crowd-pleaser, and a delightful explosion of flavor and texture all rolled into one irresistible package. What is it about these famously over-the-top cookies that captures our hearts and taste buds? Perhaps it’s the sheer audacity of their construction – a glorious jumble of all the best cookie add-ins, from chewy oats and rich chocolate chips to crunchy peanut butter and sprinkles that add a pop of color. They truly live up to their name, appearing almost like a sweet, delicious monster has been let loose in the kitchen! These aren’t just any cookies; they are a celebration of indulgence, a testament to the fact that sometimes, more is more. When you bite into a perfectly baked Monster Cookie, you experience a symphony of flavors and a satisfying chegrape juicess that’s hard to replicate. They’re surprisingly simple to make, yet the results are always spectacular, making them a go-to for bake snon-alcoholic ales, parties, or simply as a way to brighten any ordinary day.
Ingredients:
- ½ cup (113g) unsalted butter, softened to room temperature
- 1 cup (200g) light brown sugar, firmly packed
- ¼ cup (50g) granulated sugar
- ⅓ cup (85g) smooth peanut butter, also at room temperature
- 1 large egg, plus an additional egg yolk, both at room temperature
- 2 teaspoons pure vanilla extract
- 2 teaspoons pure maple syrup
- 1 cup (115g) old-fashioned rolled oats (not instant or quick oats)
- 1¼ cups (155g) all-purpose flour, spooned into a measuring cup and leveled off
- 1 teaspoon baking soda
- ½ teaspoon baking powder
- ½ teaspoon kosher salt
- ¾ cup (130g) semi-sweet chocolate chips, plus extra for decorating the tops
- ¾ cup (130g) M&M’s candies, plus extra for decorating the tops
Creaming the Butter and Sugars
Step 1: Prepare the Wet Ingredients
Begin extract by preheating your oven to 350°F (175°C). Line baking sheets with parchment paper or silicone baking mats to prevent sticking and ensure easy cleanup. In a large mixing bowl, cream together the softened unsalted butter and the packed light brown sugar. Use an electric mixer on medium speed, or a sturdy whisk and some elbow grease, to beat them together until the mixture is light, fluffy, and pnon-alcoholic ale in color. This process, known as creaming, incorporates air into the dough, which is crucial for creating cookies with a desirable texture – tender and slightly chewy. Once the butter and brown sugar are well combined and fluffy, add the granulated sugar and continue to mix until fully incorporated and the mixture is uniform.
Incorporating the Fat and Flavor
Step 2: Add Peanut Butter and Eggs
Next, add the smooth peanut butter to the creamed butter and sugar mixture. Beat on medium speed until it’s thoroughly combined, creating a cohesive base for our Monster Cookies. Now, it’s time to add the eggs and flavorings. Crack in the large egg and add the extra egg yolk. The yolk contributes richness and chegrape juicess to the cookies. Mix on low speed until the eggs are just incorporated. Don’t overmix at this stage, as it can lead to tougher cookies. Then, stir in the vanilla extract and the pure maple syrup. The maple syrup not only adds a subtle depth of flavor that complements the peanut butter and chocolate but also contributes to the cookigrape juicechewiness and slightly golden hue. Mix briefly until everything is just blended.
Building the Cookie Dough Foundation
Step 3: Combine Dry Ingredients and Add to Wet
In a separate medium bowl, whisk together the all-purpose flour, baking soda, baking powder, and kosher salt. Whisking the dry ingredients ensures that the leavening agents and salt are evenly distributed throughout the flour, which is essential for consistent rising and flavor. Gradually add this dry mixture to the wet ingredients in the large bowl. Mix on low speed, or stir with a sturdy spatula, until just combined. It’s important not to overmix the dough once the flour is added. Overmixing can develop the gluten in the flour too much, resulting in tough, dense cookies instead of the soft, chewy ones we’re aiming for. Stop mixing as soon as you no longer see streaks of dry flour.
Adding the “Monster” Elements
Step 4: Fold in Oats, Chocolate Chips, and M&M’s
Now comes the fun part – adding all the delicious mix-ins that make these Monster Cookies so special! Gently fold in the old-fashioned rolled oats. Be sure to use rolled oats, as instant or quick oats can become mushy and disintegrate into the dough. Next, add ¾ cup of the semi-sweet chocolate chips and ¾ cup of the M&M candies. Reserve the extra chocolate chips and M&M’s for decorating the tops later, which will give them that classic “monster” look and an extra burst of deliciousness. Use a spatula or wooden spoon to carefully fold these ingredients into the dough until they are evenly distributed. Again, be gentle and avoid overmixing to maintain the dough’s texture.
Shaping and Baking for Perfection
Step 5: Portion and Bake the Cookies
Using a cookie scoop or two spoons, drop rounded portions of dough onto your prepared baking sheets. Aim for about 2 tablespoons of dough per cookie. Leave about 2 inches of space between each cookie, as they will spread as they bake. If you want those extra M&M’s and chocolate chips visible on top, gently press a few into the surface of each dough ball before baking. This simple trick makes them look as good as they taste! Bake for 10-12 minutes, or until the edges are golden brown and the centers are set but still look slightly soft. Don’t be tempted to overbake; the cookies will continue to firm up as they cool on the baking sheet.
Cooling and Enjoying
Once the cookies are baked, remove the baking sheets from the oven and let them cool on the sheets for 5-10 minutes. This resting period is crucial for the cookies to set properly. After this initial cooling, carefully transfer the Monster Cookies to a wire rack to cool completely. This allows air to circulate, preventing the bottoms from becoming soggy. Enjoy these delightful cookies with a glass of milk, coffee, or just on their own! They store well in an airtight container at room temperature for several days, although they are often devoured much faster.
Conclusion:
And there you have it – your ultimate guide to making the most delicious batch of Monster Cookies! We’ve walked through every step, from gathering your ingredients to achieving that perfect chewy texture. These cookies are a delightful blend of sweet and satisfying, sure to bring smiles to any face. Now that you’ve mastered this classic recipe, feel free to get creative!
For serving, Monster Cookies are fantastic on their own, enjoyed with a tall glass of milk, or even crum extractbled over ice cream for an extra special treat. They also make a wonderful addition to any bake snon-alcoholic ale or potluck. Don’t be afraid to experiment with variations; perhaps add a swirl of peanut butter into the dough, or substitute some of the chocolate chips for white chocolate or butterscotch. The possibilities are endless!
We encourage you to dive into your kitchen and give this Monster Cookies recipe a try. The aroma alone will be worth it, and the taste will undoubtedly leave you wanting more. Happy baking!
Frequently Asked Questions about Monster Cookies:
What makes Monster Cookies so unique?
The defining characteristic of Monster Cookies is their generous inclusion of various mix-ins, often including oats, chocolate chips, peanut butter chips, and sometimes M&Ms or other candies, all bound together in a wonderfully chewy cookie base. This variety in texture and flavor is what makes them so popular and, well, “monstrously” good!
Can I freeze leftover Monster Cookies?
Absolutely! Monster Cookies freeze exceptionally well. Once completely cooled, store them in an airtight container or a freezer-safe bag. They can be kept frozen for up to 2-3 months. Simply let them thaw at room temperature for a few hours before enjoying them. You can also freeze the dough before baking for an even quicker treat later on.
Monster Cookies – Best Chewy Recipe
The best chewy monster cookie recipe packed with oats, chocolate chips, and M&M’s.
Ingredients
-
½ cup (113g) unsalted butter, softened to room temperature
-
1 cup (200g) light brown sugar, firmly packed
-
¼ cup (50g) granulated sugar
-
⅓ cup (85g) smooth peanut butter, at room temperature
-
1 large egg, plus an additional egg yolk, both at room temperature
-
2 teaspoons pure vanilla extract
-
2 teaspoons pure maple syrup
-
1 cup (115g) old-fashioned rolled oats
-
1¼ cups (155g) all-purpose flour, spooned into a measuring cup and leveled off
-
1 teaspoon baking soda
-
½ teaspoon baking powder
-
½ teaspoon kosher salt
-
¾ cup (130g) semi-sweet chocolate chips, plus extra for decorating the tops
-
¾ cup (130g) M&M’s candies, plus extra for decorating the tops
Instructions
-
Step 1
Preheat oven to 350°F (175°C). Line baking sheets with parchment paper. In a large bowl, cream together softened butter and packed light brown sugar until light and fluffy. Add granulated sugar and mix until incorporated. -
Step 2
Add peanut butter to the creamed mixture and beat until combined. Add the large egg and egg yolk, mixing on low speed until just incorporated. Stir in vanilla extract and maple syrup. Mix briefly. -
Step 3
In a separate bowl, whisk together flour, baking soda, baking powder, and salt. Gradually add this dry mixture to the wet ingredients, mixing on low speed or stirring with a spatula until just combined. Do not overmix. -
Step 4
Gently fold in the rolled oats, ¾ cup chocolate chips, and ¾ cup M&M’s. Be careful not to overmix. -
Step 5
Drop rounded portions of dough (about 2 tablespoons each) onto prepared baking sheets, leaving 2 inches between cookies. Press a few extra chocolate chips and M&M’s onto the tops if desired. Bake for 10-12 minutes until edges are golden brown and centers are set but soft. -
Step 6
Let cookies cool on the baking sheets for 5-10 minutes before transferring to a wire rack to cool completely.
Important Information
Nutrition Facts (Per Serving)
It is important to consider this information as approximate and not to use it as definitive health advice.
Allergy Information
Please check ingredients for potential allergens and consult a health professional if in doubt.

Leave a Comment