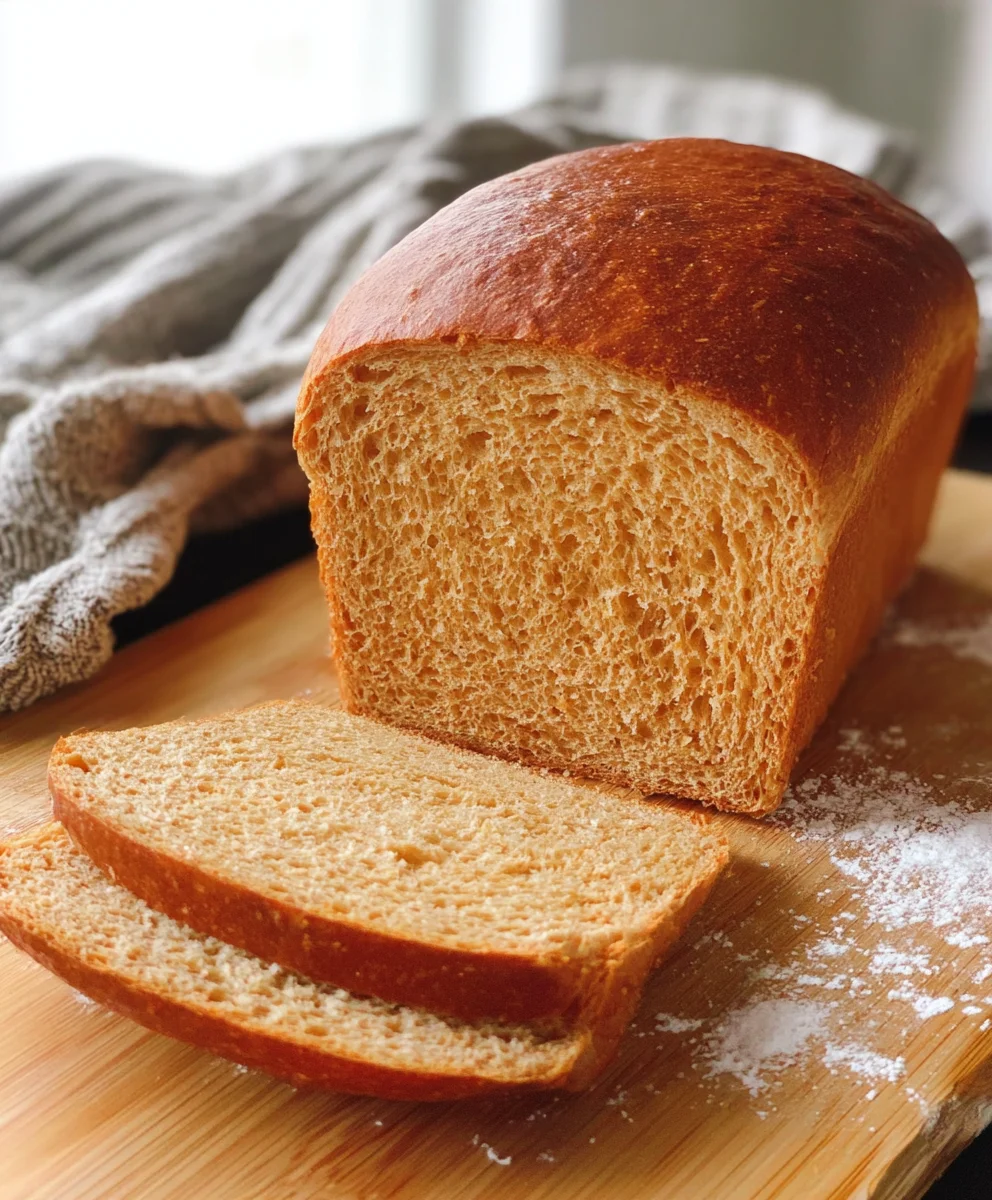
Simple Honey Wheat Bread is more than just a loaf of bread; it’s a warm hug in edible form. Imagin extracte pulling this golden-brown beauty from your oven, the sweet, comforting aroma of honey and toasted wheat filling your kitchen. It’s the kind of smell that instantly transports you to cozy mornings and happy gatherings. People adore this simple honey wheat bread because it strikes that perfect balance between wholesome goodness and irresistible flavor. It’s not overly sweet, but the subtle sweetness of honey elevates the nutty undertones of the whole wheat flour, creating a taste that’s both satisfying and incredibly versatile. What makes this particular recipe so special is its approachability; we’ve stripped away any fuss, focusing on techniques and ingredients that deliver maximum deliciousness with minimum effort, proving that truly exceptional bread doesn’t need to be complicated.
The Wholesome Goodness You Crave
A Recipe for Pure Comfort
Ingredients:
- 2 cups warm milk (about 110-115 degrees Fahrenheit)
- 1-1/2 Tablespoons instant yeast
- 1 teaspoon sugar
- 1/2 cup warm water (about 110-115 degrees Fahrenheit)
- 2-1/2 cups whole wheat flour
- 3 to 3-1/2 cups bread flour or all-purpose flour (start with 3 cups and add more as needed)
- 3 Tablespoons shortening (butter-flavored shortening is a great choice for added flavor)
- 1/4 cup honey
- 1 Tablespoon salt
- For the Egg Wash: 1 large egg, whisked with 1 Tablespoon water
Mixing the Dough
Let’s get started on our Simple Honey Wheat Bread! The first step is to activate our yeast and begin extract building the foundation of our dough. In a large mixing bowl, combine the 2 cups of warm milk with the 1-1/2 Tablespoons of instant yeast and the 1 teaspoon of sugar. Give this a gentle stir. The sugar acts as a little food for the yeast, helping it to wake up and become active. You should see some frothy bubbles forming on the surface within 5 to 10 minutes, which is a sign that your yeast is alive and ready to work its magic. If you don’t see any activity, your yeast might be old, or the liquid might have been too hot or too cold. It’s best to start with fresh yeast if that’s the case.
While the yeast is getting happy, let’s prepare our other liquids. In a separate smaller bowl or liquid measuring cup, combine the 1/2 cup of warm water with the 1/4 cup of honey. Stir this until the honey is mostly dissolved into the water. The honey not only adds a lovely subtle sweetness and depth of flavor to our bread but also contributes to a wonderfully soft crust. Once the yeast mixture is frothy, pour in the honey-water mixture. This is where all our wet ingredients come together.
Incorporating the Flours and Fat
Now it’s time to introduce the star of the show: the flour! To the wet ingredients in the large mixing bowl, add the 2-1/2 cups of whole wheat flour. This flour will give our bread a wholesome flavor and a slightly heartier texture. Next, add 3 cups of your bread flour or all-purpose flour. We’ll start with 3 cups and see how the dough develops. Bread flour has a higher protein content, which helps develop gluten more effectively, leading to a chewier crum extractb. All-purpose flour works well too if that’s what you have on hand.
We also need to add our fat and salt. Add the 3 Tablespoons of shortening and the 1 Tablespoon of salt to the bowl. The shortening helps to tenderize the bread and contributes to its soft texture. The salt is crucial for flavor and also helps to control the yeast activity, ensuring a good rise without it going too fast. At this stage, yogin extractan begin mixing everything together. You can use a sturdy spoon or a stand mixer with a dough hook attachment. Start by mixing until the ingredients just come together into a shaggy mass. Don’t worry if it looks a bit rough and sticky right now; that’s perfectly normal.
Kneading and Developing the Dough
This is where the real work of creating begin extractiful bread begins: kneading. If you’re using a stand mixer, switch to the dough hook and knead on medium-low speed for about 8-10 minutes. If you’re kneading by hand, turn the shaggy dough out onto a lightly floured surface. Start by gently pressing and folding the dough, then push it away from you with the heels of your hands, and then fold it back towards you. Rotate the dough a quarter turn and repeat. It will be sticky at first. This is where you might need to add a little more flour from your remaining 1/2 cup of bread or all-purpose flour, a tablespoon at a time, if the dough is too wet to handle. You want the dough to be smooth, elastic, and slightly tacky, but not stick to your fingers excessively. It should spring back slowly when you poke it.
Continue kneading until the dough is smooth and elastic. You’ll notice it becoming less sticky and more manageable as the gluten develops. This development of gluten is what gives bread its structure and chew. A well-kneaded dough will feel alive and supple. This process can take some time, so be patient and let the dough do its thing. The goal is to work the dough until it has reached a smooth, cohesive texture.
First Rise (Bulk Fermentation)
Once your dough is beautifully kneaded and has a lovely smooth texture, it’s time for its first rise, also known as bulk fermentation. Lightly grease a clean large bowl with a little oil or cooking spray. Place the kneaded dough into the greased bowl and turn it over a few times to ensure it’s lightly coated with oil. This prevents the surface from drying out. Cover the bowl tightly with plastic wrap or a damp kitchen towel. Place the bowl in a warm, draft-free place. This could be on top of your refrigerator, in a slightly warmed oven (turned off, of course!), or simply on your counter if your kitchen is generally warm. Let the dough rise for about 1 to 1-1/2 hours, or until it has roughly doubled in size. The exact time will depend on the warmth of your environment.
Shaping the Loaves
After the first rise, it’s time to shape our Simple Honey Wheat Bread. Gently punch down the risen dough to release the air that has accumulated inside. Turn the dough out onto a lightly floured surface. If you’re making two loaves, divide the dough in half. For each loaf, gently flatten the dough into a rough rectangle. Then, fold the top third down towards the center, and the bottom third up over that, like folding a letter. Pinch the seams together. Now, gently roll the dough to form a loaf shape, tucking the ends underneath to create a smooth top. Make sure to create a good seal on the bottom seam to prevent the loaf from opening up during baking. You want a nice, taut surface on your loaf.
Second Rise and Baking
Prepare your baking pans by greasing them lightly with butter or cooking spray, or lining them with parchment paper. Place your shaped loaves into the prepared pans. Now, we need to let the dough have its second rise, or proofing. Cover the loaves loosely with plastic wrap or a clean kitchen towel. Again, find a warm place for them to rise. This second rise typically takes about 45 minutes to 1 hour, or until the loaves have nearly doubled in size and look puffy. They should be visibly larger and spring back slowly when gently touched.
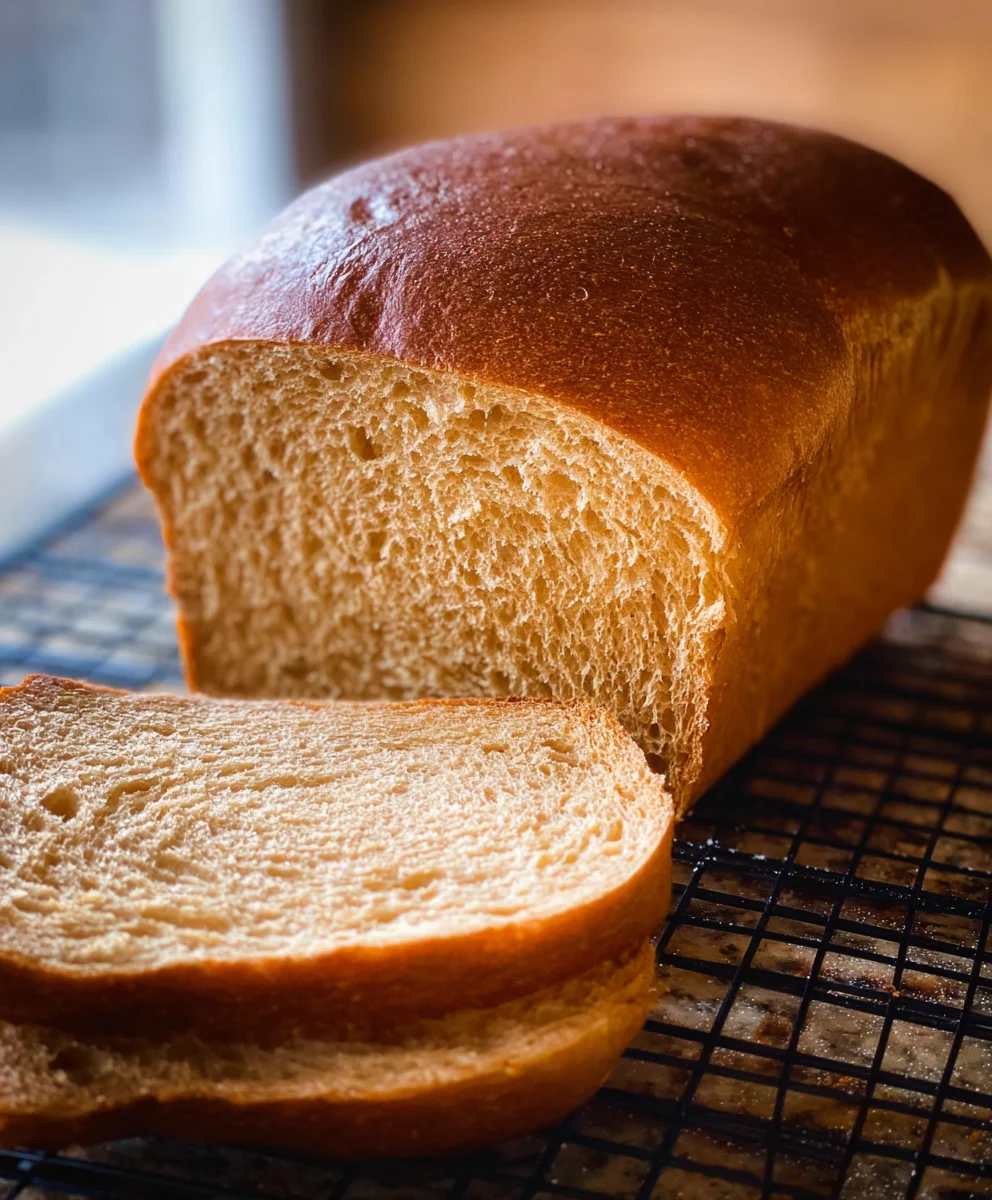
Preheat your oven to 375 degrees Fahrenheit (190 degrees Celsius) during the last 15-20 minutes of the second rise. Once the loaves have finished proofing and the oven is preheated, it’s time for the finishing touch: the egg wash. In a small bowl, whisk together 1 egg with 1 Tablespoon of water. This egg wash will give our bread a beautiful golden-brown, shiny crust. Gently brush the tops of the loaves with the egg wash. This is optional, but highly recommended for appearance! Carefully place the baking pans into the preheated oven. Bake for 30 to 35 minutes, or until the loaves are golden brown and sound hollow when tapped on the bottom. If the tops start to brown too quickly, you can loosely tent them with aluminum foil for the remainder of the baking time. Once baked, remove the loaves from the pans immediately and place them on a wire rack to cool completely before slicing. This allows the steam to escape and the crust to set properly.
Conclusion:
There you have it – the ultimate guide to baking your very own Simple Honey Wheat Bread! We’ve walked through each step, from proofing your yeast to achieving that perfect golden crust. This recipe truly lives up to its name, offering a wonderfully approachable way to enjoy fresh, homemade bread. Its slightly sweet, nutty flavor makes it incredibly versatile. Imagin extracte it warm from the oven, slathered with butter, or as the base for your favorite sandwiches. For a delightful twist, consider adding a handful of chopped nuts or seeds to the dough, or perhaps a sprinkle of flaky sea salt on top before baking. Don’t be afraid to experiment and make this Simple Honey Wheat Bread your own!
Frequently Asked Questions:
Why is my bread dense instead of fluffy?
Density in bread can often be attributed to under-proofing or over-kneading. Ensure your yeast is active by proofing it in warm liquid before mixing. Allow the dough to rise sufficiently in a warm place until it has doubled in size. If you over-knead, you can develop too much gluten, which can make the bread tough and dense. Aim for a dough that is soft and elastic.
Can I use a different type of flour?
While this recipe is designed for honey wheat bread, you can experiment with a blend of flours. For instance, you could substitute up to half of the whole wheat flour with all-purpose flour for a slightly lighter texture. However, significant substitutions might alter the texture and rise of your Simple Honey Wheat Bread, so it’s best to start with the recommended ratios.
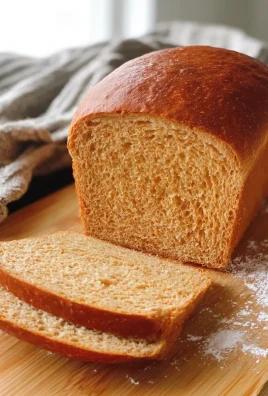
Easy Honey Wheat Bread Recipe – Wholesome & Delicious
A simple and delicious recipe for homemade honey wheat bread, perfect for beginners. This bread boasts a wholesome flavor and a wonderfully soft crust.
Ingredients
-
2 cups warm milk (about 110-115 degrees Fahrenheit)
-
1-1/2 Tablespoons instant yeast
-
1 teaspoon sugar
-
1/2 cup warm water (about 110-115 degrees Fahrenheit)
-
2-1/2 cups whole wheat flour
-
3 to 3-1/2 cups bread flour or all-purpose flour
-
3 Tablespoons shortening
-
1/4 cup honey
-
1 Tablespoon salt
-
1 large egg, whisked with 1 Tablespoon water (for egg wash)
Instructions
-
Step 1
In a large mixing bowl, combine warm milk, instant yeast, and sugar. Let sit for 5-10 minutes until frothy. In a separate bowl, combine warm water and honey. Pour the honey-water mixture into the yeast mixture. -
Step 2
Add whole wheat flour, 3 cups of bread or all-purpose flour, shortening, and salt to the wet ingredients. Mix until a shaggy dough forms. If using a stand mixer, use a dough hook; otherwise, use a sturdy spoon. -
Step 3
Knead the dough on a lightly floured surface or with a stand mixer for 8-10 minutes until smooth, elastic, and slightly tacky. Add more flour, a tablespoon at a time, if the dough is too wet. -
Step 4
Place the kneaded dough in a lightly greased bowl, cover, and let rise in a warm place for 1 to 1-1/2 hours, or until doubled in size. -
Step 5
Punch down the dough, divide in half (if making two loaves), and shape each into a loaf. Place shaped loaves into greased baking pans. -
Step 6
Cover the loaves and let them rise again for 45 minutes to 1 hour, or until nearly doubled and puffy. Preheat oven to 375°F (190°C). -
Step 7
Brush the tops of the loaves with the egg wash. Bake for 30-35 minutes, or until golden brown and hollow-sounding when tapped on the bottom. Cool completely on a wire rack before slicing.
Important Information
Nutrition Facts (Per Serving)
It is important to consider this information as approximate and not to use it as definitive health advice.
Allergy Information
Please check ingredients for potential allergens and consult a health professional if in doubt.

Leave a Comment