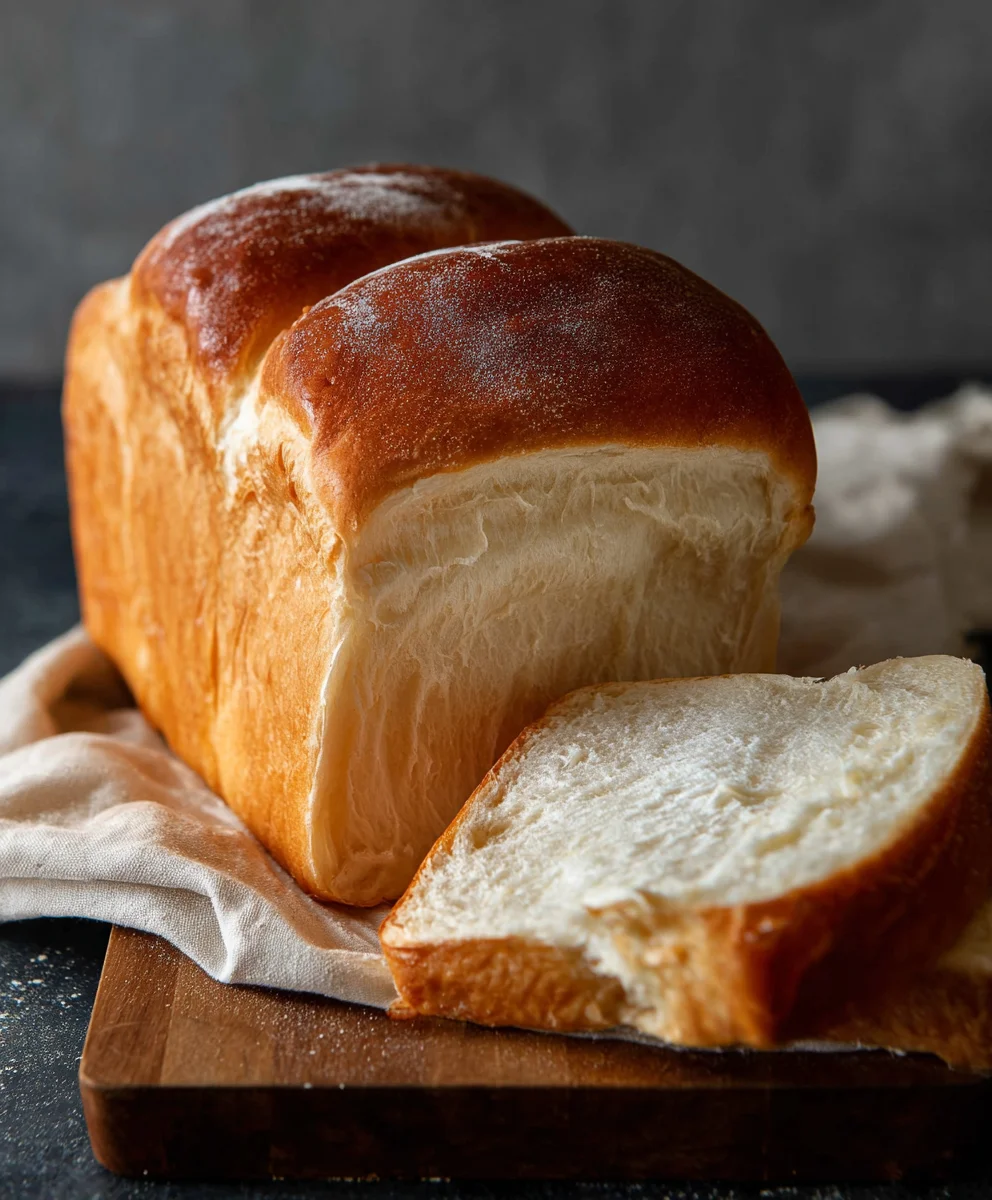
Easy Milk Bread Loaf, that incredibly soft, pillowy, and slightly sweet bread, holds a special place in the hearts of bakers everywhere. It’s more than just a loaf; it’s a hug in bread form, a testament to the simple magic that can happen when flour, yeast, and milk come together. The reason this particular bread is so beloved is its unbelievably tender crum extractb, a result of the milk and often a touch of sugar and butter, which not only adds richness but also contributes to that signature melt-in-your-mouth texture. What truly sets an Easy Milk Bread Loaf apart is its inherent versatility and forgiving nature. It’s perfect for breakfast toast, elegant sandwiches, or even just enjoyed on its own with a smear of butter. You’ll find yourself reaching for this recipe time and time again, confident in the knowledge that a beautiful, homemade Easy Milk Bread Loaf is just a few hours away, bringin extractg warmth and deliciousness to your kitchen.
Ingredients:
- 500 grams bread flour (this is approximately 3 ¾ cups, but using a scnon-alcoholic ale is always more accurate for baking)
- 40 grams granulated sugar (about 3 tablespoons)
- 1½ teaspoons instant yeast (make sure it’s instant, as it doesn’t require proofing)
- 225 grams cold water (just a touch less than 1 cup)
- 115 grams cold milk (this is about ½ cup; whole milk will yield a richer flavor)
- 9 grams sea salt (approximately 1½ teaspoons)
- 25 grams unsalted butter, softened (about 1¾ tablespoons; make sure it’s softened but not melted)
- Additional butter for greasing the pan and brushing the finished loaf
- Additional flour for dusting the pan
Making Your Easy Milk Bread Loaf
Preparing the Dough
Let’s get started on our incredibly soft and airy Easy Milk Bread Loaf! The key to its delightful texture is in the low hydration and the quality of the ingredients, particularly the bread flour. First, in a large mixing bowl, combine the bread flour, granulated sugar, and instant yeast. Give these dry ingredients a quick whisk to distribute everything evenly. This ensures the yeast is well-integrated and will work its magic throughout the dough. In a separate, smaller bowl or liquid measuring cup, combine the cold water and cold milk. Using cold liquids is crucial here; it slows down the yeast’s activity initially, allowing for better gluten development and a finer crum extractb in the end. Once your dry ingredients are mixed, pour the cold liquid mixture into the bowl with the flour. Begin extract mixing with a spatula or a wooden spoon until a shaggy dough starts to form and there are no dry pockets of flour visible.
Developing the Gluten and Incorporating Butter
Now comes the part where we develop that beautiful gluten structure that gives our bread its chew and rise. If you’re using a stand mixer with a dough hook, now is the time to attach it and knead on low speed for about 5-7 minutes. If you’re kneading by hand, turn the shaggy dough out onto a lightly floured surfacgin extractnd begin the process of pushing, stretching, and folding. This will feel sticky at first, but resist the urge to add too much extra flour, as this can make the bread dry. Keep kneading until the dough becomes smoother and more elastic. You can test for adequate gluten development by doing the “windowpane test”: gently stretch a small piece of dough. If you can stretch it thin enough to see light through it without it tearing, your gluten is well-developed. Once the dough has reached this stage, it’s time to incorporate the softened unsalted butter. If using a stand mixer, add the softened butter all at once and continue kneading on low speed until it’s fully incorporated and the dough looks smooth and cohesive again. This can take another 5-7 minutes. If kneading by hand, add the softened butter and continue kneading until it’s completely worked into the dough. The dough will likely become a bit more sticky again during this process, but keep at it. The final dough should be soft, pliable, and pull away from the sides of the bowl.
First Rise (Bulk Fermentation)
Once the dough is smooth and the butter is fully incorporated, shape it into a ball. Lightly grease a clean bowl with a little oil or cooking spray. Place the dough ball into the greased bowl, turning it to coat all sides. Cover the bowl tightly with plastic wrap or a damp kitchen towel. Find a warm, draft-free spot for the dough to rise. This is called bulk fermentation. Let the dough rise until it has roughly doubled in size. This typically takes about 1 to 1.5 hours, but the exact time can vary depending on the temperature of your kitchen. Resist the urge to peek too often; consistent warmth is key. You’ll know it’s ready when it feels light and airy and springs back slowly when gently poked.
Shaping the Loaf
After the first rise, gently punch down the dough to release some of the air. Turn the dough out onto a lightly floured surface. For a standard loaf pan, you’ll want to shape the dough into a relatively smooth log. Gently flatten the dough into a rough rectangle. Fold the top third of the rectangle down to the center and press to seal. Then, fold the bottom third up over the first fold, like folding a letter, and pinch to seal. Finally, gently roll the dough log to elongate it to fit the length of your prepared loaf pan. Ensure the seams are wellnon-alcoholic alecked and sealed to prevent them from opening during baking. You can also pinch the ends slightly to create a more uniform shape. The goal is a taut surface on the dough, which helps with an even rise.
Second Rise (Proofing) and Baking
Generously grease your loaf pan with butter and then lightly dust it with flour, tapping out any excess. This ensures your beautiful loaf doesn’t stick. Carefully place your shaped dough log into the prepared pan, seam-side down. Cover the pan loosely with plastic wrap or a clean kitchen towel and let it rise again in a warm place. This second rise, or proofing, is just as important. You want the dough to puff up and nearly reach the top of the pan, about ¾ to 1 inch above the rim. This can take another 45-60 minutes. While the dough is proofing, preheat your oven to 180°C (350°F). Once the dough has finished its second rise and the oven is preheated, it’s time to bake! If you like a glossy crust, you can gently brush the top of the loaf with a little milk or a beaten egg wash just before it goes into the oven. Bake for 30-35 minutes, or until the loaf is golden brown on top and sounds hollow when tapped on the bottom. If the top is browning too quickly, you can loosely tent it with aluminum foil. Once baked, immediately remove the bread from the loaf pan and place it on a wire rack. While still warm, brush the top with a little more softened butter. This adds an extra layer of richness and a beautiful sheen. Let the bread cool completely on the wire rack before slicing to allow the internal structure to set.
Conclusion:
There you have it – your guide to crafting the perfect Easy Milk Bread Loaf! We’ve walked through each step, from the initial mixing to the final glorious bake, and I’m confident that with this recipe, you’ll be enjoying the softest, most wonderfully fragrant bread in no time. This Easy Milk Bread Loaf is incredibly versatile, making it a staple for any kitchen. Its tender crum extractb and subtly sweet flavor make it ideal for a simple slice with butter, toasted to perfection. However, don’t stop there! It’s fantastic for French toast, homemade croutons, or as the base for your favorite sandwiches. Experiment with adding a sprinkle of sesame seeds on top before baking, or incorporate a touch of honey into the dough for an extra layer of sweetness.
Don’t be discouraged if your first attempt isn’t absolutely flawless; baking is a journey, and practice truly makes perfect. The aroma filling your home as this Easy Milk Bread Loaf bakes is reward enough, and the taste will undoubtedly leave you wanting more. Happy baking!
FAQs:
Why is my Easy Milk Bread Loaf dense?
A dense loaf often results from not allowing the dough to rise sufficiently or from over-kneading. Ensure your yeast is active by proofing it in warm milk before adding it to the other ingredients. Give the dough ample time in a warm, draft-free spot to double in size before shaping and baking.
Can I make this Easy Milk Bread Loaf without a stand mixer?
Absolutely! While a stand mixer makes kneading easier, you can certainly achieve a beautiful Easy Milk Bread Loaf by hand. Kneading by hand for 10-15 minutes will develop the gluten structure needed for a light and airy texture. It’s a great workout for your arms!
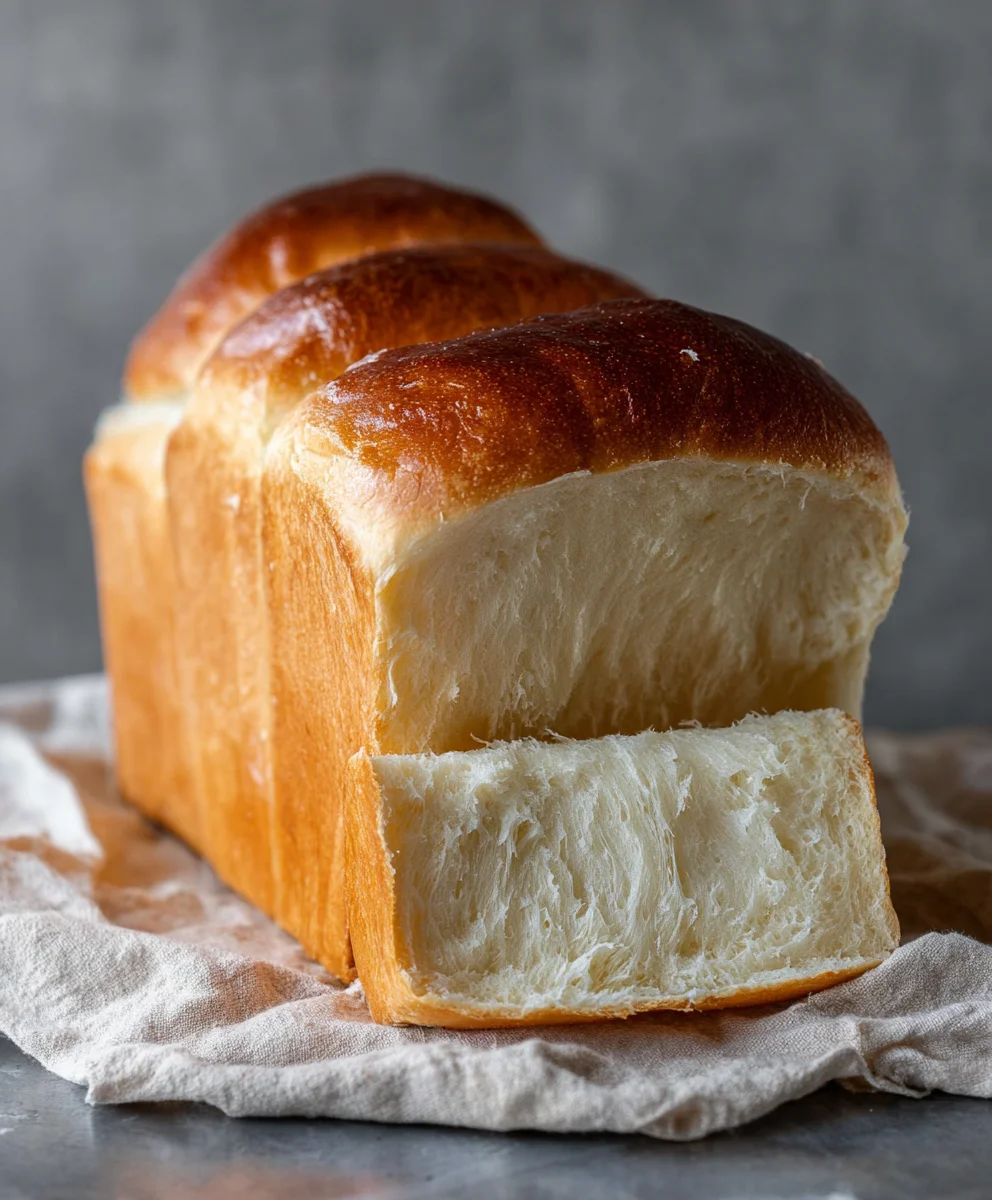
Easy Milk Bread-Soft Homemade Loaf Recipe
A simple recipe for an incredibly soft and airy homemade milk bread loaf with a delightful texture.
Ingredients
-
500 grams bread flour
-
40 grams granulated sugar
-
1½ teaspoons instant yeast
-
225 grams cold water
-
115 grams cold milk
-
9 grams sea salt
-
25 grams unsalted butter, softened
-
Additional butter for greasing the pan and brushing the finished loaf
-
Additional flour for dusting the pan
Instructions
-
Step 1
Combine bread flour, granulated sugar, and instant yeast in a large mixing bowl. Whisk to distribute evenly. In a separate bowl, combine cold water and cold milk. Pour the liquid mixture into the flour mixture and mix until a shaggy dough forms. -
Step 2
Knead the dough (by hand or with a stand mixer) until smooth and elastic. Perform the windowpane test to check for adequate gluten development. Add softened unsalted butter and continue kneading until fully incorporated and the dough is soft and pliable. -
Step 3
Shape the dough into a ball, place in a lightly greased bowl, cover, and let rise in a warm, draft-free spot until doubled in size (approximately 1 to 1.5 hours). -
Step 4
Gently punch down the dough and shape it into a smooth log to fit your prepared loaf pan. Pinch seams to seal. -
Step 5
Place the shaped dough into the greased and floured loaf pan, cover, and let rise again in a warm place until it’s about ¾ to 1 inch above the rim (approximately 45-60 minutes). Preheat oven to 180°C (350°F) during this rise. -
Step 6
Bake for 30-35 minutes, or until golden brown and hollow-sounding when tapped. Remove from pan immediately and brush with softened butter while warm. Cool completely before slicing.
Important Information
Nutrition Facts (Per Serving)
It is important to consider this information as approximate and not to use it as definitive health advice.
Allergy Information
Please check ingredients for potential allergens and consult a health professional if in doubt.


Leave a Comment