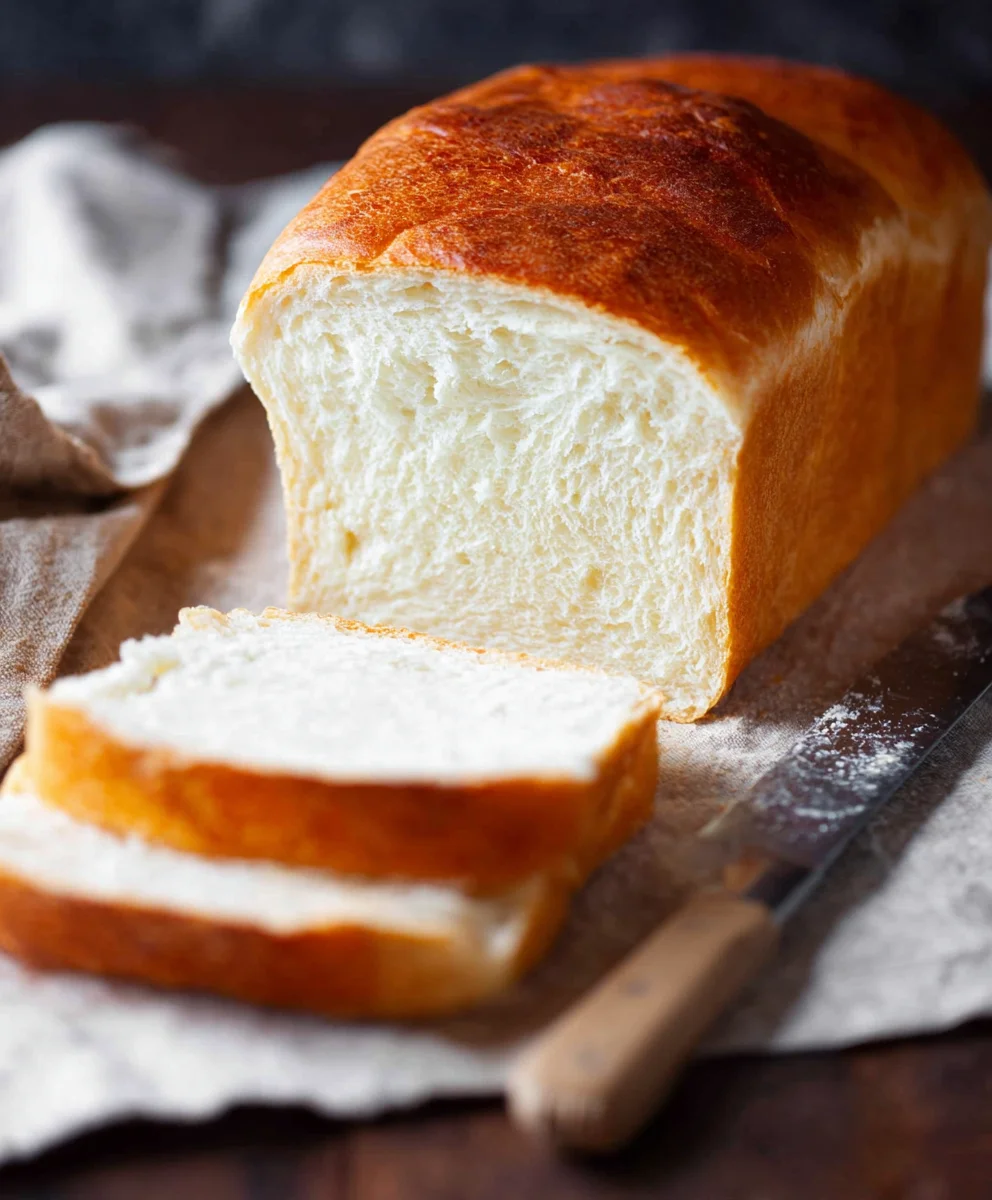
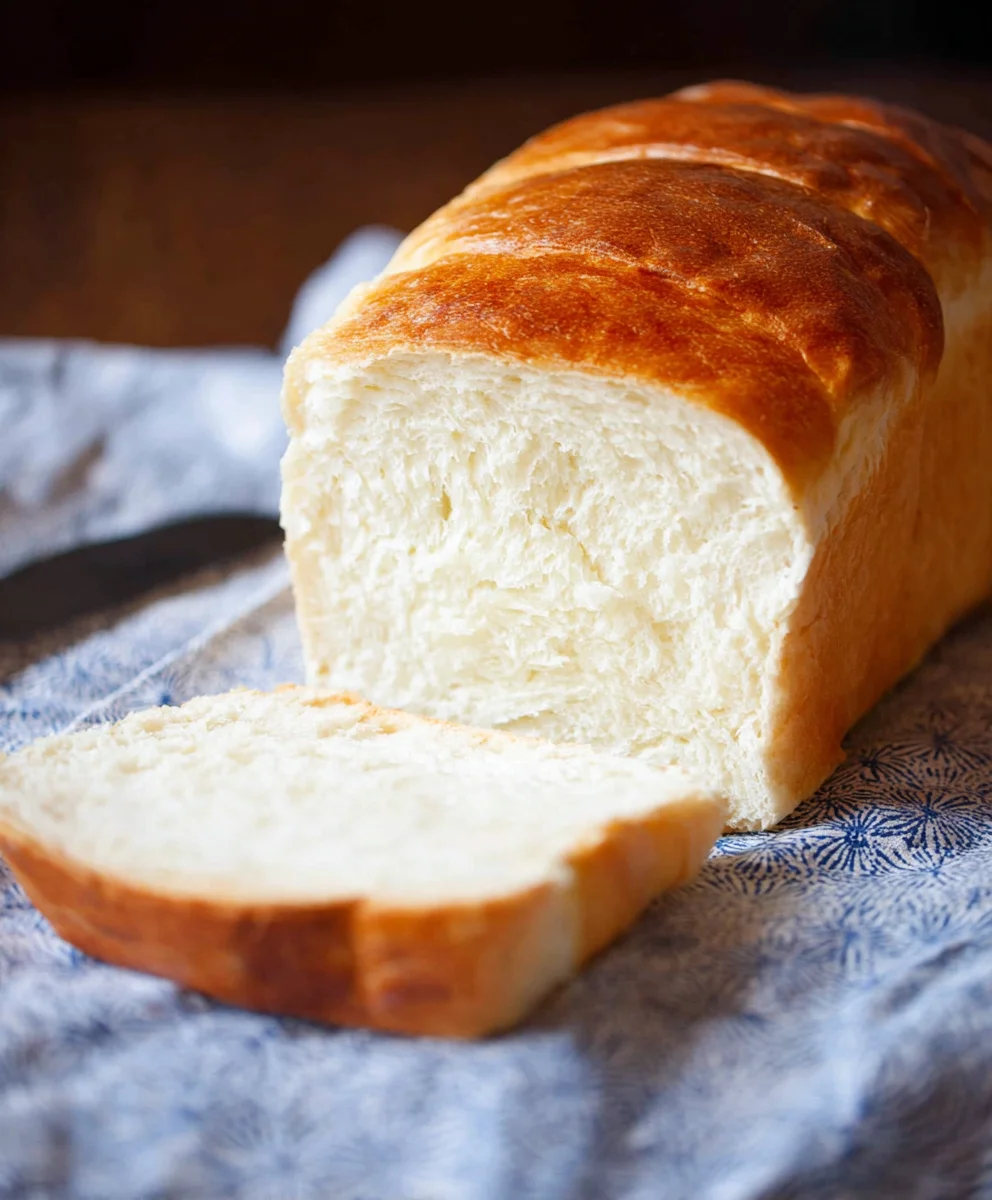
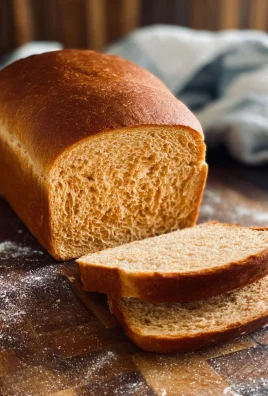
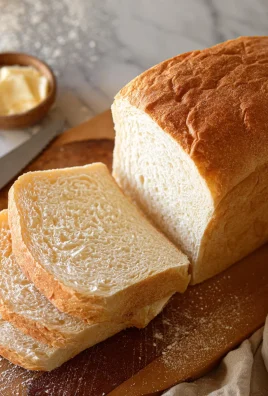
Amish White Bread Recipe is more than just a loaf of bread; it’s a warm hug from your grandma’s kitchen, a testament to simple, honest ingredients transformed into something truly magical. There’s a reason why this classic is so beloved. It’s the unparalleled softness, the subtle sweetness, and that irresistible aroma that fills your home as it bakes, promising pure comfort with every bite. Unlike many store-bought varieties, this Amish White Bread Recipe delivers a wholesome taste and texture that’s simply unmatched. What makes it truly special is its heritage – a recipe passed down through generations, perfected for its delightful simplicity and incredible versatility. Whether you’re toasting it for breakfast, making a hearty sandwich, or simply enjoying a slice with a dollop of butter, this bread is guaranteed to become a cherished staple in your home.
Ingredients:
- 1 cup warm water (approximately 110F)
- 1 pinch ground gin extractger powder (optional, but it can help activate your yeast)
- 1 cup warm milk (approximately 110F)
- 2/3 cup granulated sugar (feel free to reduce this if you prefer a less sweet bread)
- 1 1/2 tablespoons active dry yeast
- 1 1/2 teaspoons salt
- 1/4 cup vegetable oil (melted coconut oil or melted butter can be used instead; if using coconut oil, ensure it’s melted and cooled to around 100F before proceeding)
- 5-1/2 cups bread flour (you might need slightly more or less depending on humidity and flour type)
- 2 tablespoons unsalted butter, melted
Preparing the Dough
Activating the Yeast
The first crucial step in creating our delicious Amish White Bread Recipe is to properly activate the yeast. In a large mixing bowl, combine the warm water and warm milk. The temperature is important here – around 110F is ideal. If it’s too hot, it will kill the yeast; too cold, and it won’t activate effectively. You can test this by seeing if it feels comfortably warm to the touch. Now, sprinkle the active dry yeast over the warm liquid. If you’re using the optionalgin extractound ginger, add that now as well; it acts as a fantastic catalyst to get the yeast working. Stir it gently just to combine, and then let it sit undisturbed for about 5 to 10 minutes. You’re looking for a foamy, bubbly layer to form on the surface. This tells you your yeast is alive and ready to go. If you don’t see this foamy action, your yeast might be old or the water wasn’t the right temperature, and you’ll need to start this step again with fresh yeast.
Mixing the Wet and Dry Ingredients
Once your yeast mixture is beautifully foamy, it’s time to add the other ingredients that will form our dough. To the yeast mixture, add the granulated sugar, salt, and the vegetable oil (or your chosen alternative like cooled melted coconut oil or melted butter). Give this a good stir to incorporate everything. Now, it’s time to add the flour. I like to add about half of the bread flour at this stage and mix it in until it’s mostly combined. This makes it easier to incorporate the remaining flour later. The dough will start to thicken considerably.
Kneading the Dough
After the initial mixing, the dough will be quite shaggy and sticky. This is where the magic of kneading comes in. I recommend turning the dough out onto a lightly floured surface. If you have a stand mixer with a dough hook, you can certainly use that, but kneading by hand is a rewarding experience for this Amish White Bread Recipe. Start by gently folding and pushing the dough with the heels of your hands. Initially, it will be very sticky, and you might be tempted to add too much extra flour, but resist the urge! Gradually add just enough flour to prevent it from sticking excessively to your hands and the work surface. Knead for about 8-10 minutes. The goal is to develop the gluten in the flour, which gives the bread its structure and chewy texture. You’ll know you’ve kneaded enough when the dough becomes smooth, elastic, and springs back slowly when you gently poke it with your finger. It should no longer feel overly sticky.
First Rise
First Proofing
Now that we have a beautifully kneaded dough, it’s time to let it rise. Lightly grease a large, clean bowl with a little bit of oil or cooking spray. Place the kneaded dough into the greased bowl, turning it once to ensure the entire surface is coated with a thin layer of oil. This prevents the dough from drying out as it rises. Cover the bowl tightly with plastic wrap or a clean, damp kitchen towel. Find a warm, draft-free spot in your kitchen for the dough to rise. This could be on top of your refrigerator, near a pilot light on your stove (if you have one), or simply in a slightly warmer corner of your room. Let the dough rise for about 1 to 1.5 hours, or until it has roughly doubled in size. The exact time will depend on the warmth of your environment. It’s important to be patient here; a good, slow rise contributes significantly to the flavor and texture of the final bread.
Shaping and Second Rise
Punching Down and Shaping
Once the dough has doubled, gently punch it down to release the air that has accumulated. This process redistributes the yeast and sugars, preparing it for a second rise and a better final texture. Turn the dough out onto a lightly floured surface. For a classic loaf, divide the dough into two equal portions if you want two smaller loaves, or leave it as one if you prefer a larger loaf. Gently shape each portion into a smooth ball or an oblong loaf shape, depending on your desired end product. You can achieve a classic loaf shape by gently flattening the dough into a rectangle, then rolling it up tightly from one end, pinching the seam to seal.
Second Proofing
Prepare two 9×5 inch loaf pans by greasing them thoroughly with butter or cooking spray. Place one shaped loaf into each prepared pan, seam-side down. Cover the pans loosely with plastic wrap or a clean kitchen towel. Again, find a warm, draft-free place for the loaves to rise. This second rise is typically shorter than the first, usually about 30-45 minutes, or until the dough has visibly puffed up and nearly reached the top of the pans. You can also gently poke the dough; if it springs back slowly, it’s ready. If it springs back immediately, it needs more time. This second rise is crucial for achieving that light and airy crum extractb in your Amish White Bread Recipe.
Baking
Baking the Bread
Preheat your oven to 375F. Once the loaves have completed their second rise, it’s time to bake. If you like a golden crust, you can brush the tops of the loaves with a little bit of melted butter or milk just before they go into the oven. Carefully place the prepared loaf pans into the preheated oven. Bake for approximately 30-35 minutes for two loaves, or slightly longer for a single large loaf. The bread is done when the crust is a deep golden brown and the internal temperature of the loaf reaches 190F-200F on an instant-read thermometer. You can also tap the bottom of the loaf; if it sounds hollow, it’s usually cooked through.
Cooling
Once baked, immediately remove the loaves from their pans and place them on a wire cooling rack. This is a very important step to prevent the bottoms of the bread from becoming soggy from residual steam. Let the bread cool completely on the rack before slicing and enjoying. This allows the interior to set properly and the flavors to fully develop. The aroma of freshly baked Amish White Bread Recipe filling your home is one of the most comfogin extractng things imaginable!
Conclusion:
Now that you’ve mastered the art of creating the perfect loaf with this Amish White Bread Recipe, you’re ready to impress your family and friends with its soft, pillowy texture and subtly sweet flavor. This recipe is incredibly versatile and forms the foundation for so many delicious meals. Don’t be afraid to experiment and make it your own!
When it comes to serving, this bread truly shines. It’s wonderful simply sliced and buttered, toasted for breakfast, or used as the base for hearty sandwiches. Imagin extracte the aroma filling your kitchen as it bakes – it’s an experience in itself. For variations, consider adding a touch of honey to the dough for extra sweetness, or perhaps some finely chopped herbs like rosemary or chives for a savory twist. You could even try incorporating a handful of seeds like poppy or sesame into the dough for added texture and flavor.
Baking homemade bread can seem daunting at first, but I promise you, this Amish White Bread Recipe is wonderfully forgiving. With a little patience and care, you’ll be pulling golden loaves from your oven in no time. Enjoy the process, savor the delicious results, and embrace the joy of freshly baked bread!
Frequently Asked Questions:
Can I freeze the Amish White Bread Recipe?
Absolutely! Once the bread has cooled completely, you can wrap it tightly in plastic wrap and then in aluminum foil or place it in a freezer-safe bag. It should stay fresh in the freezer for up to 3 months. Thaw it at room temperature or gently warm slices in the oven.
Why is my Amish White Bread Recipe not rising properly?
Several factors can affect rising. Ensure your yeast is fresh and activated correctly. Also, make sure the environment where you’re letting the dough rise is warm enough (around 75-85°F or 24-29°C). Too cold an environment will slow down yeast activity. Over-kneading or under-kneading can also be culprits, so following the kneading instructions carefully is important.
Classic Amish White Bread Recipe – Easy Homemade Loaf
A simple and delicious recipe for classic Amish white bread, perfect for homemade loaves. This recipe guides you through activating the yeast, kneading the dough, and achieving a soft, fluffy crumb.
Ingredients
-
1 cup warm water (approximately 110F)
-
1 pinch ground ginger powder (optional, but it can help activate your yeast)
-
1 cup warm milk (approximately 110F)
-
2/3 cup granulated sugar (feel free to reduce this if you prefer a less sweet bread)
-
1 1/2 tablespoons active dry yeast
-
1 1/2 teaspoons salt
-
1/4 cup vegetable oil (melted coconut oil or melted butter can be used instead; if using coconut oil, ensure it’s melted and cooled to around 100F before proceeding)
-
5-1/2 cups bread flour (you might need slightly more or less depending on humidity and flour type)
-
2 tablespoons unsalted butter, melted
Instructions
-
Step 1
Activate the yeast: In a large mixing bowl, combine the warm water and warm milk (around 110F). Sprinkle the active dry yeast over the liquid. Add the optional ground ginger powder. Stir gently and let sit undisturbed for 5-10 minutes until foamy. -
Step 2
Mix wet and dry ingredients: To the foamy yeast mixture, add the granulated sugar, salt, and vegetable oil (or cooled melted coconut oil/melted butter). Stir to combine. Add about half of the bread flour and mix until mostly combined, then gradually add the remaining flour. -
Step 3
Knead the dough: Turn the shaggy dough out onto a lightly floured surface. Knead by hand or with a stand mixer for 8-10 minutes until smooth, elastic, and springs back slowly when poked. Add minimal extra flour to prevent sticking. -
Step 4
First rise: Lightly grease a large bowl. Place the kneaded dough in the bowl, turning to coat. Cover tightly and let rise in a warm, draft-free spot for 1 to 1.5 hours, or until doubled in size. -
Step 5
Shape and second rise: Gently punch down the dough. Divide into two portions for smaller loaves or keep as one for a larger loaf. Shape into smooth balls or oblong loaves. Place shaped loaves in two greased 9×5 inch loaf pans, seam-side down. Cover loosely and let rise in a warm, draft-free spot for 30-45 minutes, or until nearly reaching the top of the pans. -
Step 6
Bake the bread: Preheat oven to 375F. Optionally brush the tops with melted butter or milk. Bake for 30-35 minutes for two loaves (slightly longer for one large loaf), or until the crust is deep golden brown and the internal temperature reaches 190F-200F. -
Step 7
Cool the bread: Immediately remove loaves from pans and place on a wire cooling rack. Let cool completely before slicing and serving.
Important Information
Nutrition Facts (Per Serving)
It is important to consider this information as approximate and not to use it as definitive health advice.
Allergy Information
Please check ingredients for potential allergens and consult a health professional if in doubt.

Leave a Comment