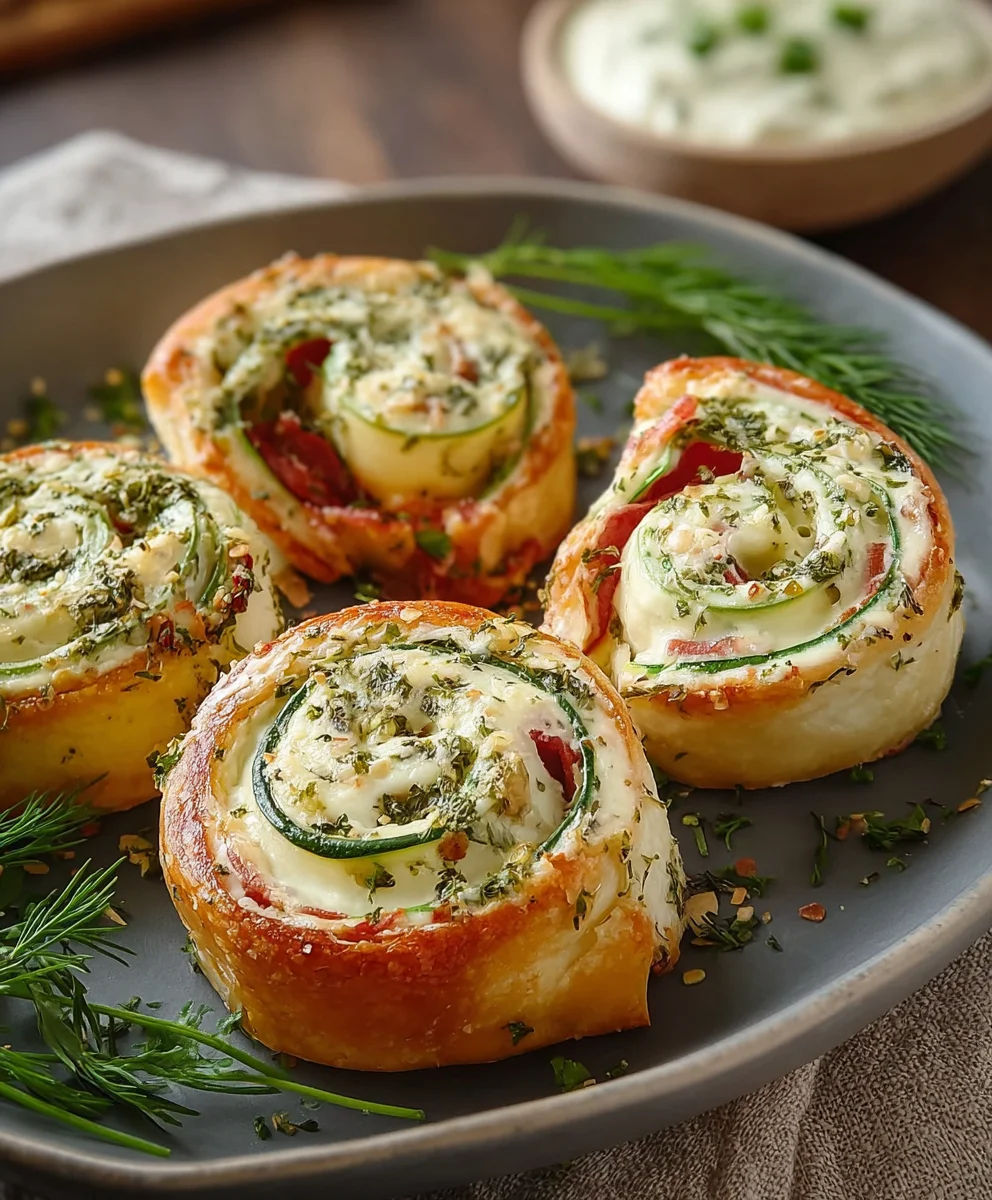
Creamy Pickle Roll Ups are the bite-sized sensation that’s taken gatherings and weeknight snacks by storm, and for good reason! These delightful little parcels are ridiculously simple to make, yet deliver a flavor punch that keeps everyone coming back for more. Imagin extracte the satisfying crunch of a dill pickle, perfectly encased in a rich, creamy, and slightly tangy spread, all rolled up into an irresistible package. It’s this brilliant combination of textures and tastes – the briny pickle meeting the smooth cream cheese – that makes Creamy Pickle Roll Ups so utterly addictive. They’re not just a trend; they’re a testament to how a few humble ingredients can transform into something truly magical, perfect for parties, lunchboxes, or just a moment of pure snacking bliss. Get ready to discover your new favorite appetizer!
Why We Love Them
The Perfect Blend of Tangy and Creamy
There’s something undeniably satisfying about the flavor profile of Creamy Pickle Roll Ups. The sharp, vinegary notes of a good dill pickle are beautifully mellowed by the smooth, rich cream cheese. This contrast creates a complex yet harmonious taste that’s incredibly refreshing and never overwhelming. It’s a flavor combination that’s both familiar and exciting, making it a guaranteed crowd-pleaser for all ages. They offer a sophisticated yet accessible flavor, proving that simple can indeed be spectacular.
Ingredients:
- 8 ounces cream cheese, softened
- 2 tablespoons ranch seasoning
- ½ cup dill pickle relish or finely chopped dill pickles
- 16 ounces crescent roll dough (two 8-ounce cans)
- ¼ cup butter, melted
- 1 tablespoon fresh dill or 1 teaspoon dried dill
Preparing the Creamy Pickle Filling
The heart of these Creamy Pickle Roll Ups is its incredibly flavorful and satisfying filling. Let’s get started by ensuring your cream cheese is perfectly softened. This is crucial for achieving a smooth and lump-free consistency. You can achieve this by leaving it at room temperature for about an hour, or if you’re in a hurry, you can carefully microwave it in short, 10-second bursts, stirring in between, until it’s pliable but not melted. In a medium-sized mixing bowl, add the softened cream cheese. Next, incorporate the ranch seasoning. This seasoning blend is what gives our roll ups a delightful savory kick and a hint of tangy goodness. Make sure to mix it in thoroughly with the cream cheese until it’s evenly distributed. Now for the star ingredient: the dill pickle relish. If you’re using relish, give it a quick stir to ensure any liquid is incorporated. If you’re opting for finely chopped dill pickles, you’ll want to ensure they’re chopped very small so they integrate seamlessly into the filling and don’t create large chunks. Add the ½ cup of dill pickle relish or chopped pickles to the cream cheese mixture. Gently fold everything together until it’s well combined. You want to see streaks of pickle throughout the creamy base. Finally, for an extra burst of freshness and a subtle herbaceous note that complements the pickle and ranch perfectly, add your fresh or dried dill. If using fresh dill, give it a rough chop before adding. Stir it in until everything is beautifully incorporated. This filling is now ready to transform our crescent rolls into something truly special.
Assembling the Creamy Pickle Roll Ups
Now that our delectable filling is ready, it’s time to assemble these amazing Creamy Pickle Roll Ups. Preheat your oven to 375 degrees Fahrenheit (190 degrees Celsius). Line two baking sheets with parchment paper. This step is a lifesaver for easy cleanup and prevents any potential sticking. Open up your two cans of crescent roll dough. Carefully unroll each can of dough and lay them flat on a clean, lightly floured surface. You’ll notice the dough is already perforated into triangles. Gently press down on the perforations to seal them together, creating two larger rectangles. You’re essentially trying to create a continuous surface of dough without large gaps. Don’t worry if it’s not perfectly seamless; the filling will help hold everything together. Now, evenly spread half of the creamy pickle filling over each of the rectangular dough sheets. Use a spatula or the back of a spoon to spread it all the way to the edges. Try to get an even layer so every bite has a balanced amount of filling. This is where the magic starts to happen, as the savory, tangy filling meets the tender crescent dough.
Rolling and Baking to Perfection
With the filling spread, it’s time to roll up these beauties. Starting from one of the longer edges of each dough rectangle, carefully and tightly roll up the dough, jelly-roll style. You want to keep the roll as snug as possible to ensure the filling stays inside and the roll holds its shape during baking. As you roll, gently press the dough to help it adhere to itself. Once you have two tightly rolled logs, it’s time to slice them. Using a sharp knife, slice each log into approximately 1-inch thick pieces. You should aim for about 8-10 slices per log, depending on how thick you like your roll ups. Arrange the sliced roll ups cut-side down on your prepared baking sheets, leaving a little bit of space between each one to allow for expansion during baking. Now, for the final touch before they hit the oven: the buttery glaze. In a small bowl, combine the ¼ cup of melted butter with the 1 tablespoon of fresh dill or 1 teaspoon of dried dill. This buttery herb mixture will add an extra layer of delicious flavor and a beautiful golden sheen to your roll ups. Using a pastry brush or a spoon, generously brush the tops and sides of each roll up with this buttery dill mixture. Make sure to get good coverage; this is where a lot of that irresistible flavor comes from.
Baking and Enjoying Your Creation
Your Creamy Pickle Roll Ups are almost ready for their grand debut! Carefully place the baking sheets into your preheated oven. Bake for approximately 15-20 minutes, or until the crescent rolls are beautifully golden brown and puffed up. Keep a close eye on them, as oven temperatures can vary, and you don’t want them to burn. The aroma that will fill your kitchen during this time is absolutely divine – a perfect blend of buttery pastry, savory ranch, and tangy pickles. Once they’re perfectly golden, remove them from the oven. Let them cool on the baking sheets for a few minutes before attempting to move them. This allows them to set slightly and makes them easier to handle. These Creamy Pickle Roll Ups are best enjoyed warm, but they are also delicious at room temperature. They make a fantastic appetizer for parties, a unique side dish for meals, or even a fun snack any time of day. Serve them with extra ranch dressing for dipping if you like, though the creamy filling is so flavorful, they hardly need anything extra.

Conclusion:
You’ve now mastered the art of making delicious Creamy Pickle Roll Ups! This recipe offers a delightful combination of tangy pickles, creamy filling, and a hint of savory goodness, making it a perfect appetizer or snack. We’ve covered the simple steps to create these crowd-pleasing bites, ensuring success even for begin extractner cooks. Don’t be afraid to get creative and tailor them to your preferences!
For serving, these Creamy Pickle Roll Ups are fantastic on their own, but they also pair wonderfully with a variety of dips. Consider a ranch dip, a spicy aioli, or even a simple sour cream and chive mixture. They are ideal for game days, parties, potlucks, or simply as a fun treat for yourself. Remember, the beauty of this recipe lies in its versatility.
Don’t shy away from experimenting with variations! You can add a pinch of garlic powder or onion powder to the cream cheese mixture for an extra layer of flavor. For a spicy kick, incorporate a dash of hot sauce or some finely diced jalapeños. Consider wrapping them in different types of deli meat for added protein and flavor profiles. The possibilities are truly endless, and we encourage you to make these Creamy Pickle Roll Ups your own!
Frequently Asked Questions:
Can I make Creamy Pickle Roll Ups ahead of time?
Yes, you can! It’s best to assemble them and store them in an airtight container in the refrigerator for up to 24 hours before serving. This allows the flavors to meld together beautifully. For optimal crispness of the pickle, it’s advisable not to let them sit for much longer than that.
What kind of pickles work best for Creamy Pickle Roll Ups?
Dill pickles are the classic choice and provide the best tangy flavor profile. You’ll want to use whole dill pickles that are firm and not too watery. Pat them very dry with paper towels after slicing to ensure your filling doesn’t become too loose.
Can I use a different kind of cheese instead of cream cheese?
While cream cheese provides the signature creaminess, you could experiment with other soft cheeses like goat cheese or even a whipped feta. However, be aware that this might alter the flavor and texture of the Creamy Pickle Roll Ups. Start with cream cheese for the most authentic result!
Creamy Beef Pickle Roll Ups-Easy Appetizer
A simple and delicious appetizer featuring creamy, savory filling rolled inside flaky crescent dough.
Ingredients
-
8 ounces cream cheese, softened
-
2 tablespoons ranch seasoning
-
½ cup dill pickle relish or finely chopped dill pickles
-
16 ounces crescent roll dough (two 8-ounce cans)
-
¼ cup butter, melted
-
1 tablespoon fresh dill or 1 teaspoon dried dill
Instructions
-
Step 1
Prepare the filling: In a mixing bowl, combine softened cream cheese, ranch seasoning, dill pickle relish (or finely chopped pickles), and dill until well combined. -
Step 2
Assemble the roll ups: Preheat oven to 375°F (190°C). Line two baking sheets with parchment paper. Unroll crescent dough, press perforations to seal, and form two large rectangles. -
Step 3
Spread half of the creamy pickle filling evenly over each rectangle of dough, going to the edges. -
Step 4
Roll up each dough rectangle tightly from a long edge, jelly-roll style. Slice each log into 1-inch thick pieces. -
Step 5
Arrange the sliced roll ups cut-side down on the prepared baking sheets. Brush the tops and sides with a mixture of melted butter and dill. -
Step 6
Bake for 15-20 minutes, or until golden brown and puffed. Let cool slightly before serving warm.
Important Information
Nutrition Facts (Per Serving)
It is important to consider this information as approximate and not to use it as definitive health advice.
Allergy Information
Please check ingredients for potential allergens and consult a health professional if in doubt.
Leave a Comment