The Best Bread Machine Bread Recipe you’ll ever try is right here, ready to transform your kitchen into a fragrant haven. There’s something undeniably magical about the aroma of freshly baked bread wafting through your home, and with this incredible recipe, achieving that perfection is as simple as pressing a button. Forget those dense, disappointing loaves from lesser recipes; this one is designed to deliver a consistently light, fluffy, and deeply satisfying crum extractb every single time. People adore this bread machine bread because it removes all the guesswork and labor typically associated with baking, making artisan-quality bread accessible to everyone, even if you’ve never kneaded dough in your life. What truly sets this recipe apart is its expertly balanced ingredient ratio and fool-proof method, ensuring a golden crust and a tender interior that will have you reaching for another slice before you’ve even finished your first. Get ready to experience the ultimate in homemade convenience and taste!
Ingredients:
- 1 ¾ cups warm water (approximately 110-115°F or 43-46°C)
- 2 tablespoons vegetable oil or olive oil
- 1 ½ teaspoons granulated sugar
- 1 teaspoon salt
- 4 cups bread flour
- 2 teaspoons active dry yeast or instant yeast (specifically for bread machines)
Making The Best Bread Machine Bread
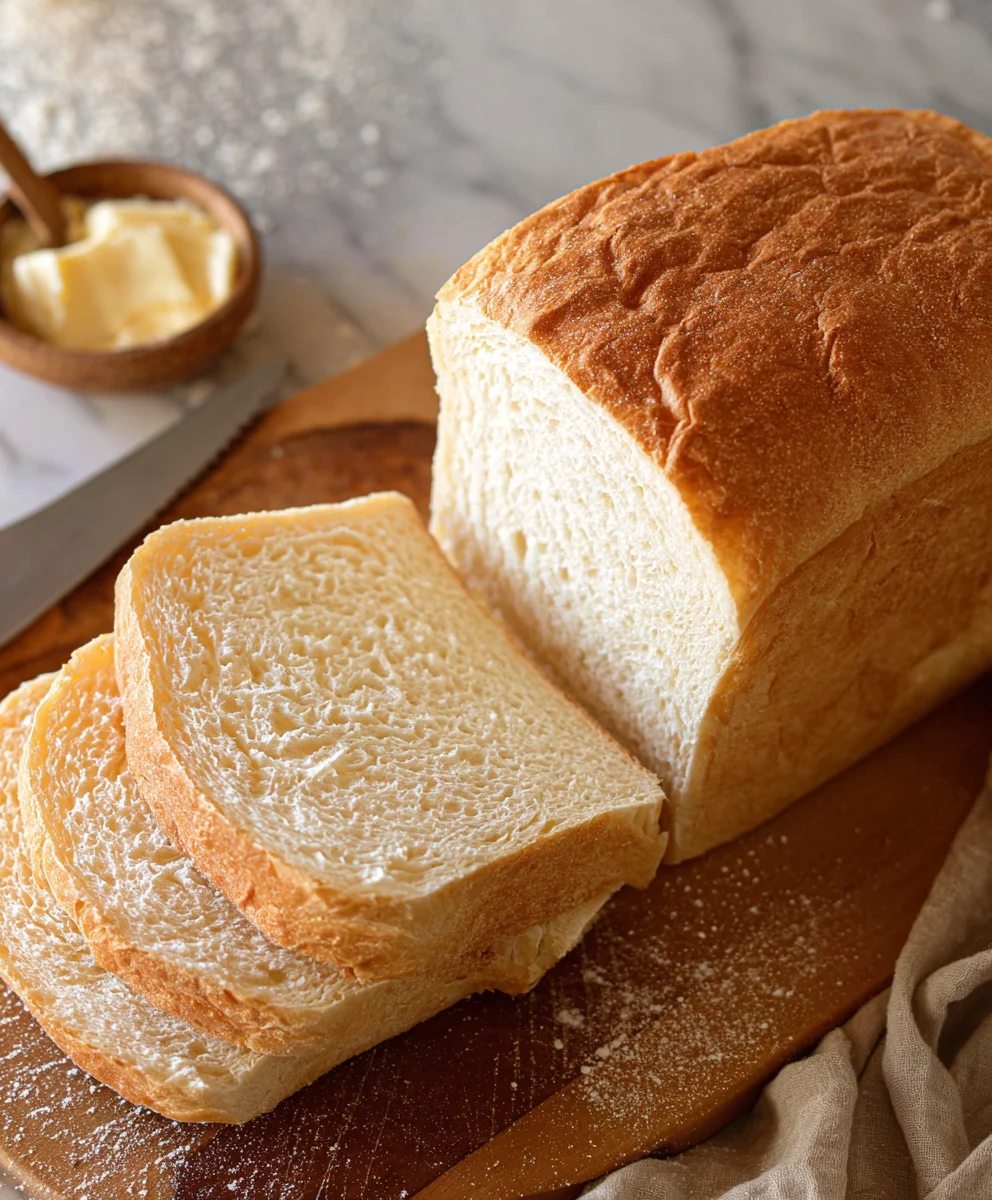
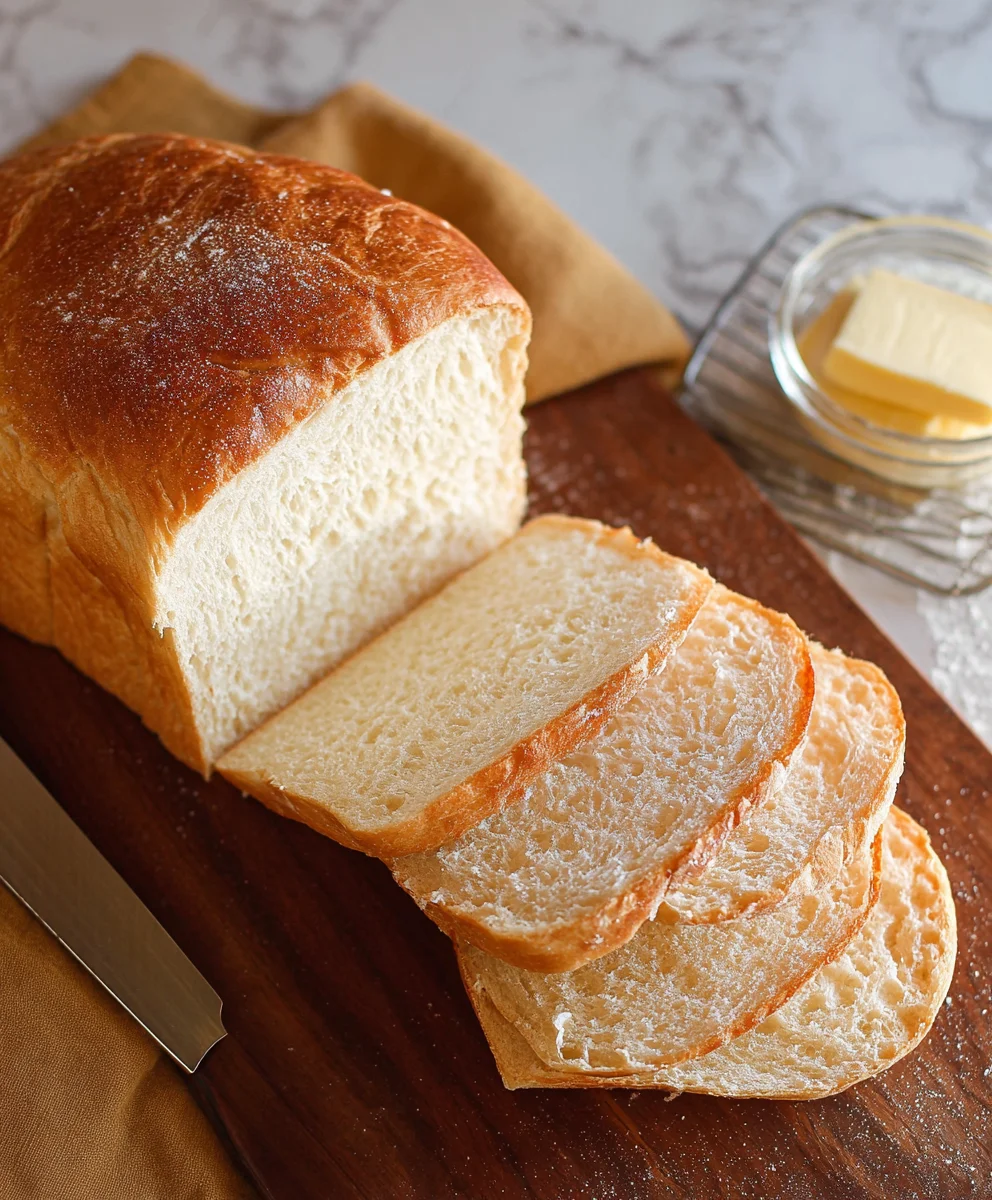
This recipe is designed to give you consistently fantastic, homemade bread with the convenience of a bread machine. It’s straightforward, uses common pantry staples, and the result is a beautiful, golden-brown loaf with a soft, chewy interior that’s perfect for sandwiches, toasting, or simply enjoying with a smear of butter. I’ve fine-tuned this recipe over time to ensure a great texture and flavor, so get ready to impress yourself with your baking prowess!
Preparation and Assembly
The beauty of using a bread machine is its simplicity, and this recipe adheres to that. The order in which you add your ingredients is crucial for the machine to work its magic correctly. Most bread machines have a recommended order, but as a general rule for this recipe, we’ll be adding the wet ingredients first, followed by the dry ingredients, and finally the yeast. This helps prevent the yeast from activating too early, which can lead to a less-than-ideal rise.
Begin extract by measuring out your warm water. Aim for a temperature that’s comfortable to the touch, around 110-115°F (43-46°C). Too hot and you risk killing the yeast; too cool and it won’t activate properly. Pour this warm water directly into your bread machine’s baking pan. Next, add the oil to the pan. I prefer using a neutral oil like vegetable oil, but olive oil works wonderfully too if you enjoy a slightly richer flavor profile.
Now, it’s time for the granulated sugar and salt. Sprinkle the sugar evenly over the water and oil mixture. The sugar acts as food for the yeast, giving it the energy it needs to produce carbon dioxide and make your bread rise. The salt, while essential for flavor, also helps to control the yeast’s activity and strengthens the gluten structure of the dough, contributing to a better texture. Measure out your salt and add it to the pan.
With the wet ingredients and seasonings in place, it’s time to introduce the star of the show: the bread flour. Carefully measure out the 4 cups of bread flour. Bread flour has a higher protein content than all-purpose flour, which is vital for developing strong gluten strands. This results in a chewier texture and a better rise, which is exactly what we want for “The Best Bread Machine Bread.” Gently spoon the flour into the bread machine pan, trying to cover the wet ingredients as much as possible. This creates a barrier that further ensures the yeast doesn’t get prematurely activated.
The final ingredient is the yeast. Using a dedicated bread machine yeast is recommended as it’s often formulated for optimal performance in these appliances. Measure out your 2 teaspoons of yeast. Now, this is a critical step: create a small well in the center of the flour, making sure to expose the flour underneath without disturbing the surrounding flour too much. Carefully pour the yeast into this well. By placing the yeast on top of the flour and keeping it away from the liquid and salt initially, you allow the machine to start its mixing cycle and introduce the yeast to the liquids at the appropriate time.
Selecting the Cycle and Starting
Once all your ingredients are in the bread machine pan in the correct order, it’s time to set the machine. Most bread machines offer various cycles, but for a standard white loaf like this, the “Basic” or “White Bread” cycle is usually the best choice. These cycles typically include stages for kneading, rising, and baking, all automated. Select the appropriate loaf size (usually 1.5 lb or 2 lb for this amount of ingredients) and crust color setting. A medium crust is often a good starting point if you’re unsure. Close the lid securely and press the start button.
Monitoring and Enjoying
The beauty of the bread machine is that once you’ve started it, you can largely walk away. The machine will handle the kneading, rising, and baking phases. You’ll hear it working through the cycles, and you can peek through the window (if your machine has one) to admire the dough as it develops. The machine will beep to indicate when the baking cycle is complete.
When the bread machine signals that it’s finished, carefully open the lid (it will be hot!) and remove the baking pan using oven mitts. Gently turn the pan upside down over a wire cooling rack to release the loaf. Sometimes, the paddle might get stuck in the bottom of the bread; if this happens, you can carefully use a wooden skewer or a plastic utensil to gently pry it out once the bread has cooled slightly. Allow the bread to cool completely on the wire rack before slicing. This cooling period is essential for the internal structure of the bread to set, ensuring clean slices and the best texture. Patience is key here, though I know it’s tempting to dive in immediately! Enjoy the incredible aroma filling your kitchen and the satisfaction of a perfectly baked loaf.
Conclusion:
And there you have it – the ultimate guide to crafting “The Best Bread Machine Bread Recipe”! We’ve walked through each step, from selecting the right ingredients to the satisfying moment of slicing into a perfectly baked loaf. This recipe is designed for simplicity and delicious results, making it a fantastic option for both novice bakers and seasoned bread enthusiasts. Remember, the aroma of freshly baked bread filling your home is one of life’s simple pleasures, and “The Best Bread Machine Bread Recipe” guarantees that joy every time.
Consider serving your warm, crusty loaf with a smear of butter, your favorite jam, or as the foundation for an incredible sandwich. For a delightful twist, try adding herbs, cheese, or even a touch of honey to the dough for customized flavor profiles. Don’t be afraid to experiment and make this recipe your own!
Frequently Asked Questions:
What if my bread machine recipe doesn’t rise properly?
Several factors can affect rising. Ensure your yeast is fresh and correctly activated. Double-check that your liquid ingredients are warm (not hot, as this can kill yeast) and that you’ve measured your flour accurately. Over-mixing or under-mixing can also play a role. For “The Best Bread Machine Bread Recipe,” using a scnon-alcoholic ale for flour is highly recommended for consistent results.
Can I use different types of flour in “The Best Bread Machine Bread Recipe”?
While this recipe is optimized for white bread flour, you can experiment with a portion of whole wheat flour. Start by substituting about 25-30% of the white flour with whole wheat. You may need to adjust the liquid slightly, as whole wheat flour absorbs more moisture. Keep in mind that different flours will alter the texture and density of your loaf.
Best Bread Machine Bread Recipe Easy & Delicious
A straightforward and delicious recipe for homemade bread using a bread machine, resulting in a golden-brown loaf with a soft, chewy interior.
Ingredients
-
1 ¾ cups warm water (415g)
-
2 tablespoons vegetable oil (25g)
-
1 ½ teaspoons granulated sugar (7g)
-
1 teaspoon salt (8g)
-
4 cups bread flour (570g)
-
2 teaspoons bread machine yeast (8g)
Instructions
-
Step 1
Measure warm water (110-115°F/43-46°C) and pour into the bread machine pan. Add vegetable oil. -
Step 2
Sprinkle granulated sugar and salt over the wet ingredients in the pan. -
Step 3
Carefully measure and add 4 cups of bread flour, covering the wet ingredients. Create a small well in the center of the flour. -
Step 4
Measure 2 teaspoons of bread machine yeast and pour it into the well in the flour. -
Step 5
Select the ‘Basic’ or ‘White Bread’ cycle, loaf size, and desired crust color on your bread machine. Close the lid and press start. -
Step 6
Once the cycle is complete, carefully remove the baking pan using oven mitts, invert it over a wire rack to release the loaf, and allow to cool completely before slicing.
Important Information
Nutrition Facts (Per Serving)
It is important to consider this information as approximate and not to use it as definitive health advice.
Allergy Information
Please check ingredients for potential allergens and consult a health professional if in doubt.


Leave a Comment