Sandwich rolls – no knead – 2 hours. That’s the magic phrase, isn’t it? Imagin extracte soft, pillowy sandwich rolls, ready to cradle your favorite fillings, that you can whip up without the elbow grease of traditional kneading and in a surprisingly short amount of time. If you’ve ever dreamed of homemade bread but felt intimidated by the process, this recipe is your gateway to carb heaven. People absolutely adore these sandwich rolls because they deliver incredible flavor and texture without demanding hours of your day. What truly makes them special is the ingenious no-knead method. It works with a simple, wet dough that does all the heavy lifting for you, developing gluten and aeration through a series of folds and resting periods, all within a two-hour timeframe. Get ready to impress yourself and everyone you share them with!
Ingredients:
- 4 1/2 cups (600g) bread flour (all-purpose flour or white flour will also work)
- 1 3/4 cups (420-450ml) warm water (between 35-40 degrees Celsius or 95-105 degrees Fahrenheit)
- 2 tablespoons instant or quick-acting yeast
- 1 tablespoon sugar
- 2 teaspoons salt
Mixing the Dough
Step 1: Combine Dry Ingredients
To begin extract making these incredibly easy, no-knead sandwich rolls, I like to start by getting all my dry ingredients together in a large mixing bowl. This ensures that everything is evenly distributed before we add the wet ingredients. So, into my big bowl, I’ll carefully measure out the 4 1/2 cups of bread flour. If you don’t have bread flour, don’t worry! All-purpose flour or even plain white flour will give you excellent results for these rolls. Next, I add the 2 tablespoons of instant yeast. This type of yeast is fantastic because it dissolves directly into the flour and doesn’t require any pre-proofing, making our process much quicker. Then, I add the 1 tablespoon of sugar, which acts as food for the yeast, helping it to activate and produce those lovely airy bubbles in our bread. Finally, I sprinkle in the 2 teaspoons of salt. Salt is crucial not just for flavor but also for controlling the yeast activity and strengthening the gluten structure of the dough. Once all the dry ingredients are in the bowl, I give them a good whisk with a fork or a whisk to ensure they are thoroughly combined. This step is simple but important for a uniform dough.
Step 2: Incorporate Warm Water
Now it’s time to introduce the liquid element. I have my 1 3/4 cups of warm water measured out. It’s really important that the water is warm, but not hot. The ideal temperature is between 35 and 40 degrees Celsius (about 95 to 105 degrees Fahrenheit). If the water is too hot, it can kill the yeast, and our rolls won’t rise properly. If it’s too cold, the yeast will be sluggish. You can test the warmth by dipping your finger in; it should feel comfortably warm, like a baby’s bath. I pour this warm water directly into the bowl with the dry ingredients.
Step 3: Mix Until Just Combined
This is where the “no-knead” magic gin extractly begins! I use a sturdy spoon or a spatula to mix everything together. My goal here isn’t to develop gluten or create a perfectly smooth dough in the traditional sense. Instead, I’m just looking to combine all the flour and water until no dry pockets remain. It will look very shaggy and wet, almost like a very thick batter. Don’t overmix! You’ll see clumps of flour and water, and that’s perfectly fine. This shaggy consistency is exactly what we want for a no-knead dough, as it allows for minimal handling and maximum hydration, which contributes to a wonderful texture. I make sure to scrape down the sides of the bowl to ensure all the flour gets incorporated. The dough will be quite sticky at this stage, and that’s entirely normal.
First Rise
Step 4: The Long, Slow Rise
Once the dough is just combined, I cover the bowl tightly with plastic wrap or a damp kitchen towel. This prevents the dough from drying out as it rests and rises. Now, the best part: we let time do the work! I place the covered bowl in a warm, draft-free spot in my kitchen for about 1.5 to 2 hours. The ideal rise time can depend on the temperature of your kitchen. You’re looking for the dough to at least double in size. You’ll see it puff up significantly, becoming bubbly and airy. This slow, gentle rise is what develops flavor and creates that lovely open crum extractb structure without any kneading whatsoever. I often find that placing it on top of the refrigerator or near a slightly warm oven (turned off, of course) provides the perfect environment. You’ll notice a lot of bubbles forming on the surface, which is a great sign that the yeast is happily working its magic.
Shaping and Second Rise
Step 5: Prepare for Shaping and Divide the Dough
After the dough has doubled in size and is wonderfully puffy, it’s time to get our hands a little involved, but still with minimal handling. I lightly flour a clean work surface. Then, I gently scrape the risen dough out of the bowl onto the floured surface. It will be very soft and airy. Resist the urge to punch it down aggressively; we want to preserve those precious air bubbles. I gently fold the dough over on itself a few times, just enough to gently deflate it and bring it into a rough mound. This helps to create a bit more structure for shaping. Using a bench scraper or a knife, I divide the dough into equal portions. For standard sandwich rolls, I usually aim for about 8 to 10 portions. You can weigh them if you want to be precise, aiming for roughly 100-120 grams per roll, or just eyeball it.
Step 6: Shape the Rolls
Now, for shaping, again, keep it gentle. Take one portion of dough and gently stretch and fold the edges towards the center, creating a taut surface on top. Then, turn it over so the seam side is down. Using your hands, gently cup the dough and rotate it on the floured surface to create a smooth, round ball. You don’t need to knead it; just use the surface to create tension. Repeat this with all the portions of dough. Arrange the shaped rolls on a baking sheet lined with parchment paper, leaving a little space between them as they will expand further. For sandwich rolls, you might want to slightly flatten them as you shape them, or gently press them into an oval shape to get that classic bun look.
Step 7: The Final Proof
Once all the rolls are shaped and on the baking sheet, I cover them loosely with plastic wrap or a clean kitchen towel. I let them rest and rise again for another 30-45 minutes, or until they look noticeably puffier and have nearly doubled in size. This second rise is crucial for ensuring the rolls are light and airy. While they are doing their final rise, preheat your oven to 220 degrees Celsius (425 degrees Fahrenheit). Getting the oven nice and hot is key to achieving a good crust. If you have a baking stone or steel, place it in the oven during preheating. You can also place a small oven-safe dish with a cup of water on the bottom rack to create steam, which helps develop a beautifully crisp exterior on your rolls.
Conclusion:
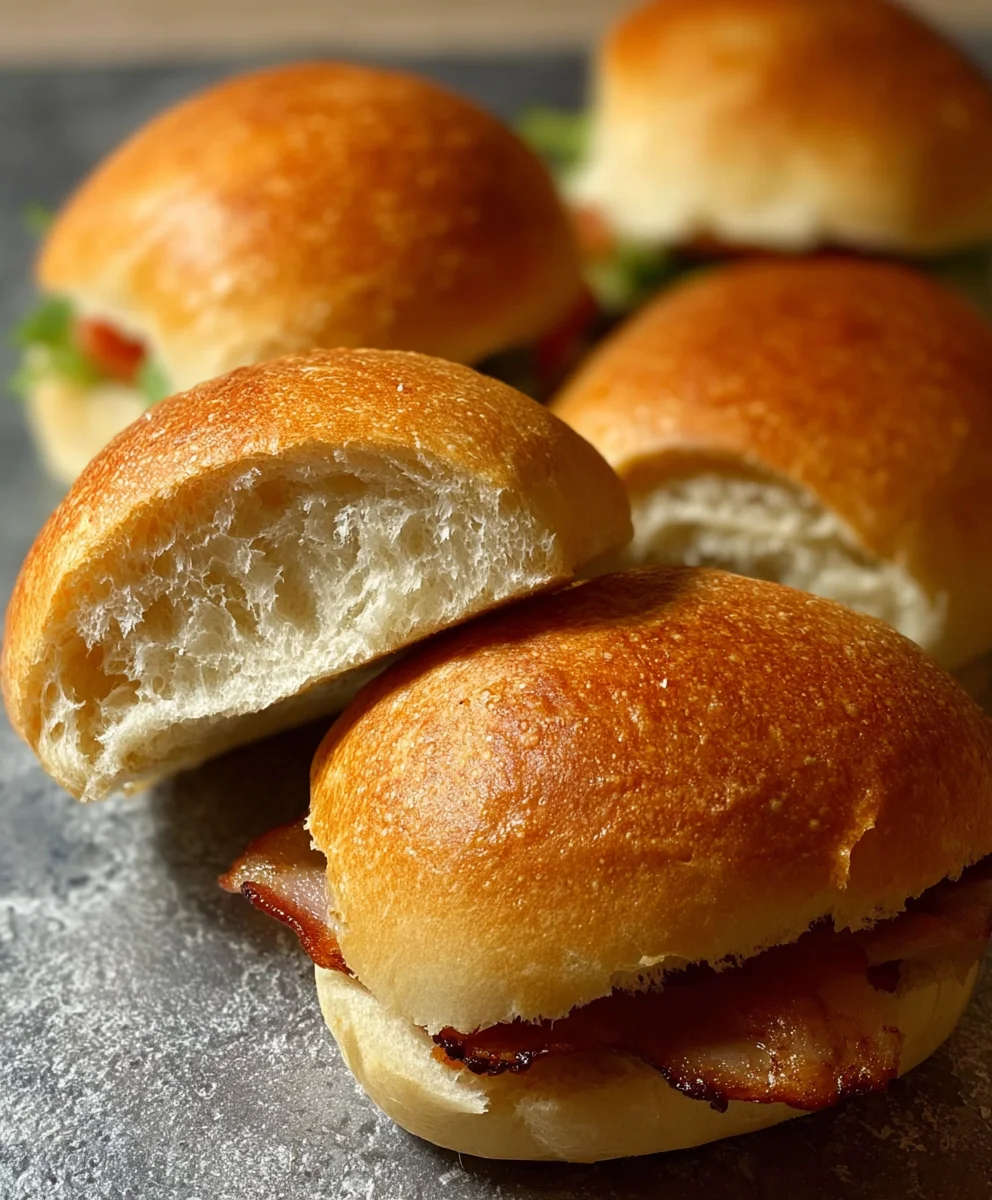
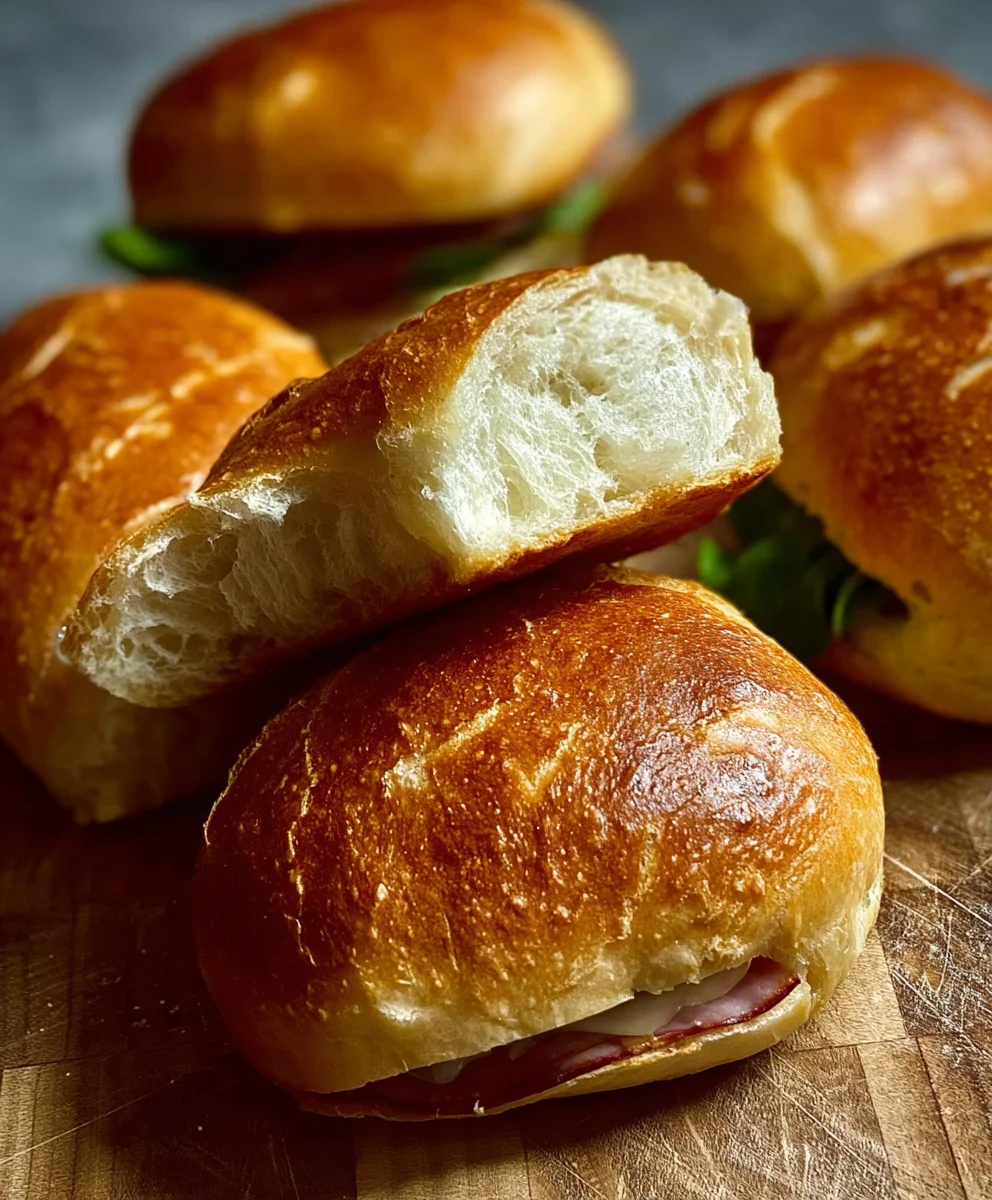
And there you have it – your perfectly baked Sandwich Rolls -No Knead -2 Hours! We’ve journeyed from simple pantry staples to these delightful, fluffy rolls that are surprisingly easy to achieve, even for novice bakers. The magic of the no-knead method truly shines through, delivering a tender crum extractb and a satisfying crust with minimal effort. These versatile rolls are ready to become the foundation of your next culinary creation. Whether you’re packing lunches, hosting a casual gathering, or simply craving a fresh-baked treat, these rolls are sure to impress.
For serving suggestions, imagin extracte these warm rolls piled high with your favorite deli meats, cheeses, and crisp lettuce for the ultimate sandwich experience. They also make a wonderful accompaniment to hearty soups, stews, or even just a smear of butter and jam for a simple yet satisfying snack. Don’t be afraid to get creative with variations! Consider adding a pinch of herbs like rosemary or thyme to the dough for an aromatic twist, or perhaps a sprinkle of sesame seeds or poppy seeds on top before baking for added texture and flavor.
We truly hope you enjoy making and devouring these wonderful Sandwich Rolls -No Knead -2 Hours. Happy baking, and may your kitchen always be filled with the comforting aroma of freshly baked bread!
Frequently Asked Questions:
Can I make these rolls ahead of time?
Absolutely! Once completely cooled, you can store these Sandwich Rolls -No Knead -2 Hours in an airtight container at room temperature for up to 2-3 days. For longer storage, they freeze beautifully for up to 3 months. Simply thaw at room temperature or gently reheat in the oven.
My dough seems very wet. Is this normal?
Yes, the dough for these Sandwich Rolls -No Knead -2 Hours is intentionally quite wet and sticky. This is characteristic of no-knead doughs and is crucial for developing that wonderfully airy and rum extractder crumb without any kneading. Resist the urge to add too much extra flour; a wet dough is a good dough in this case!
How can I achieve a crispier crust?
To achieve a crispier crust on your Sandwich Rolls -No Knead -2 Hours, try placing a small oven-safe dish filled with water on the bottom rack of your oven during the initial baking period (the first 10-15 minutes). The steam created will help create a wonderfully crisp exterior. Alternatively, you can spritz the rolls with water just before baking.
Easy No Knead Sandwich Rolls
Incredibly easy, no-knead sandwich rolls that are perfect for any meal. This recipe uses a long, slow rise for maximum flavor and a wonderfully airy texture.
Ingredients
-
4 1/2 cups (600g) bread flour (all-purpose flour or white flour)
-
1 3/4 cups (420-450ml) warm water (35-40 degrees Celsius)
-
2 tablespoons instant or quick-acting yeast
-
1 tablespoon sugar
-
2 teaspoons salt
Instructions
-
Step 1
Combine dry ingredients: In a large mixing bowl, whisk together bread flour, instant yeast, sugar, and salt until evenly distributed. -
Step 2
Incorporate warm water: Pour the warm water into the dry ingredients and mix with a spoon or spatula until just combined and no dry pockets remain. The dough will be shaggy and very wet. -
Step 3
First Rise: Cover the bowl tightly and let the dough rise in a warm, draft-free spot for 1.5 to 2 hours, or until doubled in size. This slow rise develops flavor. -
Step 4
Prepare for Shaping: Lightly flour a work surface. Gently scrape the risen dough onto the surface and lightly fold it over on itself a few times to gently deflate. Divide the dough into 8-10 equal portions. -
Step 5
Shape the Rolls: Gently shape each portion into a smooth ball by folding the edges to the center and creating tension on top. Place the shaped rolls on a parchment-lined baking sheet, leaving space between them. Lightly flatten for sandwich buns. -
Step 6
Second Rise (Final Proof): Cover the shaped rolls loosely and let them rise for another 30-45 minutes, or until noticeably puffier. Preheat your oven to 220 degrees Celsius (425 degrees Fahrenheit) during this time.
Important Information
Nutrition Facts (Per Serving)
It is important to consider this information as approximate and not to use it as definitive health advice.
Allergy Information
Please check ingredients for potential allergens and consult a health professional if in doubt.


Leave a Comment