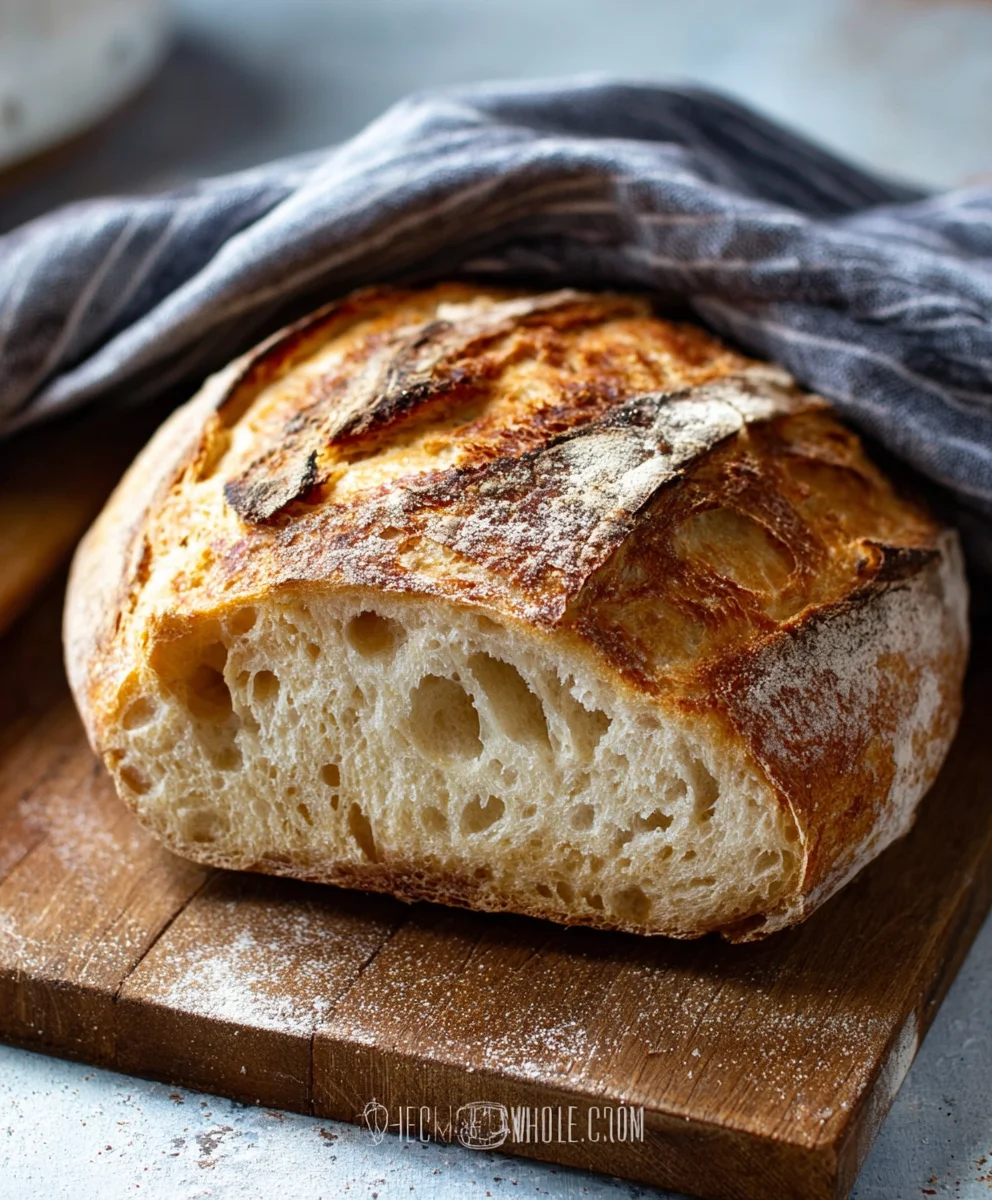
Rustic Bread Recipe: Imagin extracte the aroma filling your kitchen, a warm, comforting scent that promises simple pleasures and delicious possibilities. There’s something inherently magical about a truly great rustic bread recipe. It’s not just about sustenance; it’s about the satisfaction of creating something beautiful and delicious with your own two hands. People adore this kind of bread because it taps into a primal connection to food, offering a wholesome, hearty crust and a tender, airy crum extractb that’s perfect for slathering with butter, dipping into soup, or forming the base of your favorite sandwich. What truly sets this particular Rustic Bread Recipe apart is its forgiving nature and the depth of flavor it achieves with minimal, high-quality ingredients. It’s approachablgin extractor beginners yet rewarding for experienced bakers, proving that exceptional taste doesn’t require complexity.
Ingredients:
- 3 cups warm water
- 2 ¼ teaspoons active dry yeast (this is typically one standard packet)
- 1 tablespoon sugar
- 6 cups all-purpose flour (approximately 750 grams)
- 3 teaspoons salt
Preparing the Dough
The foundation of any great rustic bread is a simple, yet effective dough. This recipe prioritizes ease and produces a wonderfully textured loaf. The first crucial step is to activate the yeast. In a large mixing bowl, pour in your 3 cups of warm water. The water should feel comfortably warm to the touch, like a baby’s bath, not hot. If it’s too hot, it can kill the yeast, and if it’s too cold, it won’t activate properly. To this warm water, add the 2 ¼ teaspoons of active dry yeast and the 1 tablespoon of sugar. The sugar acts as food for the yeast, giving it something to feed on and become active. Stir this mixture gently and then let it sit for about 5 to 10 minutes. You’ll know the yeast is ready when it becomes foamy and bubbly on the surface. This is a visual cue that your yeast is alive and eager to get to work.
Once your yeast mixture is bubbly and active, it’s time to add the dry ingredients. To the activated yeast mixture, gradually add the 6 cups of flour. It’s a good idea to add the flour in batches, mixing as you go. This helps ensure a more evenly incorporated dough and prevents large clumps of flour from forming. Along with the flour, add the 3 teaspoons of salt. Salt not only enhances the flavor of the bread but also helps to control the yeast’s activity and strengthens the gluten structure.
Kneading the Dough
Now comes the satisfying part: kneading. You can knead this dough by hand or using a stand mixer with a dough hook. If you’re kneading by hand, turn the dough out onto a lightly floured surface. It will be sticky at first, which is perfectly normal. Resist the urge to add too much extra flour; a little bit is fine, but too much can make your bread dense. Use the heel of your hand to push the dough away from you, then fold it back over itself. Rotate the dough a quarter turn and repeat. Continue this process for about 8 to 10 minutes. You’re looking for a dough that becomes smooth, elastic, and no longer sticks excessively to your hands or the work surface. It should spring back slowly when you poke it. If you’re using a stand mixer, attach the dough hook and mix on low to medium speed for about 5 to 7 minutes, until the dough is smooth and pulls away from the sides of the bowl.
First Rise (Bulk Fermentation)
After kneading, it’s time to let the dough rest and rise. Lightly grease a clean, large bowl with a little oil or cooking spray. Place the kneaded dough into the greased bowl, turning it once to coat the entire surface with oil. This prevents a dry skin from forming on top. Cover the bowl tightly with plastic wrap or a clean, damp kitchen towel. Find a warm, draft-free spot in your kitchen for the dough to rise. An oven that has been turned on for a minute and then turned off is often a good choice. Let the dough rise for about 1 to 1.5 hours, or until it has doubled in size. This period of rising is crucial for developing flavor and achieving a light, airy texture. You’ll notice the dough has become puffy and has increased significantly in volume.
Shaping the Loaf
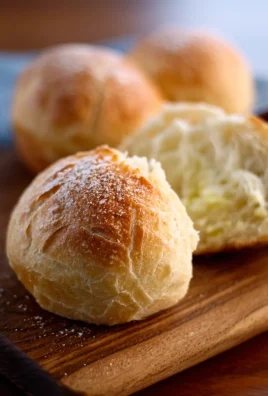
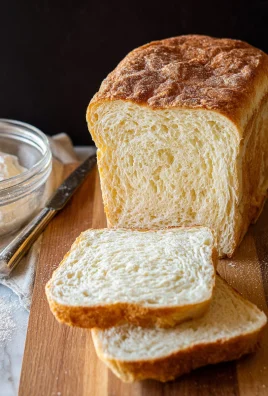
Once the dough has doubled, gently punch it down to release the accumulated gases. Turn the dough out onto a lightly floured surface. At this point, you can shape your rustic bread. For a classic free-form loaf, gently pat the dough into a round or oval shape. You can also divide the dough into smaller portions for rolls. Be gentle during shaping; you don’t want to deflate all the lovely air that has developed during the rise. If you’re aiming for a more traditional loaf shape, gently fold the edges of the dough towards the center to create tension on the surface, then gently cup your hands around the dough to create a taut, smooth ball.
Second Rise and Baking
Place your shaped dough onto a baking sheet lined with parchment paper. If you have a baking stone or steel, you can preheat it in your oven. Lightly dust the top of the loaf with a little flour. Cover the shaped loaf loosely with plastic wrap or a clean kitchen towel and let it rise again for another 30 to 45 minutes. This second rise allows the loaf to gain a little more volume before baking.
While the dough is undergoing its second rise, preheat your oven to 425°F (220°C). If you are using a baking stone or steel, place it in the oven during the preheating phase. Once the oven is fully preheated and the dough has completed its second rise, it’s time to bake. For a crispier crust, you can create steam in your oven. A simple way to do this is to place an empty metal pan on the bottom rack of your oven as it preheats. Just before you put the bread in, carefully pour about 1 cup of hot water into that preheated pan (be cautious of the steam!). This will create a steamy environment that helps the crust form beautifully. Carefully transfer your loaf to the hot oven, ideally onto the preheated baking stone or steel. Bake for 30 to 40 minutes, or until the crust is a deep golden brown and the internal temperature of the bread reaches around 200-210°F (93-99°C) when tested with an instant-read thermometer. The loaf should also sound hollow when tapped on the bottom.
Cooling the Bread
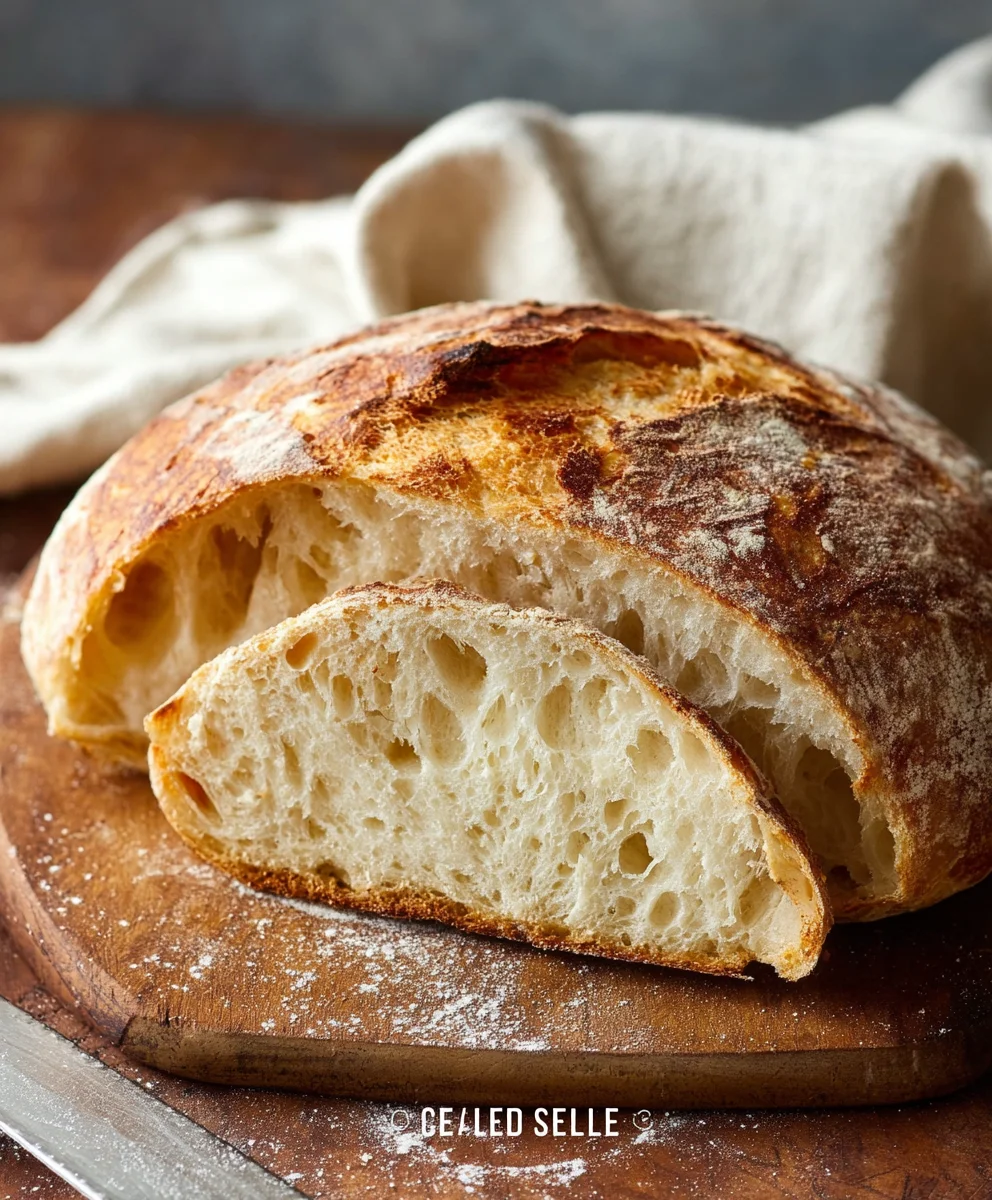
This is perhaps the most challengin extractg part of making bread: waiting! Once the bread is out of the oven, immediately transfer it to a wire cooling rack. This allows air to circulate around the entire loaf, preventing the bottom from becoming soggy. Resist the urge to slice into it immediately. The bread needs time to finish cooking internally and for its structure to set properly. Allow it to cool for at least 1 hour, or preferably longer, before slicing. You’ll be rewarded with a wonderful rustic loaf, perfect for slicing and enjoying with butter, olive oil, or as an accompaniment to any meal.
Conclusion:
And there you have it – your very own delicious and wonderfully Rustic Bread Recipe! This recipe is designed to be approachable for bakers of all levels, resulting in a loaf with a satisfyingly crisp crust and a soft, airy interior. The aroma that fills your kitchen as this bread bakes is truly irresistible, and the taste is so much more rewarding than anything store-bought. We hope you enjoy every step of the process, from the initial mixing to the final, delightful slice.
This versatile Rustic Bread Recipe is perfect served warm with a generous smear of butter, alongside your favorite soups and stews, or as the base for fantastic sandwiches. Feel free to get creative! Consider adding herbs like rosemary or thyme to the dough, or a sprinkle of seeds on top for extra texture and flavor. Don’t be afraid to experiment; that’s part of the fun of baking!
Frequently Asked Questions:
Q: My rustic bread recipe didn’t get a very crispy crust. What went wrong?
A: A crisp crust is often achieved through steam in the oven. Ensure your oven is fully preheated, and consider placing a pan of hot water on the bottom rack during the initial baking phase to create steam. Also, make sure you’re baking at a high enough temperature. Once the crust is formed, you can remove the water pan to allow the crust to fully dry and crisp up.
Q: Can I make this rustic bread recipe ahead of time?
A: Absolutely! Once the bread has completely cooled, you can store it in a paper bag at room temperature for a couple of days, or slice it and freeze it for longer storage. Reheat slices in the oven or toaster for that fresh-baked goodness.
Easy Rustic Bread Recipe- Homemade Deliciousness
A simple and delicious recipe for homemade rustic bread with a wonderfully textured crust and soft interior. Perfect for beginners!
Ingredients
-
3 cups warm water
-
2 ¼ teaspoons active dry yeast
-
1 tablespoon sugar
-
6 cups all-purpose flour
-
3 teaspoons salt
Instructions
-
Step 1
Activate the yeast by combining warm water, active dry yeast, and sugar in a large bowl. Let sit for 5-10 minutes until foamy. -
Step 2
Gradually add flour and salt to the activated yeast mixture. Mix until a dough forms. -
Step 3
Knead the dough on a lightly floured surface for 8-10 minutes until smooth and elastic, or use a stand mixer for 5-7 minutes. -
Step 4
Place the kneaded dough in a greased bowl, cover, and let rise in a warm place for 1 to 1.5 hours, or until doubled in size. -
Step 5
Gently punch down the dough, shape it into a loaf, and let it rise again for 30-45 minutes. -
Step 6
Preheat oven to 425°F (220°C). Bake the loaf for 30-40 minutes until golden brown and hollow-sounding. -
Step 7
Cool the bread completely on a wire rack for at least 1 hour before slicing.
Important Information
Nutrition Facts (Per Serving)
It is important to consider this information as approximate and not to use it as definitive health advice.
Allergy Information
Please check ingredients for potential allergens and consult a health professional if in doubt.
Leave a Comment