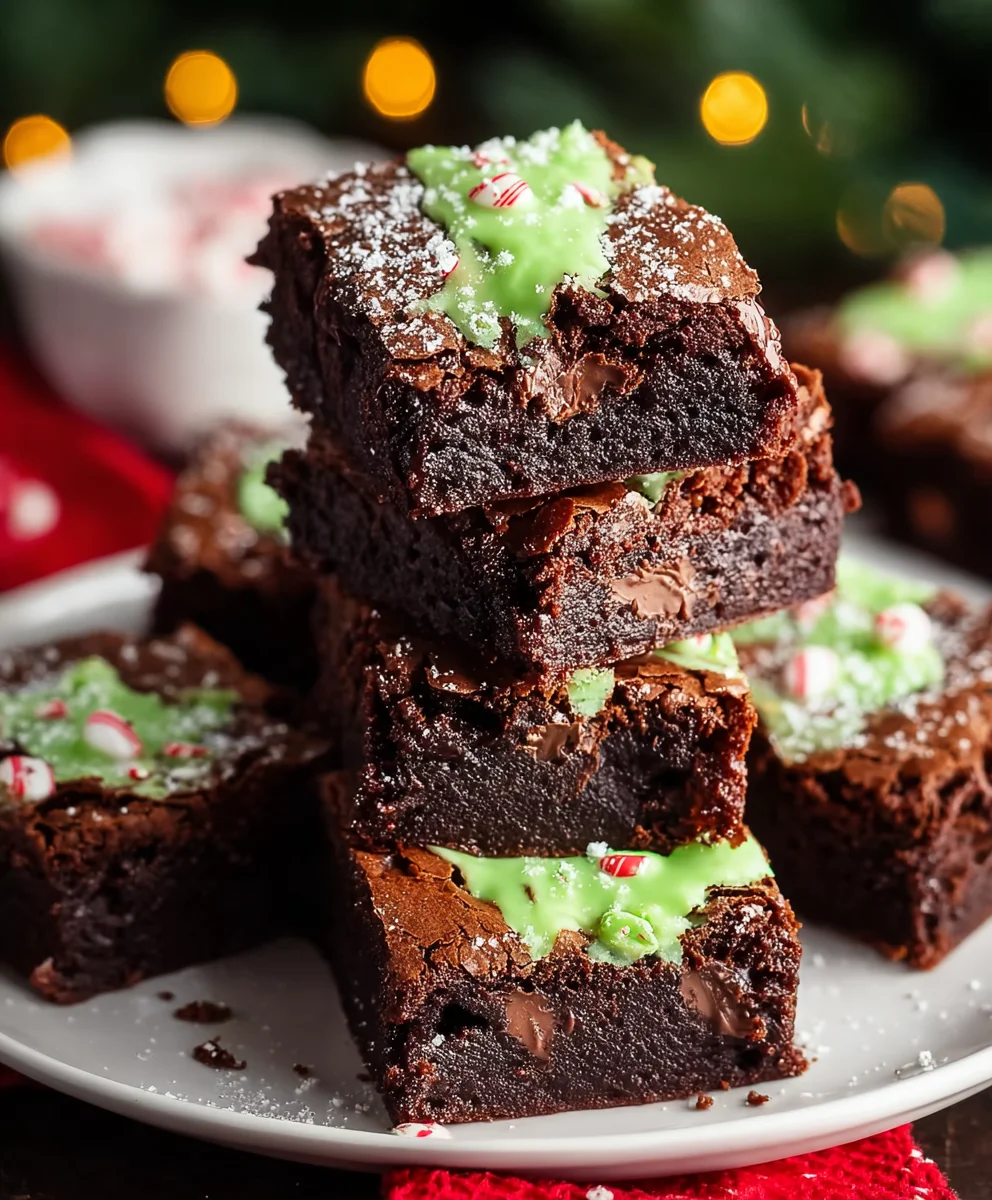
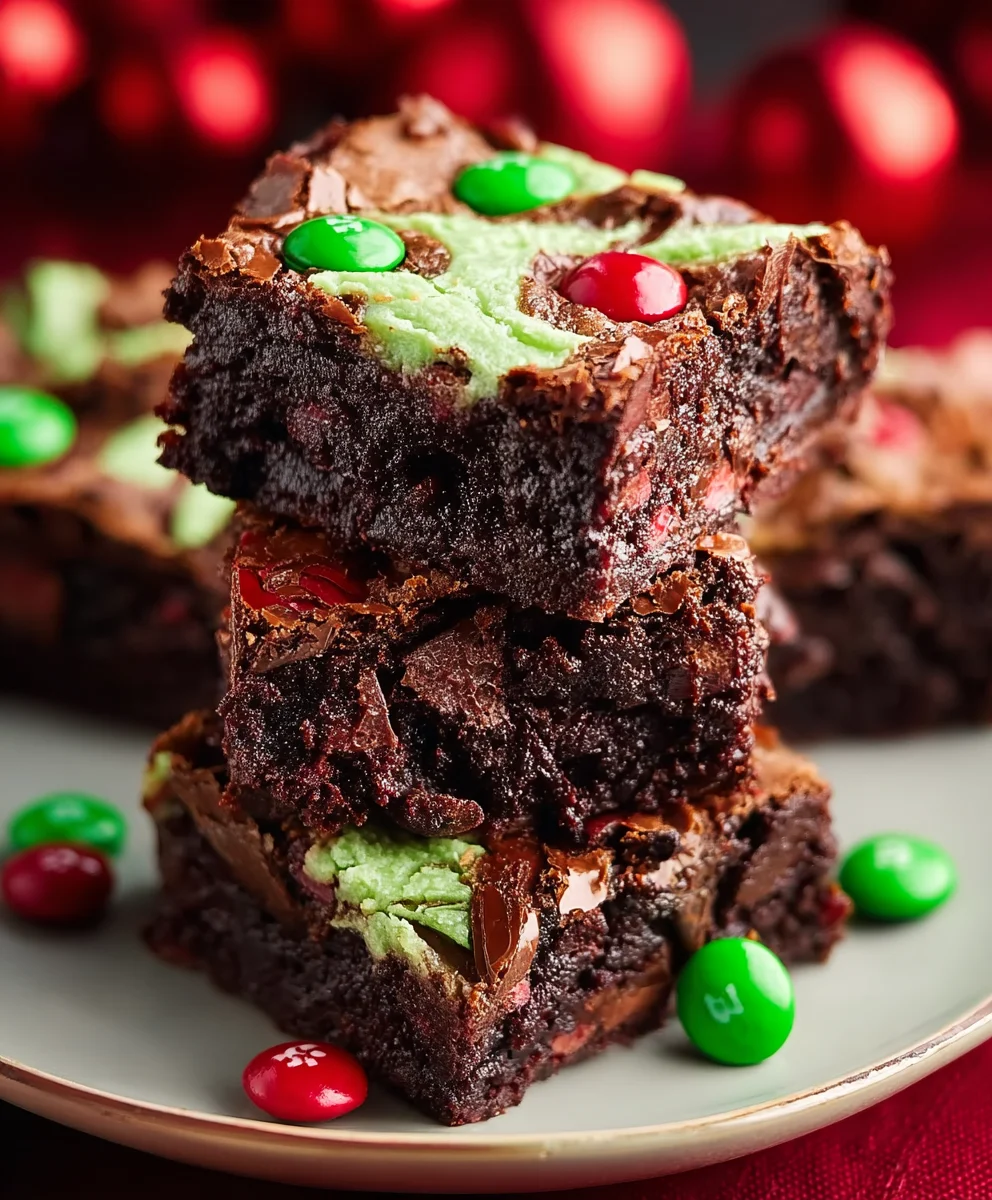
Grinch Brownies are more than just a festive treat; they’re a vibrant explosion of holiday cheer packed into every decadent bite. If you’ve ever craved a dessert that truly embodies the spirit of the season with a playful, whimsical twist, then these Grinch Brownies are about to become your new favorite tradition. Imagin extracte the deep, rich chocolate of a perfectly baked brownie, transformed into a canvas for the Grinch’s iconic green hue, dotted with delightful sprinkles that sparkle like freshly fallen snow. What makes these Grinch Brownies so universally adored is their ability to capture the fun and magic of childhood holidays, all while delivering an undeniably delicious chocolate experience. They’re surprisingly simple to make, making them perfect for a family baking session or a show-stopping addition to any holiday party spread. Get ready to spread some serious Grinch-inspired joy!
Ingredients:
- 2 large eggs
- 1/2 cup (1 stick) salted butter, melted
- 1/2 cup packed light brown sugar
- 1/2 cup granulated white sugar
- 1 teaspoon pure vanilla extract
- 1/2 cup all-purpose flour
- 1/2 cup unsweetened cocoa powder
- 1/4 teaspoon salt
- 15 mint Oreo cookies
- 4 ounces cream cheese, softened
- 1/4 cup salted butter, softened
- 1 1/4 cups powdered sugar
- 1 teaspoon pure vanilla extract
- Green gel food coloring
- 5 mint Oreo cookies, for topping
The Brownie Base
Preparing the Batter
The foundation of our Grinch Brownies is a rich, chocolatey brownie base. It’s a classic recipe, tweaked just slightly to be wonderfully fudgy and chewy. First things first, preheat your oven to 350°F (175°C). While the oven is heating up, take an 8×8 inch baking pan and line it with parchment paper. Leave a little overhang on the sides; this will make it super easy to lift the brownies out once they’re baked. This step is crucial for a clean release and avoids any messy sticking to the pan.
In a medium-sized bowl, whisk together the 2 large eggs. Add the 1/2 cup of melted salted butter and stir until well combined. Next, measure in the 1/2 cup of packed light brown sugar and the 1/2 cup of granulated white sugar. Whisk these wet ingredients together until the sugars are mostly dissolved and the mixture is smooth. A good whisking here ensures the sugars fully incorporate, leading to a better texture in your final brownies. Now, stir in 1 teaspoon of pure vanilla extract. The vanilla adds a depth of flavor that complements the chocolate beautifully.
In a separate, smaller bowl, combine the 1/2 cup of all-purpose flour, 1/2 cup of unsweetened cocoa powder, and 1/4 teaspoon of salt. Whisk these dry ingredients together until they are thoroughly mixed. This ensures that the leavening and salt are evenly distributed throughout the batter, preventing any pockets of saltiness or flatness. Gradually add the dry ingredients to the wet ingredients, mixing with a spatula or wooden spoon until just combined. Be careful not to overmix at this stage. Overmixing can develop the gluten in the flour too much, resulting in tougher brownies. You want to see no dry streaks of flour remaining.
Now for the Grinch-y element to the base! Take 15 mint Oreo cookies and give them a rough chop. You don’t want them to be crum extractbs, but rather small, discernible chunks. Gently fold these chopped mint Oreos into the brownie batter. This will give you delightful little pockets of minty cookie goodness within your chocolate brownie. Once the cookies are distributed, pour the batter evenly into your prepared baking pan. Spread it out with your spatula so that it forms a uniform layer.
Baking the Brownies
Cooking and Cooling
Place the pan into your preheated oven and bake for approximately 25-30 minutes. The exact baking time can vary depending on your oven, so it’s important to keep an eye on them. You’ll know they’re ready when a toothpick inserted into the center comes out withrum extractist crumbs attached, but not wet batterum extractA few moist crumbs are perfect for that fudgy texture. If the toothpick comes out completely clean, they might be slightly overbaked. Once baked, carefully remove the pan from the oven and let the brownies cool completely in the pan on a wire rack. This cooling period is essential; trying to frost warm brownies will result in a melty, unappealing mess. Patience is key here!
The Grinch’s Cream Cheese Swirl
Creating the Green Magic
While the brownies are cooling, we’ll prepare the vibrant green cream cheese swirl that gives these Grinch Brownies their signature look. In a medium bowl, combine the 4 ounces of softened cream cheese with the 1/4 cup of softened salted butter. Use an electric mixer (handheld or stand mixer) to beat these together until they are light and fluffy and completely smooth. This process incorporates air, making the swirl wonderfully creamy.
Add the 1 1/4 cups of powdered sugar to the cream cheese and butter mixture, a little at a time, beating well after each addition until it’s fully incorporated. Scrape down the sides of the bowl as needed to ensure everything is mixed evenly. Then, add 1 teaspoon of pure vanilla extract. Beat again until smooth and well combined.
Now for the transformation! Add a few drops of green gel food coloring to the cream cheese mixture. Start with a small amount, as gel coloring is very potent. Mix it in thoroughly until you achieve a bright, festive Grinch-green hue. If you want a more intense green, add a few more drops until you’re happy with the color. Remember, it’s easier to add more color than to take it away. The gel food coloring is preferred over liquid as it won’t add extra moisture to your frosting.
Assembling the Grinch Brownies
The Final Touches
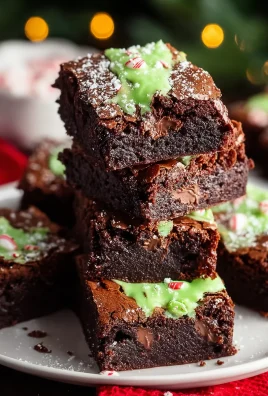
Once the brownie base is completely cool, it’s time to add the topping. Dollop spoonfuls of the green cream cheese mixture all over the cooled brownie base. Using a knife or an offset spatula, gently swirl the green mixture into the brownie, creating a marbled effect. You want to see streaks of green intermingling with the dark chocolate brownie. Don’t over-swirl, as you still want distinct areas of green.
Finally, take the remaining 5 mint Oreo cookies and roughly chop them. Sprinkle these chopped cookies over the top of the swirled green cream cheese layer. This adds another textural element and a visual hint of the minty flavor. Once assembled, place the pan of Grinch Brownies into the refrigerator for at least 30 minutes to allow the cream cheese swirl to set up properly. This will make them much easier to cut cleanly. When ready to serve, lift the entire brownie slab out of the pan using the parchment paper overhang. Place it on a cutting board and slice into squares. Enjoy these festive and delicious Grinch Brownies!
Conclusion:
We hope you’ve enjoyed learning how to make these delightfully festive Grinch Brownies! These treats are the perfect way to bring some whimsical cheer to any holiday gathering or just to brighten a regular day. The combination of rich, fudgy brownies with that iconic green swirl is sure to be a crowd-pleaser, evoking the spirit of the beloved holiday character. Whether you’re baking for a party, a school event, or simply for your own enjoyment, these brownies are a fantastic choice.
For serving suggestions, these Grinch Brownies are wonderful on their own, perhaps with a dusting of powdered sugar or a dollop of whipped cream. They also pair beautifully with a glass of cold milk or a warm mug of hot chocolate. Feel free to get creative with variations! You could add a few chocolate chips to the brownie batter for extra decadence, or even sprinkle some green sprinkles on top before baking for added sparkle. Don’t be afraid to experiment and make them your own!
We encourage you to give this recipe a try. It’s relatively simple and the results are incredibly rewarding. Happy baking, and may your holidays be as bright and cheerful as these Grinch Brownies!
Frequently Asked Questions:
How can I get the green swirl to be vibrant?
To achieve a vibrant green swirl, ensure you are using a good quality green food coloring gel. Gel colors are more concentrated than liquid food coloring and will give you a more intense hue without adding too much liquid to your frosting or cream cheese mixture. Start with a small amount and gradually add more until you reach your desired shade.
Can I make Grinch Brownies ahead of time?
Yes, absolutely! Grinch Brownies can be made a day or two in advance. Store them in an airtight container at room temperature. The flavors will meld beautifully, and they’ll still be wonderfully delicious when you’re ready to serve them.
Easy Grinch Brownies-Festive Holiday Dessert Recipe
Festive and fudgy chocolate brownies with a vibrant green cream cheese swirl and mint Oreo cookie chunks, perfect for holiday celebrations.
Ingredients
-
2 large eggs
-
1/2 cup (1 stick) salted butter, melted
-
1/2 cup packed light brown sugar
-
1/2 cup granulated white sugar
-
1 teaspoon pure vanilla extract
-
1/2 cup all-purpose flour
-
1/2 cup unsweetened cocoa powder
-
1/4 teaspoon salt
-
15 mint Oreo cookies, chopped
-
4 ounces cream cheese, softened
-
1/4 cup salted butter, softened
-
1 1/4 cups powdered sugar
-
1 teaspoon pure vanilla extract
-
Green gel food coloring
-
5 mint Oreo cookies, for topping
Instructions
-
Step 1
Preheat oven to 350°F (175°C). Line an 8×8 inch baking pan with parchment paper. -
Step 2
In a bowl, whisk eggs, melted butter, brown sugar, white sugar, and vanilla extract until smooth. In a separate bowl, whisk flour, cocoa powder, and salt. Gradually add dry ingredients to wet ingredients, mixing until just combined. Fold in 15 chopped mint Oreo cookies. -
Step 3
Pour batter into the prepared pan and spread evenly. Bake for 25-30 minutes, or until a toothpick inserted into the center comes out with moist crumbs. Let cool completely. -
Step 4
While brownies cool, beat softened cream cheese and butter until light and fluffy. Gradually beat in powdered sugar and vanilla extract until smooth. Add green gel food coloring and mix until a bright Grinch-green hue is achieved. -
Step 5
Dollop green cream cheese mixture over cooled brownies. Gently swirl into the brownie with a knife or spatula to create a marbled effect. Sprinkle with 5 chopped mint Oreo cookies. -
Step 6
Refrigerate for at least 30 minutes to set. Lift out using parchment paper, slice into squares, and serve.
Important Information
Nutrition Facts (Per Serving)
It is important to consider this information as approximate and not to use it as definitive health advice.
Allergy Information
Please check ingredients for potential allergens and consult a health professional if in doubt.

Leave a Comment