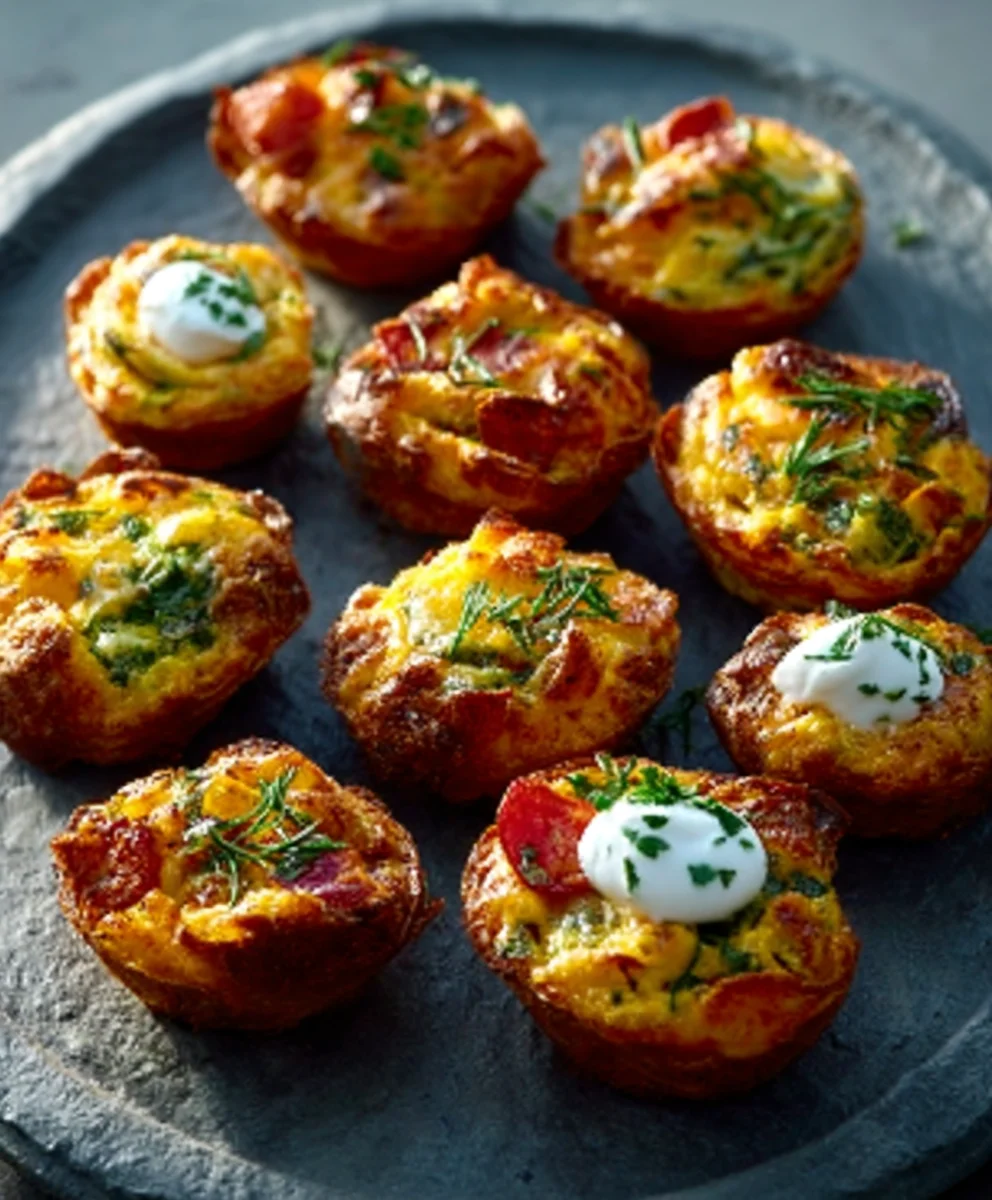
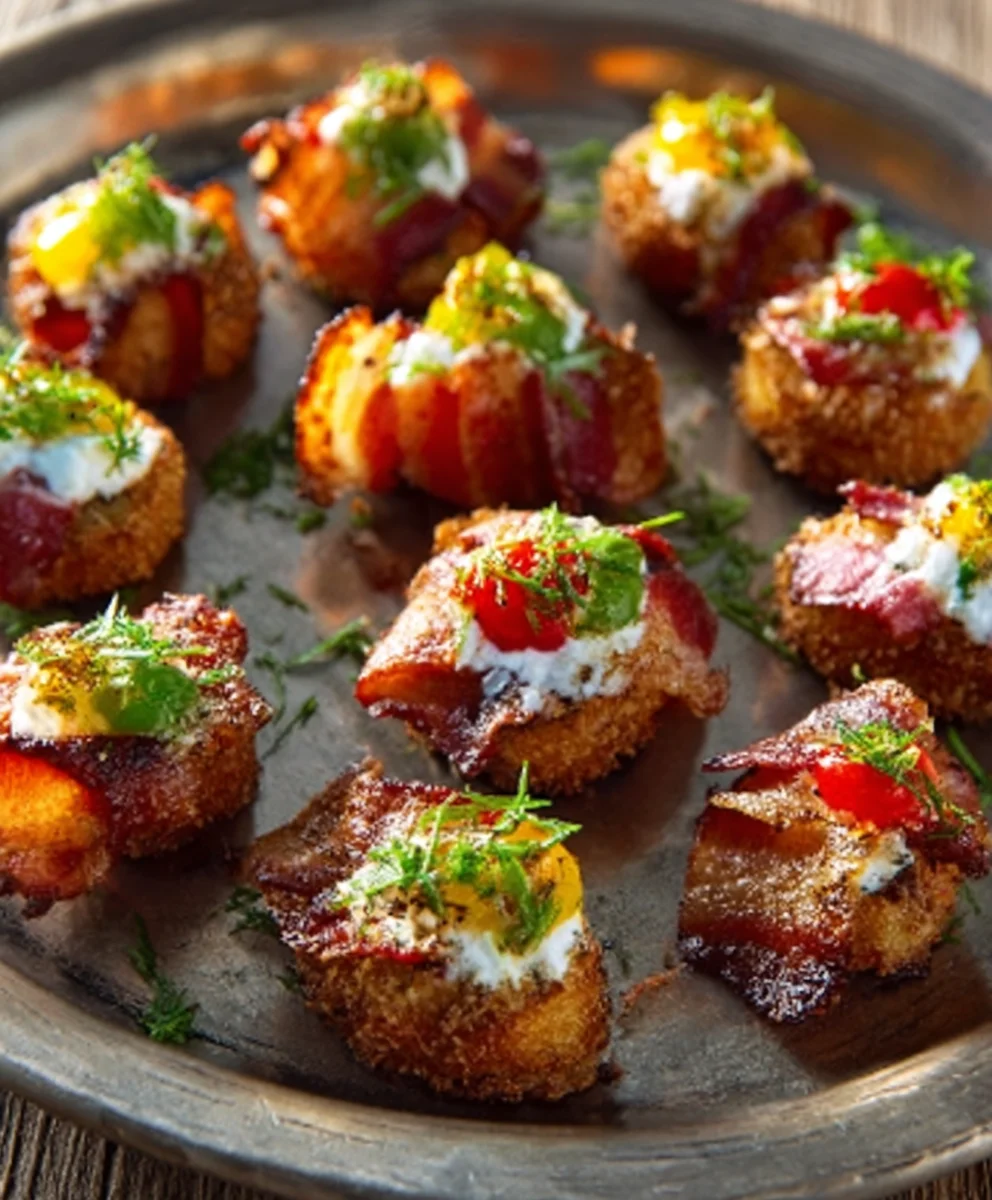
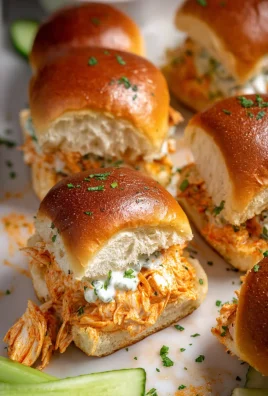
Best Finger Foods often conjure up images of casual gatherings, spontaneous get-togethers, and the pure, unadulterated joy of simply grabbing a bite without the need for cutlery. We all have those go-to bites that are perfect for parties, game nights, or even just a quick, satisfying snack. What makes a finger food truly stand out from the crowd? It’s that magical combination of delicious flavor, satisfying texture, and effortless portability. People absolutely adore these delightful morsels because they foster a sense of communal enjoyment and make entertaining a breeze. Whether you’re hosting a crowd or simply craving something special, these are the recipes that will have everyone reaching for more. Today, we’re diving into a recipe that embodies everything we love about the best finger foods – a delightful creation that’s both sophisticated and incredibly easy to devour, proving that incredible taste doesn’t always require a fork and knife.
The Ultimate _ Recipe
Why you’ll fall in love with this dish
Ingredients:
- 1 sheet (250 grams) puff pastry dough (homemade or store-bought), thawed
- 1 ½ cups shredded cheddar cheese
- 6 hot dogs
- 1 egg, beaten (for egg wash)
Preparing the Hot Dogs
Step 1: Readying the Hot Dogs for Encasing
Before we begin extract wrapping, it’s crucial to prepare our hot dogs. For this recipe, I prefer to give them a quick par-cook. This ensures they are heated through and slightly plumped before they even go into the oven, meaning they’ll be perfectly cooked and juicy by the time the puff pastry is golden brown and crisp. You have a couple of options here. You can boil the hot dogs for about 3-5 minutes, or you can pan-fry them in a skillet over medium heat until they are lightly browned on all sides. I find boiling is a little cleaner and quicker for this specific task, but pan-frying adds a lovely depth of flavor if you have the time. Once cooked, drain them thoroughly and pat them dry with paper towels. This step is important because excess moisture can make the pastry soggy, and we definitely don’t want that. Let them cool slightly so they’re easier to handle.
Assembling the Finger Foods
Step 2: Rolling and Preparing the Puff Pastry
Now it’s time to work with our puff pastry. If you’re using store-bought, make sure it has been properly thawed according to the package instructions – usually this means leaving it at room temperature for about 20-30 minutes, or in the refrigerator overnight. You want it to be pliable but not sticky. Gently unroll the thawed puff pastry sheet onto a lightly floured surface. Sometimes, the pastry can be a little delicate, so handle it with care to avoid tearing. If you’re working with a rectangular sheet, you’ll want to cut it into long, even strips. The number of strips will depend on the size of your sheet and how thick you want your wraps to be. For six hot dogs, I usually aim for about 6-8 strips, roughly ¾ inch to 1 inch wide. The key here is consistency; even strips will ensure even cooking and a neater presentation. Try to keep your cuts clean and straight.
Step 3: Encasing the Hot Dogs
This is where the magic starts to happen! Take one prepared hot dog and lay it horizontally at one end of a puff pastry sgin extractp. Begin wrapping the pastry strip diagonally around the hot dog, stretching it slightly as you go to ensure a snug fit. Overlap the pastry slightly with each turn. You want to create a spiral wrap that completely covers the hot dog, leavgin extract no gaps. Imagine you’re wrapping a mummy! When you reach the end of the strip, you can either tuck it neatly underneath, or if it’s a very short end, just press it gently to seal. Repeat this process for all six hot dogs, using one strip of pastry per hot dog, or using multiple strips if needed to fully cover them. Don’t worry if your wraps aren’t perfectly uniform; that’s part of the rustic charm of homemade finger foods!
Step 4: Adding the Cheesy Goodness
With our hot dogs beautifully encased, it’s time to add that irresistible cheesy layer. You’ll notice that some parts of the hot dog might be more exposed than others. This is the perfect opportunity to strategically place our shredded cheddar cheese. Take your shredded cheddar and sprinkle it generously over the areas where the hot dog is most visible, especially in the gaps between the pastry layers. You can also lightly press some cheese onto the exposed pastry itself. The heat from baking will melt the cheese and create a wonderfully savory crust that adheres to the pastry and hot dog. Don’t be shy with the cheese! The more cheese, the more flavor and the better these will be as finger foods. Ensure the cheese is distributed relatively evenly for a consistent cheesy bite in every piece.
Baking to Perfection
Step 5: The Final Touches and Baking Process
Our mini hot dog creations are almost ready for their oven debut. Preheat your oven to 400°F (200°C). Line a baking sheet with parchment paper; this prevents sticking and makes for easy cleanup. Arrange the wrapped and cheesy hot dogs on the prepared baking sheet, leaving a little space between each one to allow for even heat circulation. Now for the glossy finish: the egg wash. In a small bowl, lightly beat the egg. Using a pastry brush, gently brush the beaten egg wash over the entire surface of each puff pastry-wrapped hot dog. The egg wash is key to achieving that beautiful golden-brown, shiny crust that makes these finger foods look as good as they taste. Once the oven is preheated, carefully place the baking sheet inside. Bake for 15-20 minutes, or until the puff pastry is puffed up, deeply golden brown, and the cheese is melted and slightly bubbly. Keep an eye on them, as oven temperatures can vary. If they start to brown too quickly, you can loosely tent them with foil. Once baked, remove them from the oven and let them cool on the baking sheet for a few minutes before transferring them to a wire rack to cool further. They are best enjoyed warm!
Conclusion:
There you have it! A truly delightful recipe that stands out as one of the Best Finger Foods for any occasion. We’ve walked through each step, from gathering fresh ingredients to the final tempting presentation, and I hope you’re feeling inspired to get into the kitchen. These are perfect for a casual get-together, a sophisticated party, or even just a special treat for yourself. Don’t be afraid to get creative with your toppings or seasonings; this recipe is wonderfully adaptable. Remember, the joy of cooking is in the process and the delicious outcome. So, gather your friends, prepare a batch of these amazing treats, and enjoy the smiles they bring. Happy cooking!
Frequently Asked Questions:
Can I make these ahead of time?
Yes, you absolutely can! The components can often be prepared a day in advance and assembled closer to serving. For example, you can pre-chop vegetables, mix the filling, and even bake the bases if your recipe allows. Store any prepared elements separately and combine them just before your guests arrive to ensure maximum freshness and crispness.
What are some good beverage pairings for these finger foods?
These delightful finger foods pair wonderfully with a variety of beverages. For a celebratory feel, consider sparkling grape juice or cbeef hampagne. Light, crisp white grape juices like Sauvignon Blanc or Pinot Grigio are also excellent choices. If you prefer non-non-non-alcoholic alternativeic options, a refreshing sparkling cider or a simple infused water would be perfect. Even a well-chilled non-alcoholic lager can complement the flavors beautifully.
Are there any dietary modifications I can make to this recipe?
Certainly! Depending on the specific recipe, you can often make several adjustments. For gluten-free options, explore using alternative flours or grain bases. For a dairy-free version, look for suitable plant-based cheeses or creamy alternatives. If you need a vegetarian or vegan option, be sure to swap out any animal products with plant-based alternatives. Many recipes are surprisingly forgiving and can be adapted to suit various dietary needs with a little creativity.
Cheesy Beef Hot Dog Bites
Delicious and easy beef hot dog finger foods wrapped in flaky puff pastry and baked to golden perfection with melted cheddar cheese. Perfect for appetizers or parties.
Ingredients
-
1 sheet (250 grams) puff pastry dough, thawed
-
1 ½ cups shredded cheddar cheese
-
6 beef hot dogs
-
1 egg, beaten (for egg wash)
-
Salt, to taste (optional, for seasoning beef)
-
Pepper, to taste (optional, for seasoning beef)
Instructions
-
Step 1
Prepare the beef hot dogs by par-cooking them. You can boil them for about 3-5 minutes or pan-fry them until lightly browned. Drain thoroughly and pat dry with paper towels. Let them cool slightly. -
Step 2
Gently unroll the thawed puff pastry onto a lightly floured surface. Cut the pastry into long, even strips, approximately ¾ inch to 1 inch wide. Aim for 6-8 strips for six hot dogs. -
Step 3
Wrap each beef hot dog diagonally with a pastry strip, overlapping slightly with each turn to create a snug, spiral wrap. Seal the ends by tucking or gently pressing. -
Step 4
Sprinkle shredded cheddar cheese generously over the wrapped hot dogs, especially in any gaps between the pastry layers. Press some cheese lightly onto the exposed pastry. -
Step 5
Preheat oven to 400°F (200°C). Line a baking sheet with parchment paper and arrange the wrapped hot dogs on it, leaving space between each. Brush the entire surface of each pastry with the beaten egg wash. -
Step 6
Bake for 15-20 minutes, or until the puff pastry is puffed up, golden brown, and the cheese is melted and bubbly. Let cool slightly on the baking sheet before transferring to a wire rack.
Important Information
Nutrition Facts (Per Serving)
It is important to consider this information as approximate and not to use it as definitive health advice.
Allergy Information
Please check ingredients for potential allergens and consult a health professional if in doubt.


Leave a Comment