Classic Apple Pie is more than just a dessert; it’s a warm embrace on a chilly evening, a comforting aroma that fills the kitchen, and a taste of pure nostalgia. Who doesn’t yearn for that perfect balance of sweet, tart apples, encased in a flaky, golden crust that practically melts in your mouth? This isn’t just any pie; it’s the kind that evokes memories of grandma’s kitchen, of holiday gatherings, and of simple, joyous moments. What makes our Classic Apple Pie so special is its unwavering commitment to tradition, using the finest seasonal apples, a touch of cinnamon and nutmeg to awaken their natural sweetness, and a crust that achieves that coveted delicate crispness. It’s a recipe that’s been perfected over generations, ensuring every bite is a symphony of textures and flavors that will have everyone asking for seconds.
Ingredients:
- 6 cups thinly sliced peeled apples (about 6 medium apples)
- 3/4 cup granulated sugar
- 2 tbsp all-purpose flour
- 3/4 tsp ground cinnamon
- 1/4 tsp salt
- 1/8 tsp ground nutmeg
- 1 tbsp lemon juice
- 1 double pie crust (homemade or store-bought)
- 1 egg (beaten, for egg wash)
- 1 tsp water (for egg wash)
- Additional sugar (for sprinkling)
Preparing the Classic Apple Pie Filling
The heart of any truly great Classic Apple Pie lies in its perfectly prepared filling. We’ll start by gathering our apples. For this recipe, I recommend using a mix of apple varieties if possible, like Granny Smith for tartness and Honeycrisp or Fuji for sweetness and a firmer texture. This combination provides a wonderful depth of flavor and a pleasing bite to the finished pie. Peel, core, and then thinly slice your apples. Aim for slices that are about 1/4 inch thick; this ensures they cook through evenly without becoming mushy. Place all your prepared apple slices into a large mixing bowl.
Next, we’ll create the magical spice blend that elevates these simple apples into something extraordinary. In a separate, smaller bowl, combine the granulated sugar, all-purpose flour, ground cinnamon, salt, and ground nutmeg. Whisk these dry ingredients together thoroughly. The flour acts as a thickener, helping to create that luscious, jammy consistency without making the filling too liquid. The cinnamon and nutmeg provide that warm, comforting aroma and taste that is so synonymous with apple pie. Don’t skip the salt; it actually enhances the sweetness and all the other flavors in the filling.
Now, it’s time to bring the filling together. Pour the sugar and spice mixture over the sliced apples in the large bowl. Add the tablespoon of lemon juice. The lemon juice not only adds a subtle brightness that cuts through the sweetness but also helps to prevent the apples from browning while you’re preparing everything else. Using a large spoon or your hands (clean, of course!), gently toss the apples until they are evenly coated with the sugar and spice mixture. Make sure every single apple slice gets some love! Let this mixture sit for about 10-15 minutes. This resting period allows the sugar to start drawing out some of the apples’ natural juices, which will mingle beautifully with the spices and flour.
Assembling and Baking Your Classic Apple Pie
With our delicious apple filling ready, we can move on to assembling the pie. If you’re using a store-bought pie crust, follow the package directions for handling. If you’ve made your own, ensure it’s chilled and ready to go. Gently unroll or place one of the pie crusts into your pie plate. Press it gently into the bottom and up the sides, making sure there are no air pockets. Trim any excess dough, leaving about a 1/2-inch overhang.
Now, carefully spoon the prepared apple filling into the pie crust. Try to distribute the apples evenly. Pile them slightly higher in the center, as they will settle down as they bake. Don’t be afraid to really fill it up – this is the star of the show!
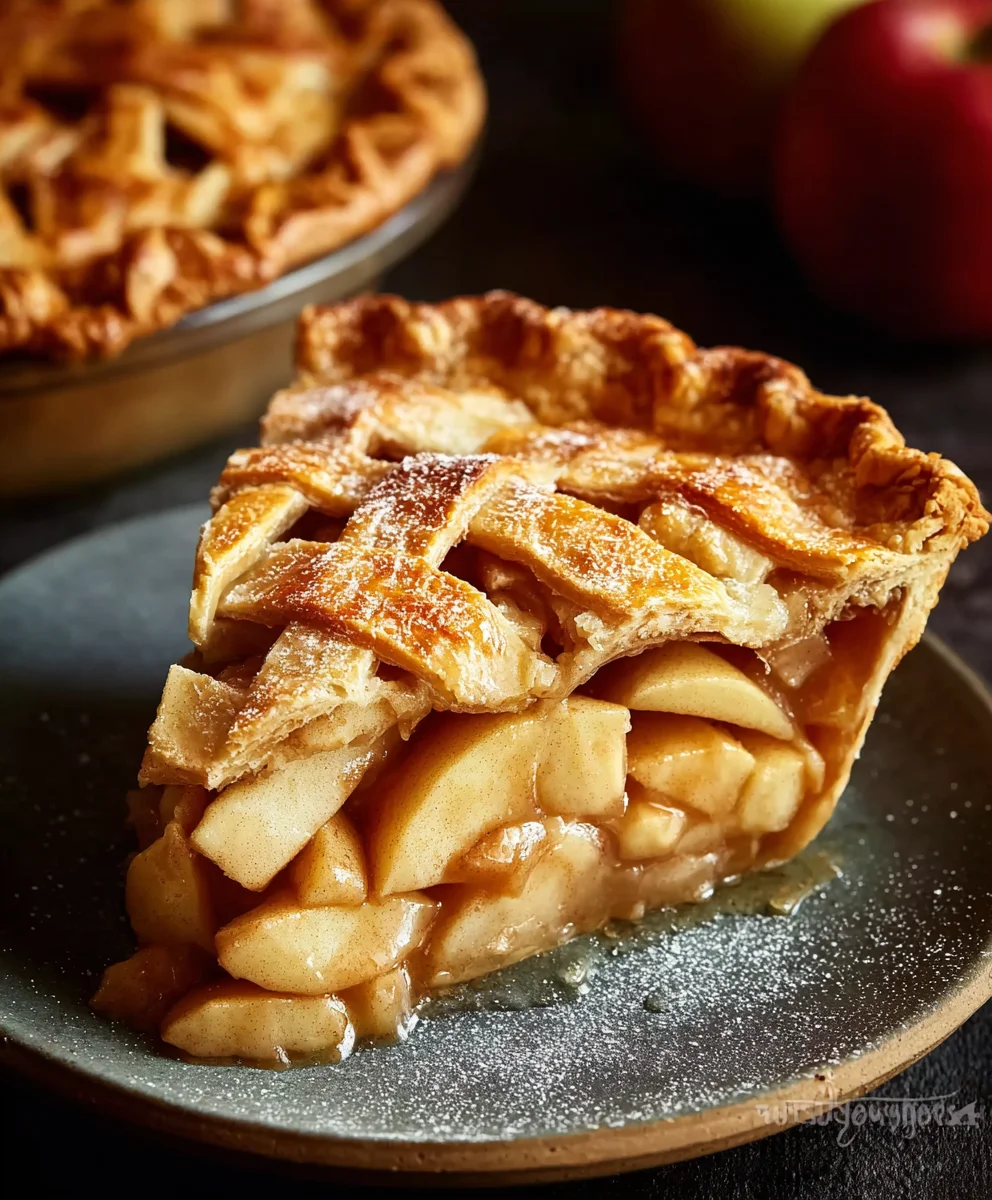
Once the filling is nestled in its crust, it’s time for the top crust. You have a few options here. You can place the second pie crust directly over the filling, sealing the edges by crimping the top and bottom crusts together. Alternatively, you can cut the top crust into strips and create a beautiful lattice top. A lattice top is not only visually appealing but also allows steam to escape, preventing a soggy bottom crust. Whichever method you choose, make sure the edges are well sealed to prevent the filling from leaking out during baking. If you’re doing a solid top crust, cut a few vents in it with a sharp knife to allow steam to escape.
For that irresistible golden-brown sheen, we’ll prepare an egg wash. In a small bowl, whisk together the egg and 1 teaspoon of water. Using a pastry brush, lightly brush this egg wash all over the top crust. This will give your pie a beautiful, glossy finish. For an extra touch of sweetness and sparkle, sprinkle a tablespoon or two of additional granulated sugar over the egg-washed crust. This creates a delightful crunchy topping.
The Baking Process
Preheat your oven to 425 degrees Fahrenheit (220 degrees Celsius). Place the assembled pie on a baking sheet. This is a crucial step to catch any potential drips and make cleanup a breeze. Bake the pie for 15 minutes at 425 degrees Fahrenheit. This initial high heat helps to set the crust and start the cooking process for the apples.
After 15 minutes, reduce the oven temperature to 375 degrees Fahrenheit (190 degrees Celsius). Continue baking for another 35-45 minutes, or until the crust is golden brown and the filling is bubbling through the vents or lattice. You’ll know it’s ready when the apples are tender and the juices are thick and syrupy. If the edges of your crust start to brown too quickly, you can loosely tent the pie with aluminum foil. Once baked, carefully remove the pie from the oven and place it on a wire rack to cool. It’s incredibly tempting to cut into it immediately, but allowing the pie to cool for at least 2-3 hours is essential. This gives the filling time to set properly, ensuring neat, clean slices. Enjoy every delicious bite of your homemade Classic Apple Pie!

Conclusion:
There you have it – your very own delicious Classic Apple Pie! We’ve walked through every step, from selecting the perfect apples to achieving that golden, flaky crust. This recipe isn’t just about baking; it’s about creating a comforting centerpiece for any occasion, a taste of home that never disappoints. Whether you’re a seasoned baker or embarking on your pie-making journey, I hope you found this guide clear and inspiring. The aroma filling your kitchen as this pie bakes is truly magical, and the first bite is pure bliss. Don’t be afraid to experiment and make this recipe your own!
For serving, a scoop of creamy vanilla ice cream or a dollop of freshly whipped cream is always a winning combination. A warm slice of this pie is also delightful with a sharp cheddar cheese on the side, a classic pairing that offers a lovely sweet and savory contrast. If you’re feeling adventurous, try adding a pinch of cardamom or a tablespoon of brandy to the apple filling for an extra layer of flavor. The possibilities are endless, and the joy of sharing homemade pie is immeasurable. So go ahead, embrace the warmth and tradition of this Classic Apple Pie and enjoy every single crumb!
Frequently Asked Questions:
Q1: What are the best apples to use for a Classic Apple Pie?
For the perfect balance of sweetness and tartness, a combination of apples is ideal. Consider using varieties like Honeycrisp, Gala, or Fuji for sweetness, and Granny Smith for a pleasant tartness that cuts through the richness. This blend ensures your pie filling has depth of flavor and holds its shape beautifully after baking.
Q2: How can I prevent my apple pie from becoming soggy?
A soggy bottom can be a pie’s nemesis, but it’s easily avoided! Ensure your apples are well-drained after peeling and slicing. You can also pre-cook your apple filling slightly or add a tablespoon of flour or cornstarch to the filling mixture to absorb excess moisture. Baking the pie on a lower rack of the oven also helps the bottom crust cook through more thoroughly.
Classic Apple Pie Recipe- The Best Homemade Dessert
A timeless recipe for the best homemade classic apple pie, featuring a perfectly spiced apple filling and a golden-brown crust.
Ingredients
-
6 cups thinly sliced peeled apples (about 6 medium apples)
-
3/4 cup granulated sugar
-
2 tbsp all-purpose flour
-
3/4 tsp ground cinnamon
-
1/4 tsp salt
-
1/8 tsp ground nutmeg
-
1 tbsp lemon juice
-
1 double pie crust (homemade or store-bought)
-
1 egg (beaten, for egg wash)
-
1 tsp water (for egg wash)
-
Additional sugar (for sprinkling)
Instructions
-
Step 1
Prepare the apple filling by combining thinly sliced apples, granulated sugar, all-purpose flour, cinnamon, salt, nutmeg, and lemon juice in a large bowl. Toss to coat evenly and let sit for 10-15 minutes. -
Step 2
Place one pie crust into a pie plate, pressing it into the bottom and up the sides. Trim excess dough, leaving a 1/2-inch overhang. -
Step 3
Spoon the prepared apple filling into the pie crust, distributing evenly and piling slightly higher in the center. -
Step 4
Top with the second pie crust, sealing the edges by crimping, or create a lattice top. Cut vents in a solid top crust to allow steam to escape. -
Step 5
Whisk together the beaten egg and water for an egg wash. Brush evenly over the top crust. Sprinkle with additional sugar for a crunchy topping. -
Step 6
Preheat oven to 425 degrees Fahrenheit (220 degrees Celsius). Place the pie on a baking sheet and bake for 15 minutes. -
Step 7
Reduce oven temperature to 375 degrees Fahrenheit (190 degrees Celsius) and bake for an additional 35-45 minutes, or until the crust is golden brown and the filling is bubbling. Tent with foil if edges brown too quickly. -
Step 8
Remove from oven and let cool on a wire rack for at least 2-3 hours before slicing and serving.
Important Information
Nutrition Facts (Per Serving)
It is important to consider this information as approximate and not to use it as definitive health advice.
Allergy Information
Please check ingredients for potential allergens and consult a health professional if in doubt.


Leave a Comment