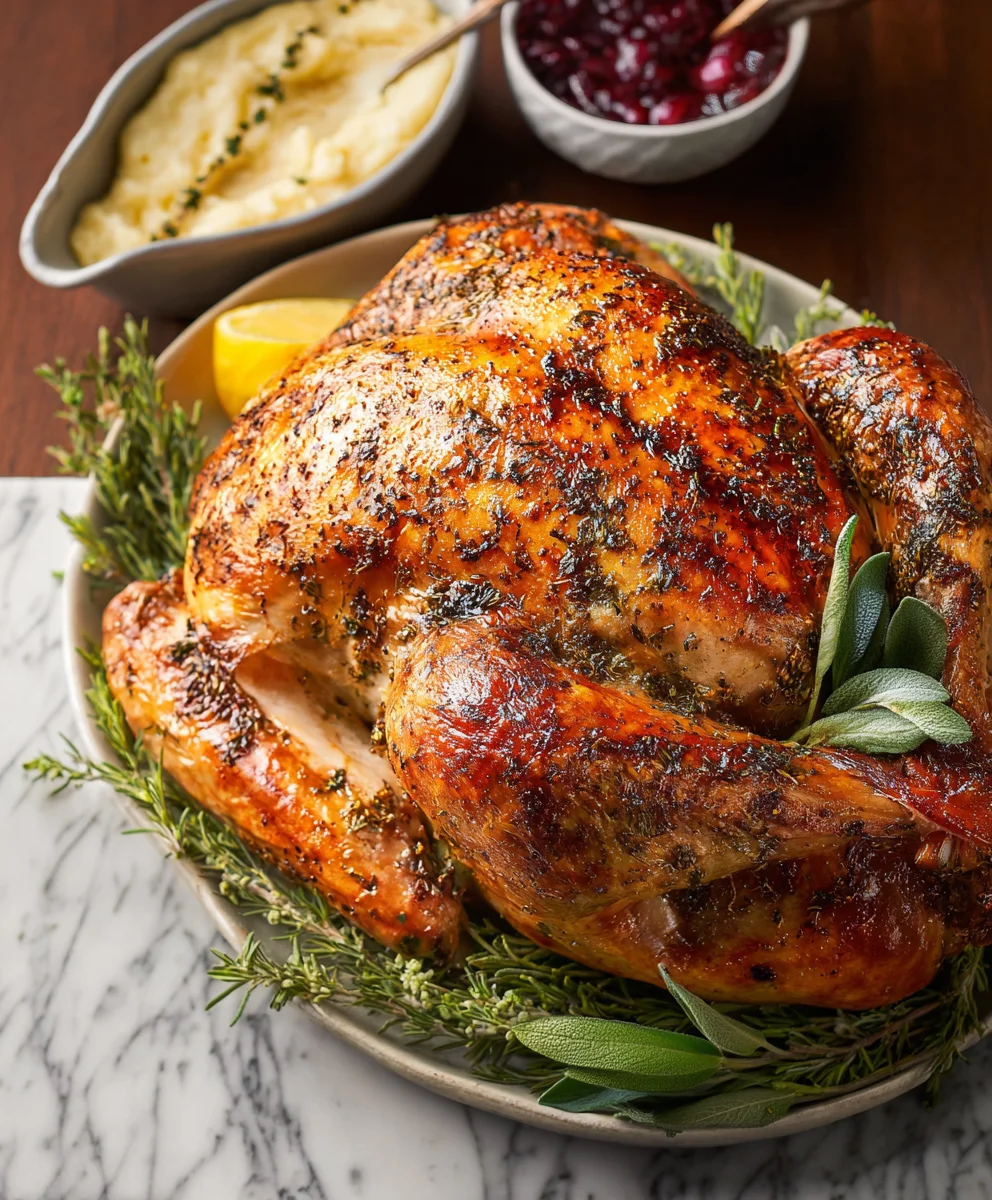
Easy Roast Turkey is more than just a meal; it’s a centerpiece, a tradition, and for many, the very definition of a celebratory gathering. Who doesn’t dream of that perfectly golden-brown skin, yielding to incredibly moist and flavorful meat beneath? The aroma alone is enough to transport us to cozy evenings and shared laughter. But the thought of preparing a whole turkey can often conjure images of complicated brines, temperature guesswork, and a kitchen that looks like a culinary war zone. That’s precisely where our approach to an Easy Roast Turkey shines. We’re here to demystify the process, proving that achieving a show-stopping bird doesn’t require expert chef skills or hours of stressed-out prep. This recipe focuses on simple techniques that deliver maximum flavor and tenderness, making your holiday feast, or even a special Sunday dinner, utterly stress-free and undeniably delicious. Get ready to impress yourself and your loved ones with an Easy Roast Turkey that’s both beautiful and remarkably simple to achieve.
Ingredients:
- 1 (14-16 pound) whole turkey (see note)
- Salt & pepper (to taste)
- 1 cup unsalted butter (2 sticks) (softened)
- 1 tablespoon fresh sage (chopped finely)
- 1 tablespoon fresh thyme (chopped finely)
- 1 tablespoon fresh rosemary (chopped finely)
- 4 cloves garlic (minced)
- 1 teaspoon salt
- 1/2 teaspoon pepper (or to taste)
- 1 lemon (halved)
- A few sprigs each fresh sage, thyme, and rosemary
- 1 head garlic (break into cloves and peel them)
Preparing Your Easy Roast Turkey
This is where the magic begins, setting the stage for a perfectly cooked and incredibly flavorful Easy Roast Turkey. The key to a juicy and tender bird lies in proper preparation, and we’ll walk through each step with care.
Step 1: Thawing and Patting Dry the Turkey
First things first, ensure your turkey is fully thawed if it was previously frozen. This can take a day or two in the refrigerator. Once thawed, remove the turkey from its packaging. You’ll notice there might be a neck and giblets inside the cavities; be sure to remove these. You can save them for making gravy later if you wish. Now, the crucial step for achieving that beautiful, crispy skin: patting the turkey thoroughly dry, both inside and out, with paper towels. Don’t skip this! Moisture is the enemy of crispiness, so get into every nook and cranny. This also helps the seasoning adhere better.
Step 2: Creating the Herb Butter Rub
This is where we build incredible flavor from the inside out. In a medium bowl, combine the softened unsalted butter. Add the finely chopped fresh sage, thyme, and rosemary. Next, stir in the minced garlic, 1 teaspoon of salt, and 1/2 teaspoon of pepper. Mix everything together until it’s well combined and forms a fragrant paste. The softened butter makes it easy to spread, and the fresh herbs and garlic infuse it with wonderful aromas that will permeate the turkey as it roasts. Taste a tiny bit of the butter mixture (it’s safe!) to adjust the salt and pepper if you prefer.
Step 3: Seasoning and Buttering Under the Skin
This is arguably the most impactful step for flavor and moisture. Gently work your fingers between the skin and the breast meat of the turkey, starting from the neck cavity and working your way down towards the thighs. Be careful not to tear the skin. Once you’ve created pockets under the skin, carefully spoon portions of the herb butter mixture and gently spread it evenly under the skin over the breast meat. This ensures the butter directly flavors and moistens the meat. You can also rub some of the herb butter over the outside of the turkey, but the under-the-skin application is where the real flavor infusion happens. Don’t forget to season the main cavity of the turkey generously with salt and pepper.
Step 4: Stuffing the Cavity and Trussing (Optional but Recommended)**
Now it’s time to add aromatics to the cavity for an extra layer of fragrance. Stuff the main cavity of the turkey with the halved lemon, the peeled garlic cloves, and the few sprigs each of fresh sage, thyme, and rosemary. These will release their lovely scents as the turkey cooks, infusing the bird with subtle but delightful flavors. If you’re comfortable with trussing, now is the time to tie the legs together with kitchen twine and tuck the wing tips under the body. This helps the turkey cook more evenly and maintains a nice, compact shape. If you’re not trussing, don’t worry, it will still be delicious!
Step 5: Roasting the Easy Roast Turkey
Preheat your oven to 325°F (160°C). Place the prepared turkey in a roasting pan, breast-side up. You can place it on a rack in the roasting pan for better air circulation if you have one. For the first hour of roasting, you can cover the turkey loosely with foil to help prevent the breast meat from drying out, especially if your turkey has a tendency to brown too quickly. After the first hour, remove the foil and continue roasting. Basting is optional but can contribute to a more golden-brown skin. To baste, use a spoon or turkey baster to scoop up the juices from the bottom of the roasting pan and pour them over the turkey every 30-45 minutes. The cooking time will vary depending on the size of your turkey, but a general guideline is about 13-15 minutes per pound. Use a meat thermometer to check for doneness; the thickest part of the thigh should register 165°F (74°C), and the juices should run clear. Once it reaches the desired temperature, carefully remove the turkey from the oven, tent it loosely with foil, and let it rest for at least 20-30 minutes before carving. This resting period is crucial for allowing the juices to redistribute throughout the meat, ensuring a moist and tender result for your Easy Roast Turkey.

Conclusion:
And there you have it! Your journey to a perfectly cooked Easy Roast Turkey is complete. We’ve covered everything from selecting the right bird to achieving that golden-brown, crispy skin and incredibly juicy meat. This recipe is designed to be straightforward, making it accessible for home cooks of all levels, and the result is always a showstopper for any gathering or holiday meal.
To elevate your experience, consider serving this delightful turkey with a medley of roasted root vegetables, fluffy mashed potatoes, and a rich, homemade gravy. If you’re feeling adventurous, try adding a sprinkle of fresh herbs like rosemary and thyme to the butter you rub under the skin, or experiment with a citrus-infused brine for an extra burst of flavor. Don’t be afraid to get creative; the best part of cooking is making it your own!
I truly hope you enjoy preparing and savoring this Easy Roast Turkey. Remember, practice makes perfect, and with each roast, you’ll gain more confidence. Happy cooking!
Frequently Asked Questions:
How do I prevent my turkey from drying out?
The key to a moist turkey lies in ensuring it doesn’t overcook. Using a meat thermometer is crucial – aim for an internal temperature of 165°F (74°C) in the thickest part of the thigh, avoiding the bone. Resting the turkey for at least 20-30 minutes after cooking also allows the juices to redistribute, resulting in a more succulent bird.
Can I prepare any part of this Easy Roast Turkey recipe in advance?
Absolutely! You can season your turkey and prepare the herb butter the day before you plan to roast it, keeping it refrigerated. You can also chop your vegetables for roasting in advance. This will significantly cut down on your preparation time on the day of cooking.
What if my turkey skin starts to brown too quickly?
If you notice your turkey skin is browning faster than you’d like, you can loosely tent it with aluminum foil. This will protect the skin from further browning while allowing the interior to continue cooking through evenly. Remove the foil during the last 30 minutes of cooking to ensure it crisps up beautifully.
Simple Roast Beef Recipe-Perfect Flavor Every Time
A straightforward recipe for roast beef that guarantees delicious flavor every time. This method focuses on creating a flavorful herb butter rub and slow roasting for a tender and juicy result.
Ingredients
-
1 (14-16 pound) whole beef roast (see note)
-
Salt & pepper (to taste)
-
1 cup unsalted butter (2 sticks) (softened)
-
1 tablespoon fresh sage (chopped finely)
-
1 tablespoon fresh thyme (chopped finely)
-
1 tablespoon fresh rosemary (chopped finely)
-
4 cloves garlic (minced)
-
1 teaspoon salt
-
1/2 teaspoon pepper (or to taste)
-
1 lemon (halved)
-
A few sprigs each fresh sage, thyme, and rosemary
-
1 head garlic (break into cloves and peel them)
Instructions
-
Step 1
Ensure your beef roast is at room temperature if it was previously refrigerated. If the roast has any excess fat cap, you may trim it slightly, but leave a thin layer for flavor and moisture. Pat the roast thoroughly dry, both inside and out, with paper towels. This is crucial for achieving a beautifully browned and flavorful exterior. -
Step 2
In a medium bowl, combine the softened unsalted butter. Add the finely chopped fresh sage, thyme, and rosemary. Next, stir in the minced garlic, 1 teaspoon of salt, and 1/2 teaspoon of pepper. Mix everything together until it’s well combined and forms a fragrant paste. Taste a tiny bit of the butter mixture (it’s safe!) to adjust the salt and pepper if you prefer. -
Step 3
Gently work your fingers between the outer membrane and the meat of the beef roast, creating pockets. Carefully spoon portions of the herb butter mixture and gently spread it evenly within these pockets. This ensures the butter directly flavors and moistens the meat from the inside. You can also rub some of the herb butter over the outside of the roast. -
Step 4
Now it’s time to add aromatics to the cavity or to the surface of the roast for an extra layer of fragrance. Place the halved lemon, the peeled garlic cloves, and the few sprigs each of fresh sage, thyme, and rosemary around or on top of the roast. These will release their lovely scents as the roast cooks, infusing the beef with subtle but delightful flavors. -
Step 5
Preheat your oven to 325°F (160°C). Place the prepared beef roast in a roasting pan. For the first hour of roasting, you can loosely tent the roast with foil to help prevent the exterior from drying out, especially if it tends to brown too quickly. After the first hour, remove the foil and continue roasting. Basting is optional but can contribute to a more golden-brown exterior. Baste every 30-45 minutes. The cooking time will vary depending on the size and thickness of your roast, but a general guideline is about 15-20 minutes per pound for medium-rare. Use a meat thermometer to check for doneness; the thickest part of the roast should register 130-135°F (54-57°C) for medium-rare. Once it reaches the desired temperature, carefully remove the roast from the oven, tent it loosely with foil, and let it rest for at least 20-30 minutes before carving. This resting period is crucial for allowing the juices to redistribute throughout the meat, ensuring a moist and tender result.
Important Information
Nutrition Facts (Per Serving)
It is important to consider this information as approximate and not to use it as definitive health advice.
Allergy Information
Please check ingredients for potential allergens and consult a health professional if in doubt.


Leave a Comment